And it’s Day 5, the last day of our B6169 moto jacket sew-along! We’re in the home stretch. If you’re just joining us, you’ll want to start at Day 1 and follow along through the process from there. I can hardly wait to see how your jacket turns out!
Today we attach the lining to the jacket and finish a few remaining details. Remember that yesterday I started to diverge from the written instructions a bit? If you prefer to follow the instructions as written, please feel free to do so. The instructions will guide you through a classic construction method that will give great results. But if you prefer to do less hand sewing (and who doesn’t?) and want to stick with me, I’m going to take you through the process of “bagging out” the lining. It’s a fast and easy process, and it’s exciting to see the finished jacket come together so nicely.
Ready? If you decide to follow the written instructions you may want to ignore the rest of the sew-along. But we’ll be here when you return! Don’t forget to show us your finished jacket, too. See the very end of this post for details.
Bag out the Lining
35. Prepare and stitch sleeve LINING in the same manner as described for jacket sleeve, omitting sleeve hem. Easestitch the cap of the sleeve. Refer to steps 18 and 19 for details.
36. Stitch the sleeves to the lining in the same way as you did for the jacket. Refer to step 21 for details.
37. Pin facing/lining to jacket, right sides together, matching notches, center backs, seams and circles. Stitch lower front, front and neck edges using a zipper foot when stitching along zipper. Trim seam allowances. (For this step, stop stitching when you reach the inside edge of the front facings; don’t stitch the hem of the lining! Also, it’s a nice touch to fold the inside edge of the facing back by 5/8″ before you stitch it. This will give the inside of the jacket a clean finish.)
38. UNDERSTITCH back neck edge between shoulder seams. (Press the trimmed seam allowances toward the facing/lining and understitch the seam allowances to the facing/lining to give the finished neckline a clean edge. This will keep the neckline neat and clean so the facing/lining doesn’t roll out when the jacket is being worn.)
39. Turn facing/lining right side out. Press.
Then turn the jacket and lining inside out again for the next steps.
40. Turn up a 1-1/2” (3.8cm) hem on lower edge of jacket, keeping the lining free. Baste hem close to fold. Hand-sew in place, easing in fullness, if necessary. Press. Catchstitch inner edge of facings to hem. (As you hand sew the hem of the jacket and the sleeves, be sure to leave at least 3/4″ of the hem edge (seam allowances) unstitched. We’ll be machine stitching the lining to this edge so we’ll need enough leftover fabric to stitch!
 First I basted the hem near the fold.
 Then unfold them hem and hand stitch the hem about 3/4″ from the cut edge of the fabric. (A catch stitch is great for this part.)
 Do the same thing with the sleeves.
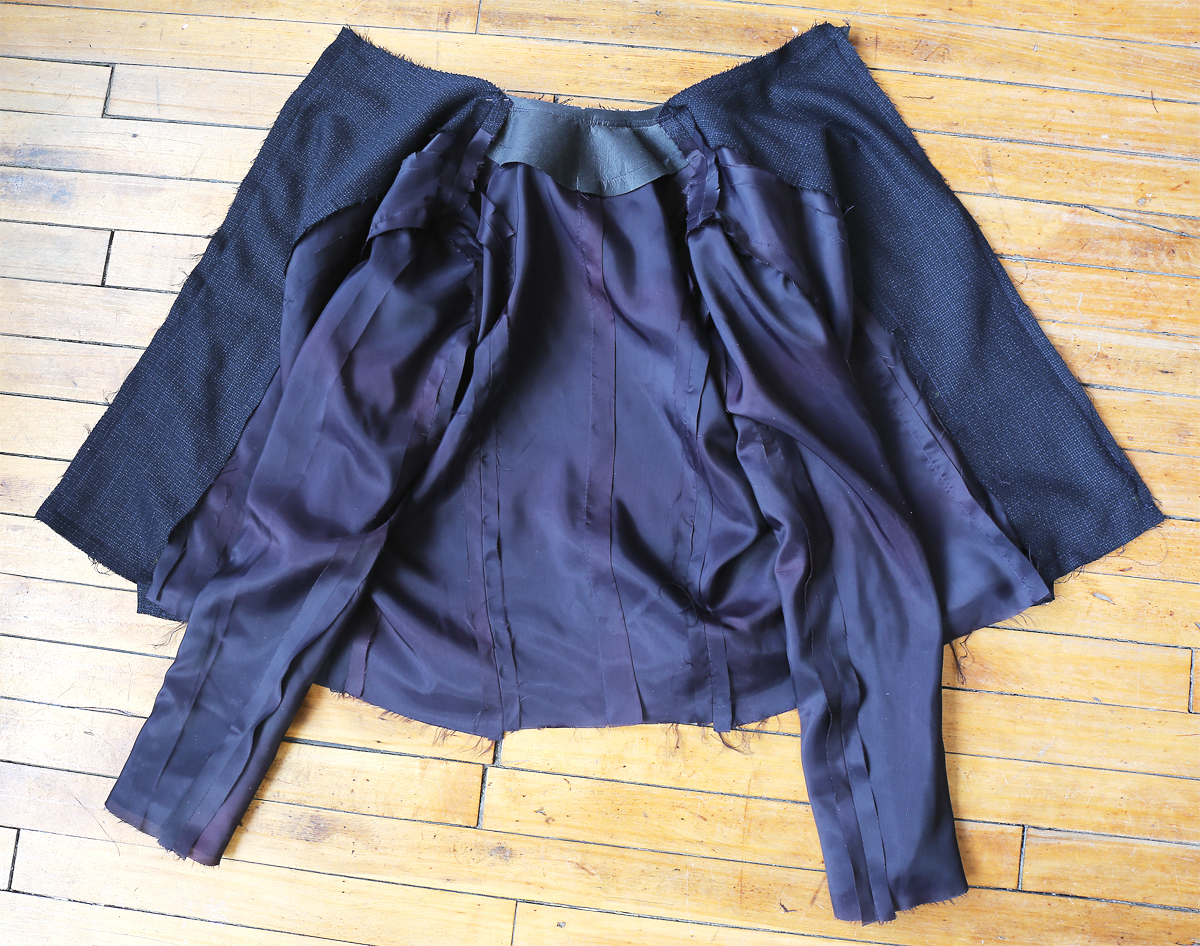
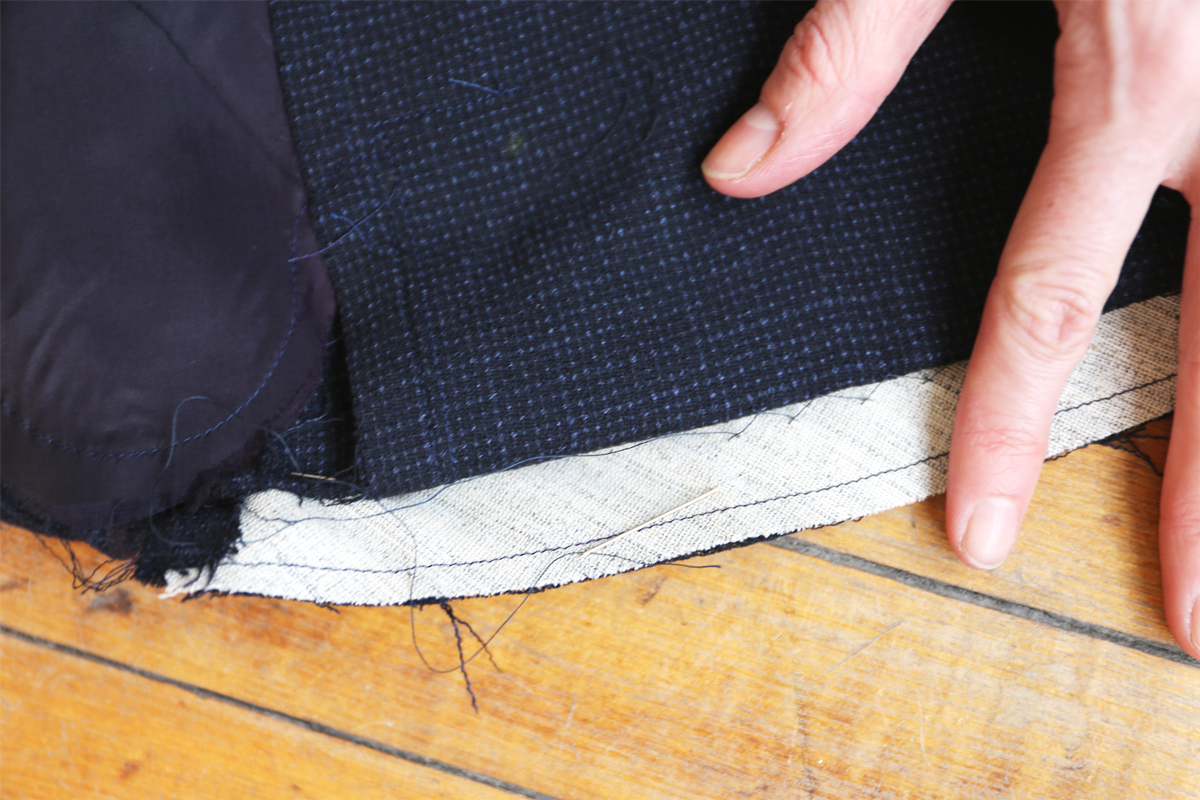
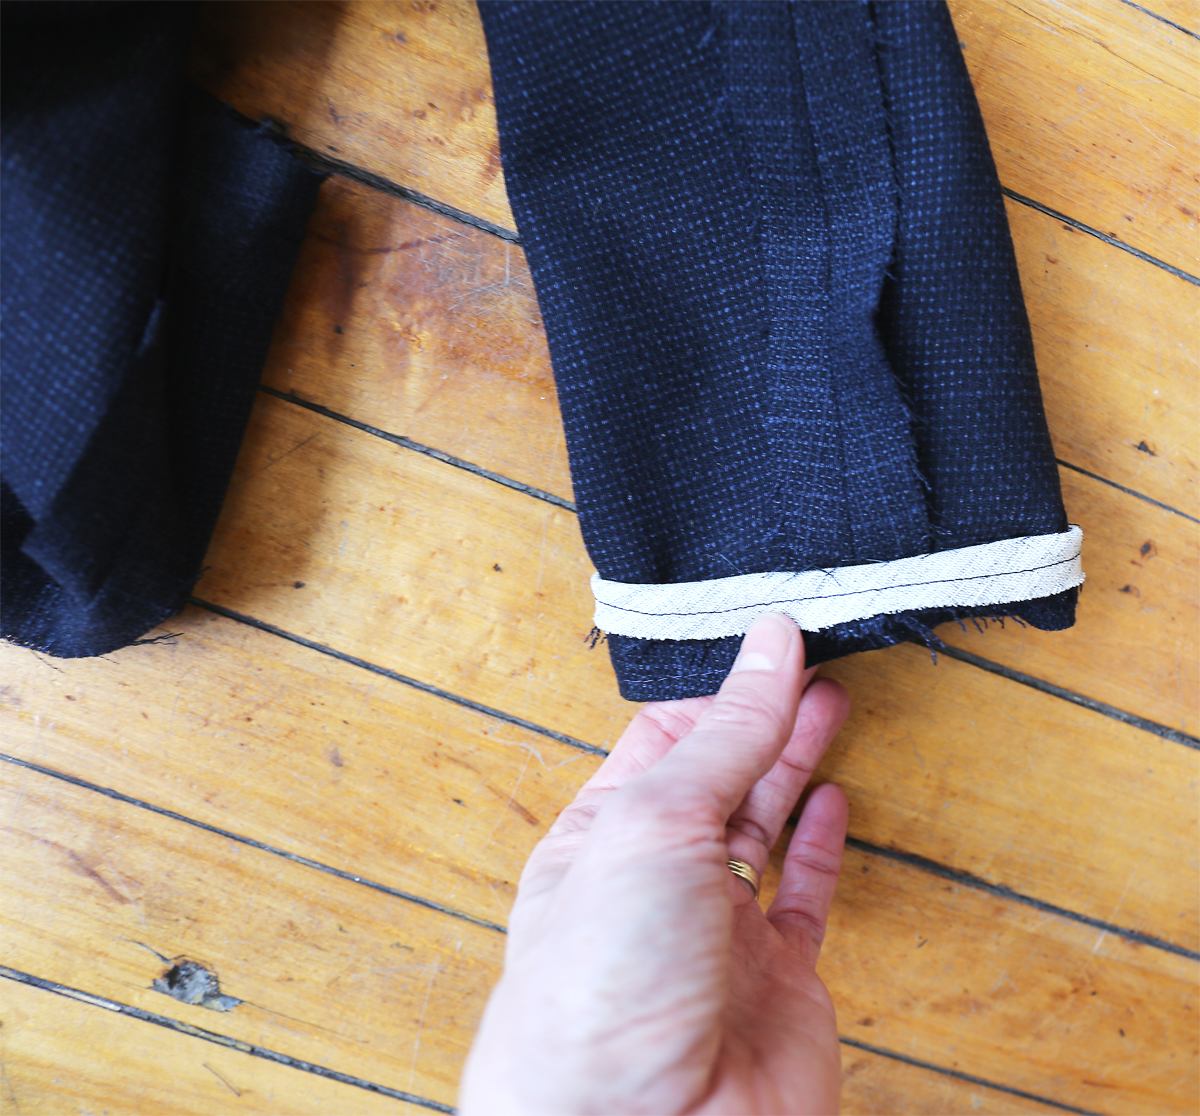
41. Separate the jacket from the lining as much as you can and find the matching fabric sleeve and lining sleeve. Turn the fabric sleeve right side out for a couple of inches at the hem and pin the lining sleeve to the jacket sleeve with right sides together. This will seem like a puzzle at first, but once you get the hang of it you’ll be so thrilled! Take care not to twist either sleeve and to match up the seams. Stitch the lining to the jacket at the sleeve hem with a 5/8″ seam (a 1/2″ seam is ok if you run out of room; you can also use your zipper foot if it’s difficult to stitch close to the handstitching.) Do the same with the opposite sleeve and sleeve lining. You’ll have a very strange-looking jacket at this point, but all will be ok very, very soon! And by the way, if this part completely befuddles you, skip it. You can always hand stitch the sleeve linings to the sleeve hems later if all else fails.
 Be sure both sleeves are aligned so they aren’t twisted as you pair them.
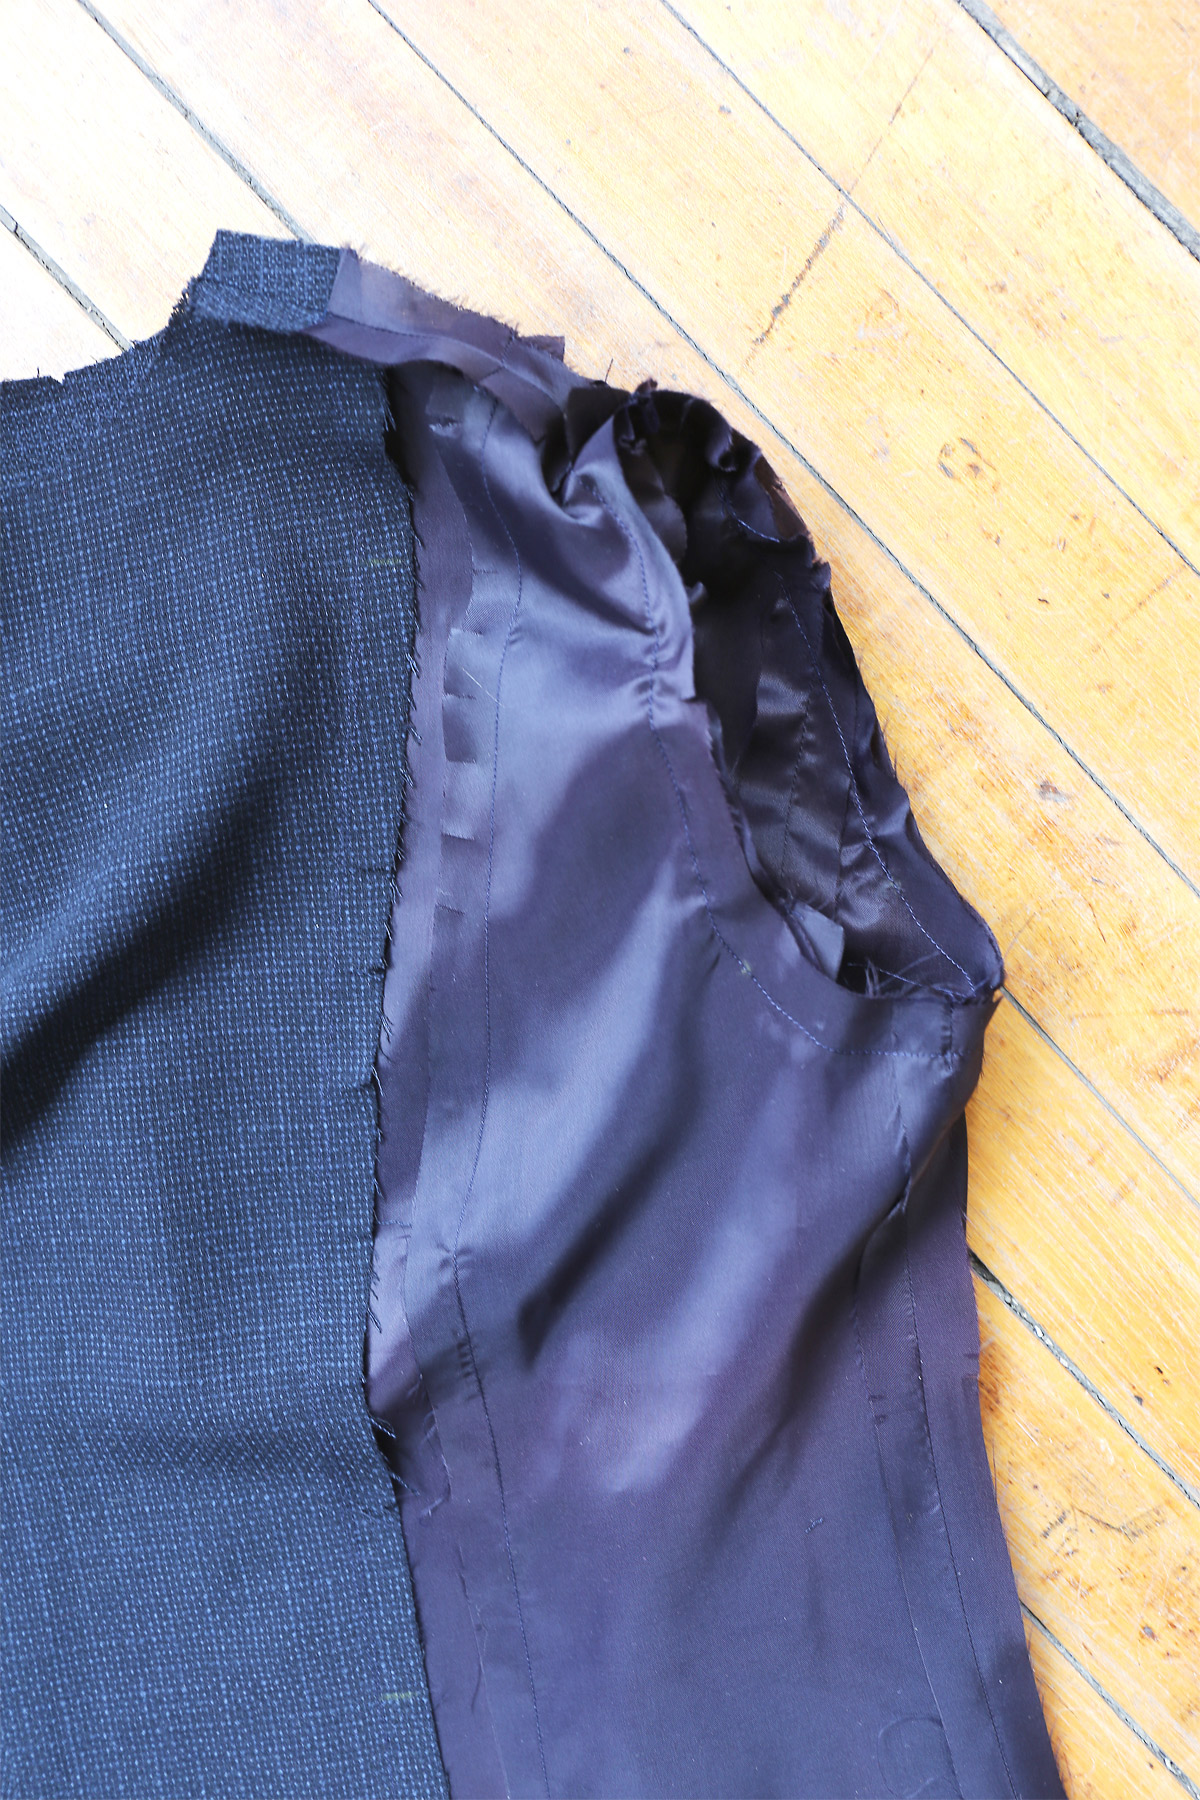
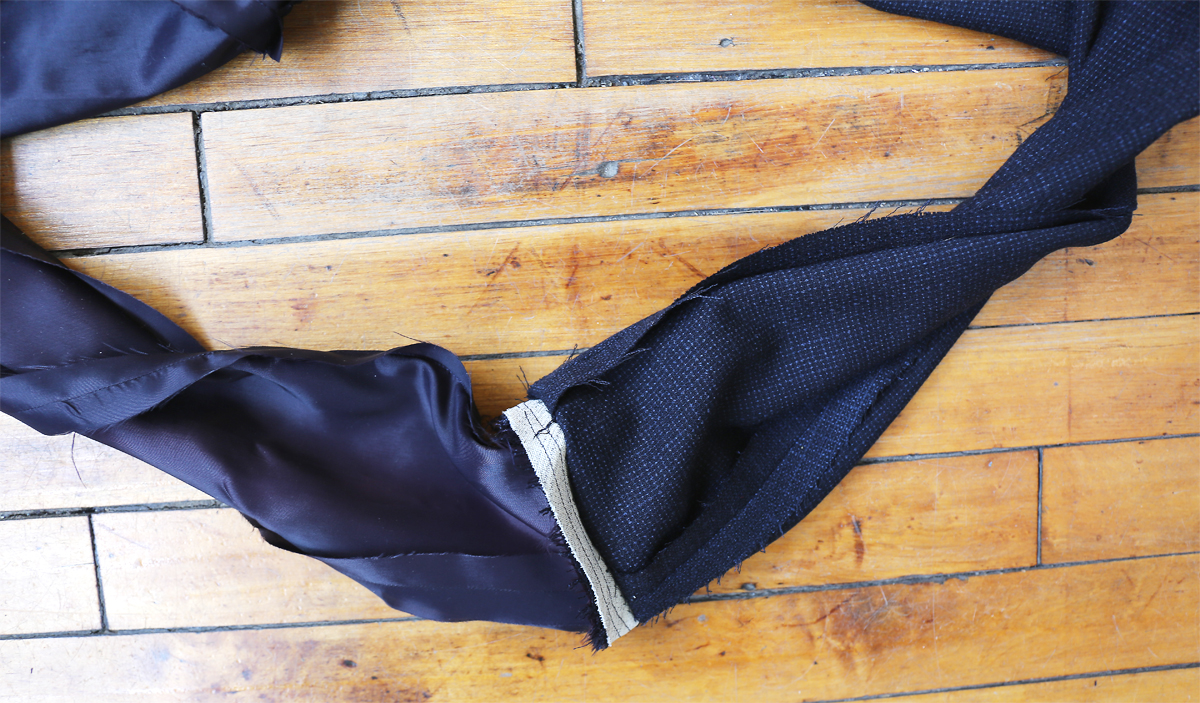 Here is a close-up so you can see how the right side of the lining is pinned and stitched to the right side of the partially-unfolded sleeve.
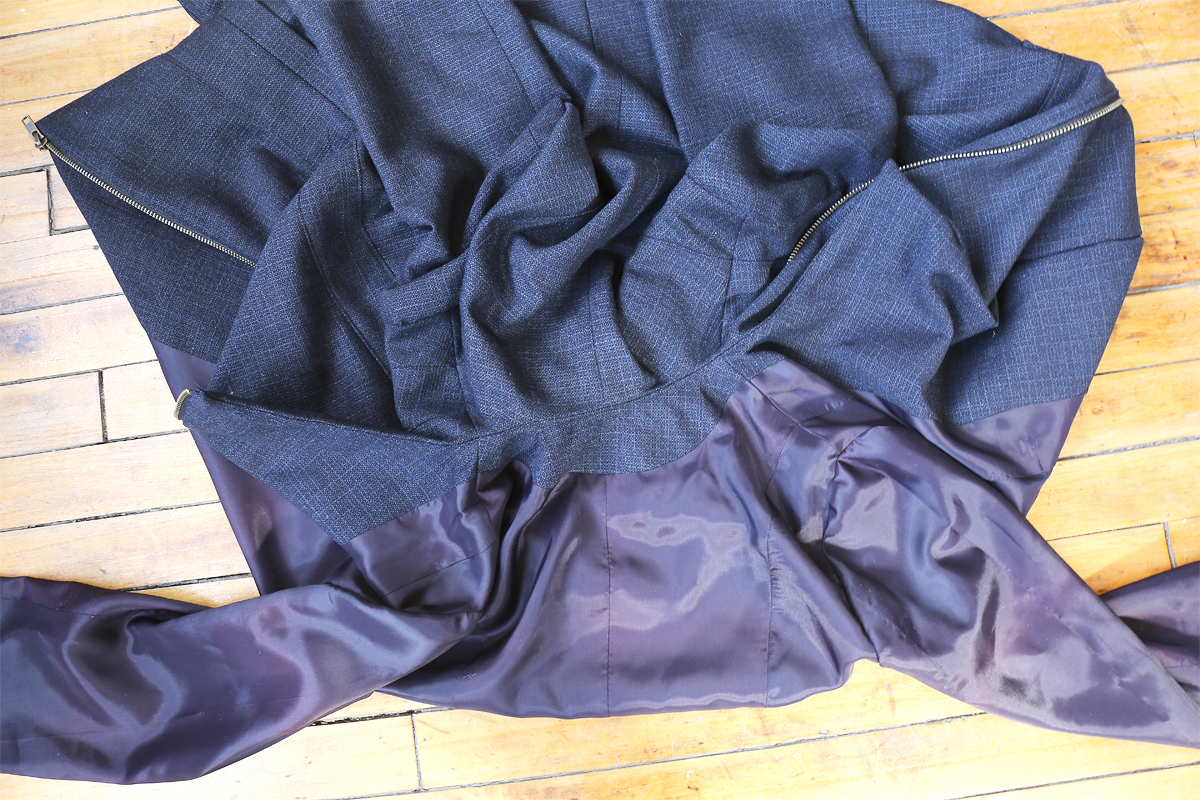
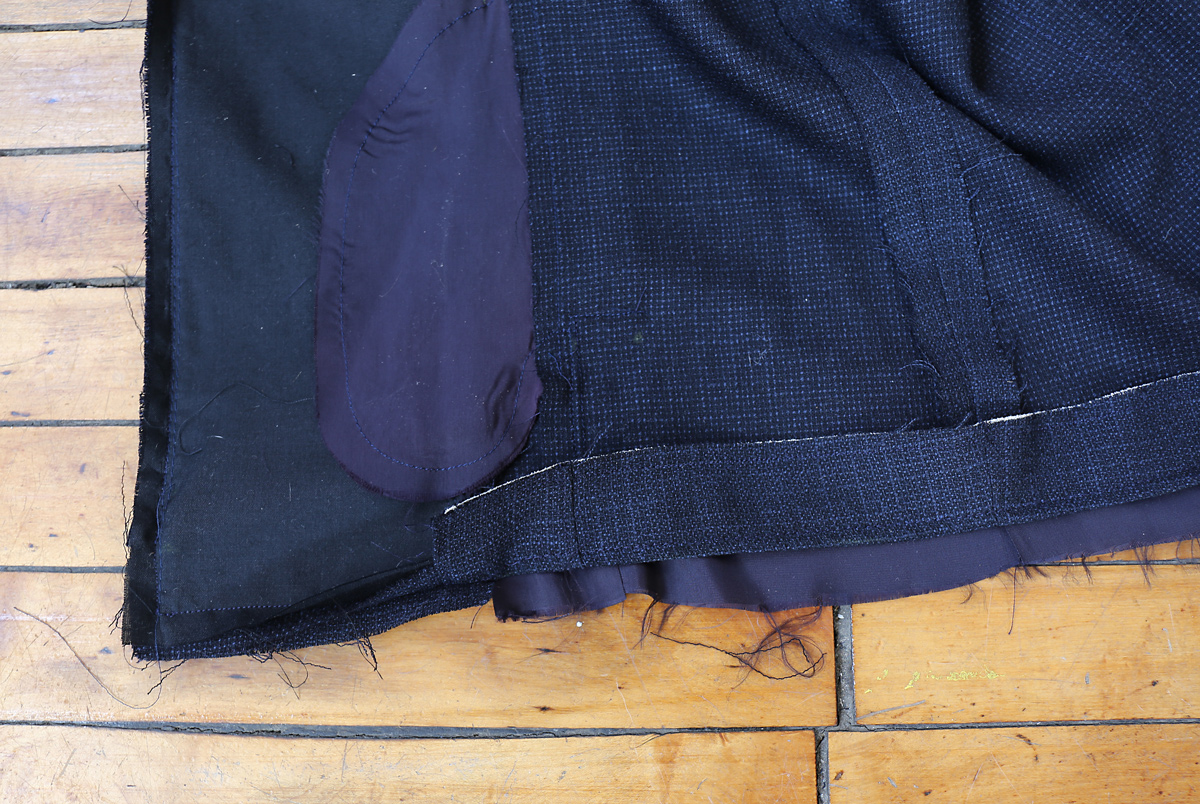
42. Unfold the jacket the hem as much as you can and pin the jacket hem to the lining hem with right sides together. Stitch just the hem with a 5/8″ seam. If you haven’t got quite enough room for a 5/8″ seam because of the hand hemming, don’t worry! A 1/2″ seam will be fine, too.
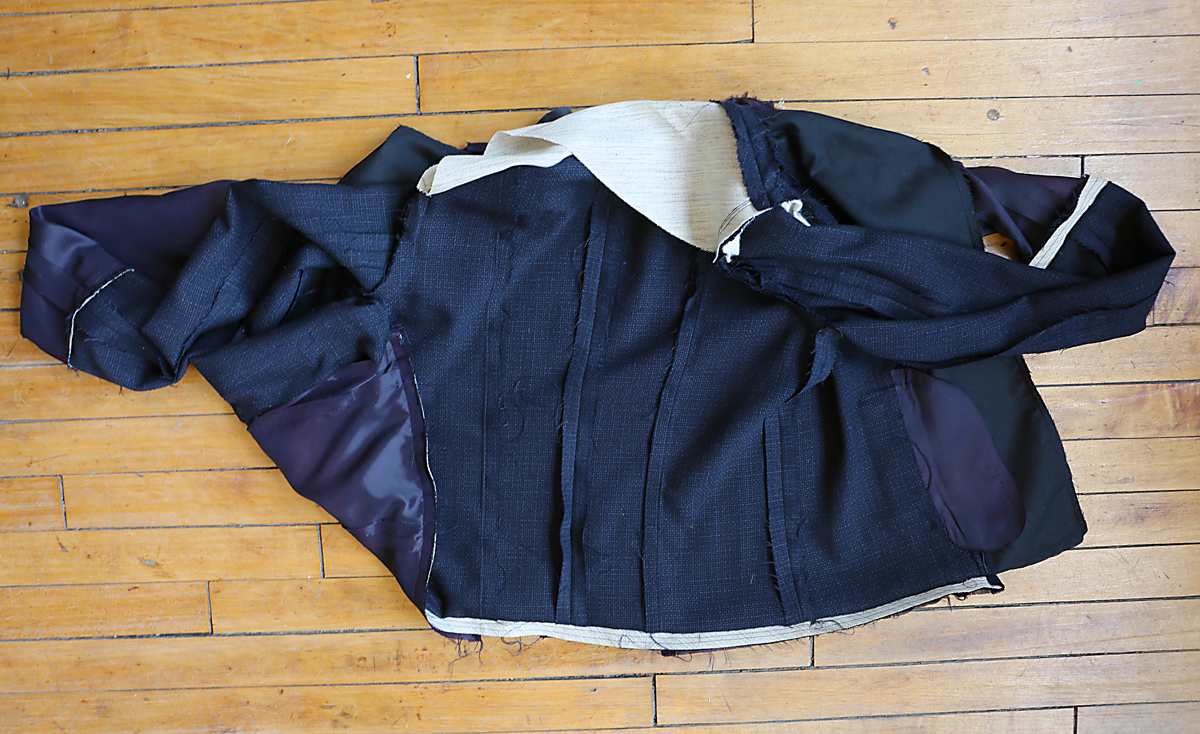
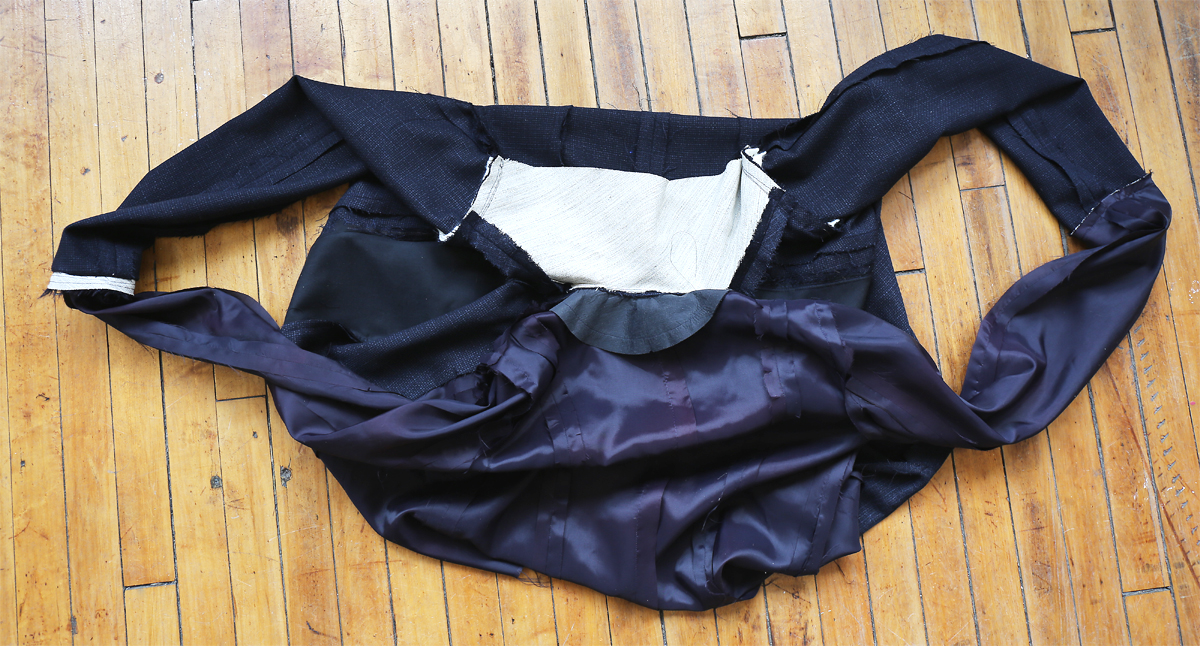
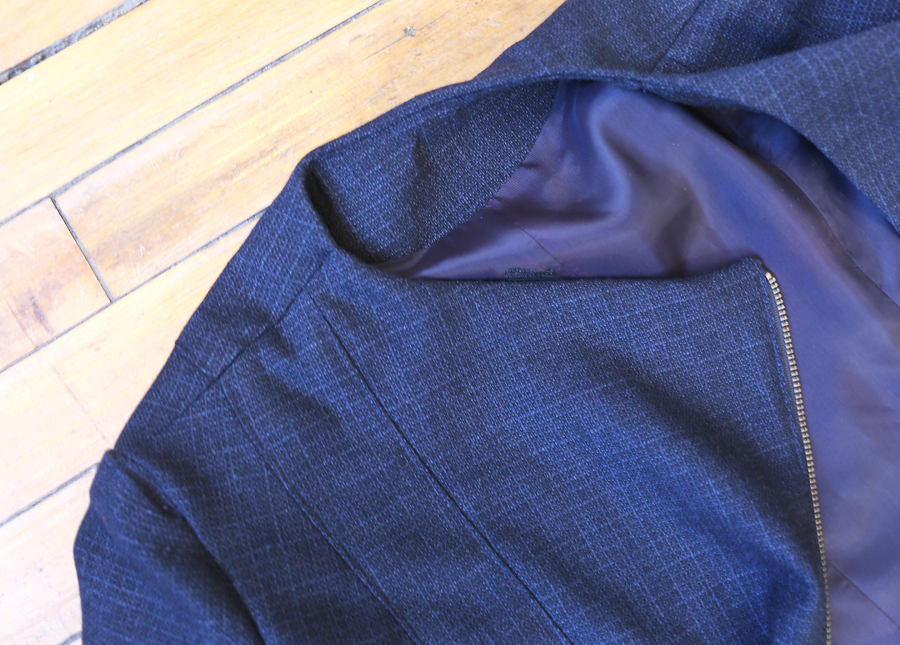
43. Now, reach in though that nifty opening you left at the side seam of the lining and carefully–gently–pull the jacket through the gap. Presto, magic! Your jacket emerges as a fully formed, beautifully sewn creation! We have just a few little details to finish up, and you’ll be wearing this baby in no time!
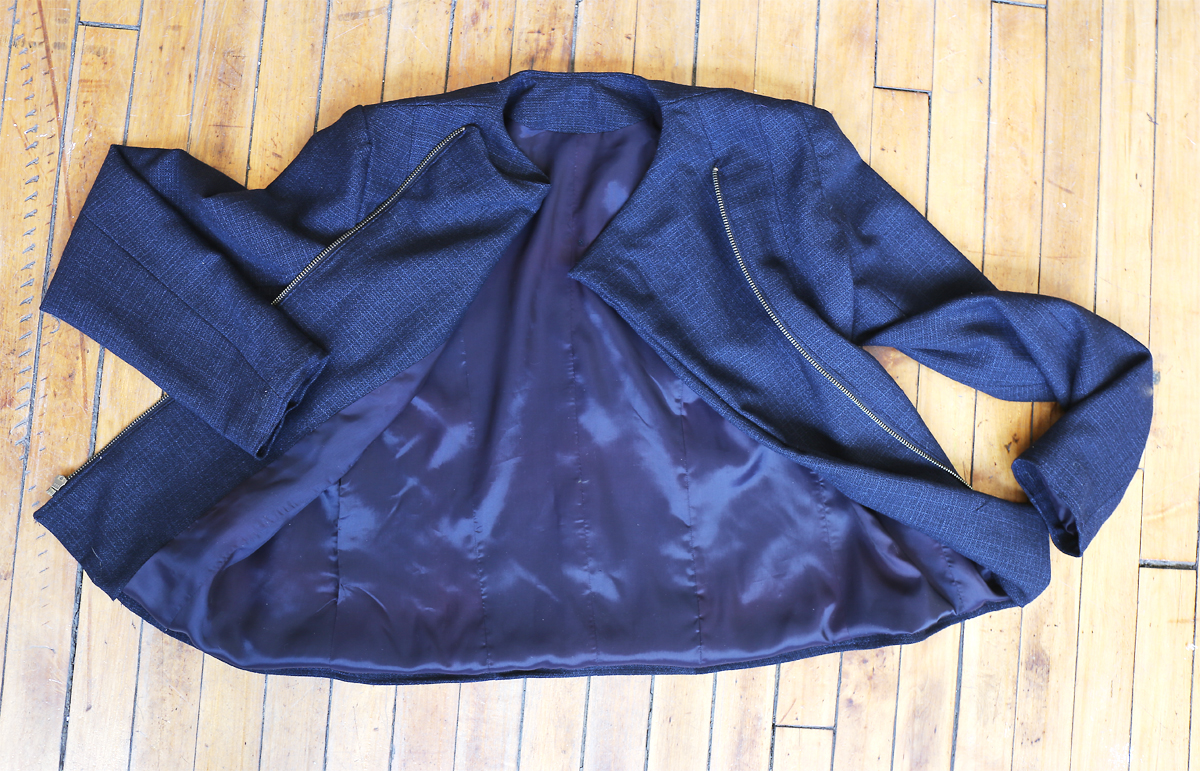
44. Attach the shoulder pads, if you haven’t done so already. To do this, slip the shoulder pads into the jacket through the opening in the lining. Put on the jacket, adjust the shoulder pads to your liking, and pin them in place. The shoulder pads can be hand stitch to the seam allowances; you’ll can reach in through the gap in the lining to stitch them, or turn the jacket inside out if it’s really necessary. Just be sure to keep the shape of the shoulder when you’re stitching the shoulder pads so they look natural when they’re in place.
45. Hand stitch the openings at the edge of the facings closed. When you press the jacket, a pleat will form at lower edge for wearing ease. While you’re hand stitching, close up the gap in the lining side seam as well. You’ll notice that the lining will have a little pleat at the bottom for wearing ease.
 You’ll want to hand-stitch the little openings at the bottom edge of the front facings to close them.
46. Remove the basting stitches from the hems and the center-back lining and remove any visible ease stitches from the sleeve caps. Give the jacket a really good steaming/pressing. And then give yourself a happy pat on the back. You just sewed a really professional-looking jacket! Congratulations on a job very well done. Here’s mine, photographed after school yesterday by three giggling little girls.

Now before you go, I want to see your finished jacket too! And I’m sure your fellow sew-along-ers would like to see it as well. Will you post a photo or two to the SewLisette Flickr group? Or leave a comment with a link to your photo, wherever you choose to post it. Toward the end of next week I’ll post a collection of everyone’s finished jackets, so please share with us so we can all admire your lovely work!


9 Comments:
Your jacket looks gorgeous. I hope I get to mine soon!
I was wondering how long the instructions would be available on line, I just started working on my jacket today.
I love the clear instructions and the photographs, thank you so much.
Sandra
Hi Sandra, we’ll keep these up forever! So please take your time. There’s absolutely no hurry, and the sew-alongs will be here for you to return to whenever you like. Cheers!
Pretty! Do you have pictures from the back?
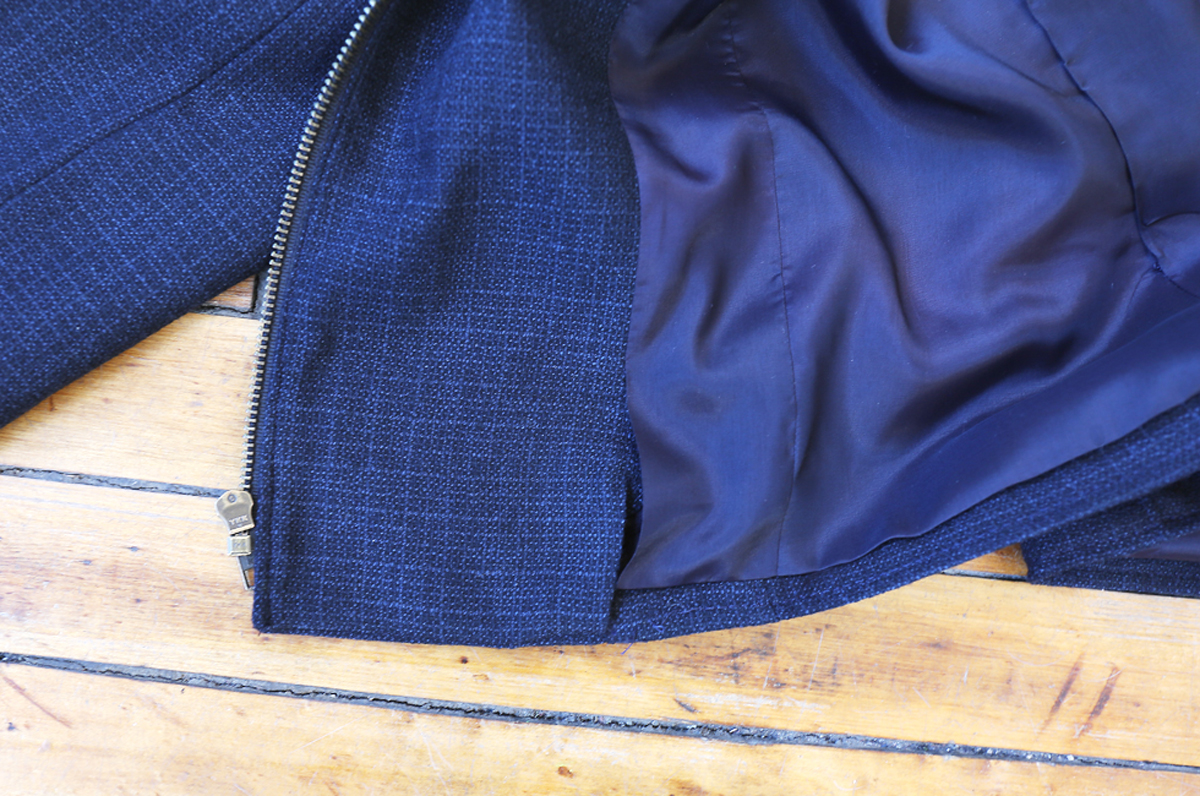
It’s beautiful!! I love that fabric!!!
I made it in grey wool and it is a very nice jacket! I plan to make a floral one in cotton sateen or pique 😀
This is lovely. Could i ask what fabric you used? Thankyou
Thanks, Katrina. I wrote about all my fabric choices in this post: http://www.sewlisette.com/blog/2015/03/sew-along-fabrics/ I also gave a lot of fabric and styling ideas in this post: http://www.sewlisette.com/blog/2015/02/fabric-inspiration-lisette-b6169-moto-jacket/ I hope that helps!
Thank you so much for the detailed instructions. I added my jacket to the flickr group, and I plan on making more! I want one in every color and texture.
Thank you Liesl!
I have just finished my daughters teeny tiny size 6 in a charcoal wool and it looks awesome!