Well, here we are at Day 4 of the B6169 moto jacket sew-along already! If you’re just joining us, you can get started from the beginning right here.
Today we’ll construct the lining, which is a lot like constructing the outer jacket but with a few small differences that make it much easier and faster. For example, no zipper or pockets. Hurray! Take note of the little differences in the instructions below, but this portion is all going to feel very familiar to you.
Lining and Facing
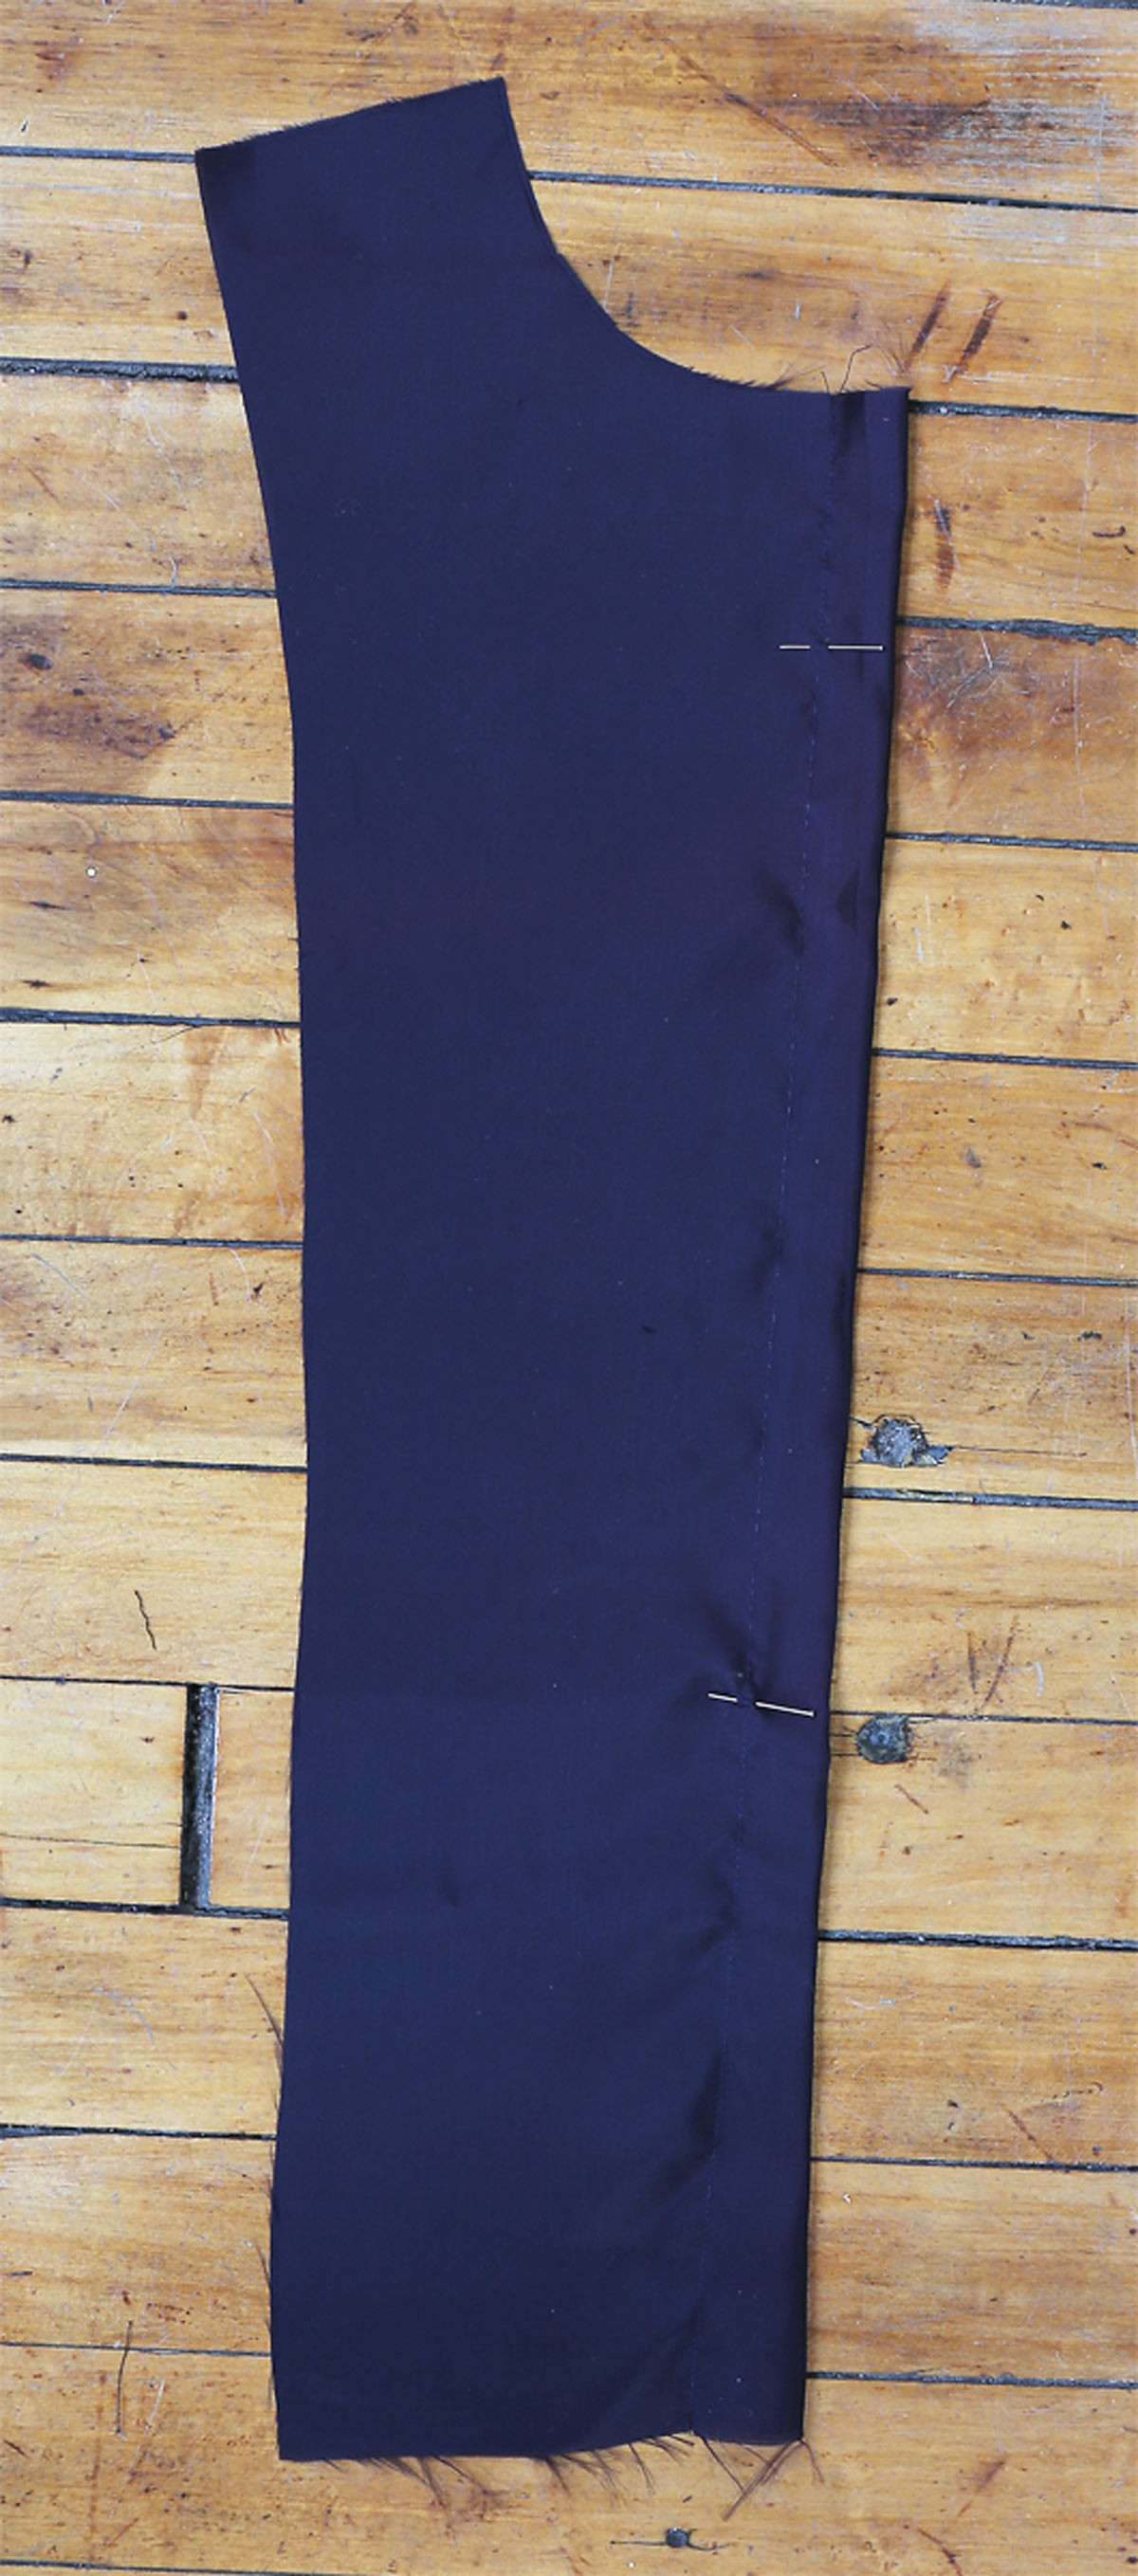
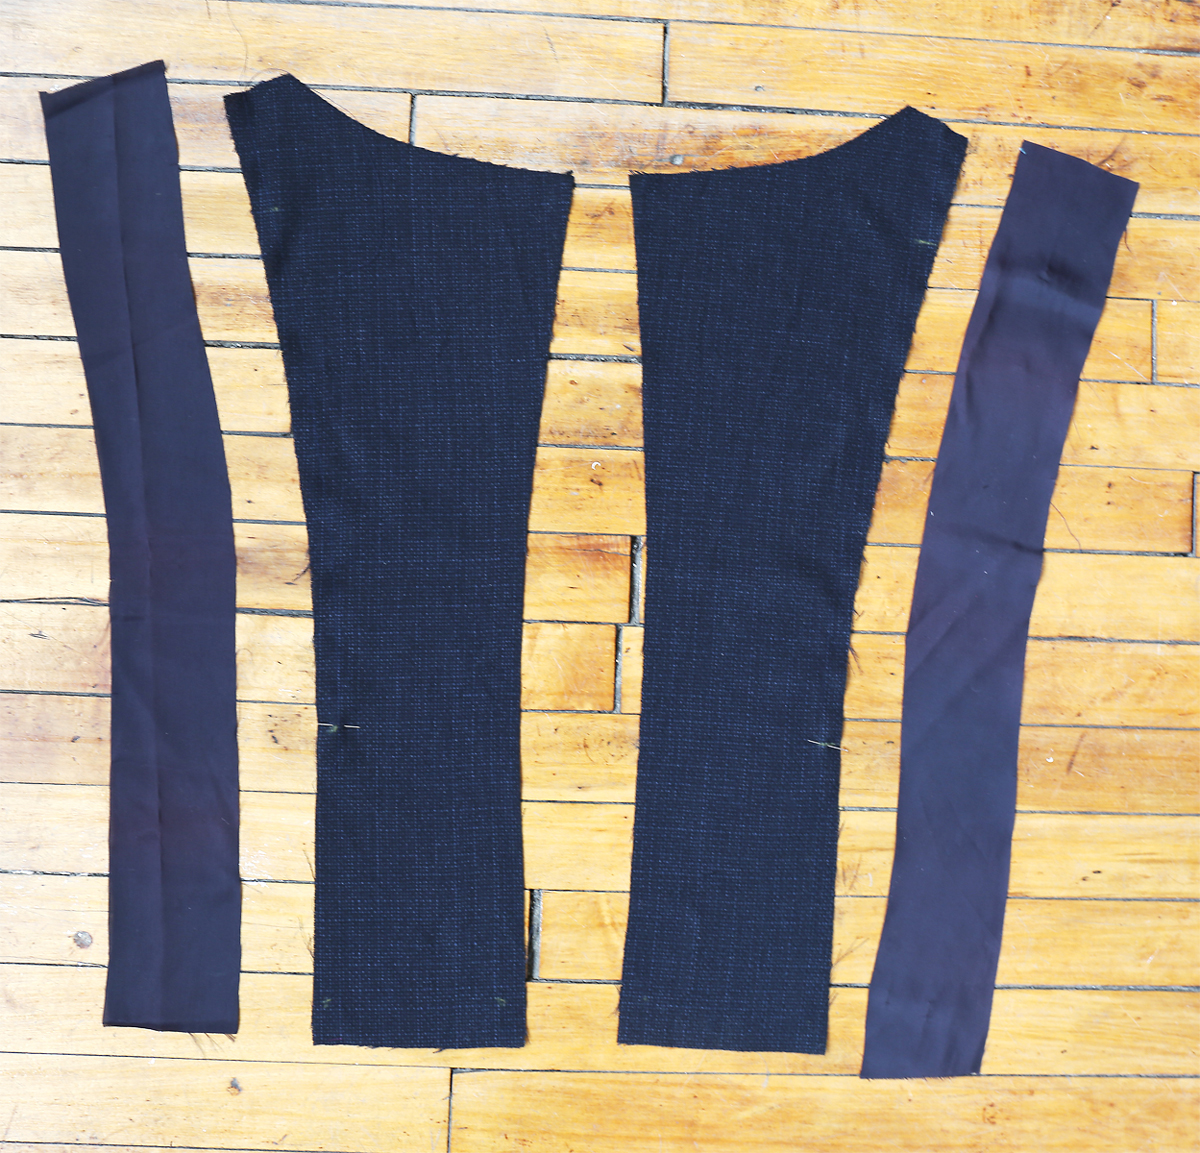
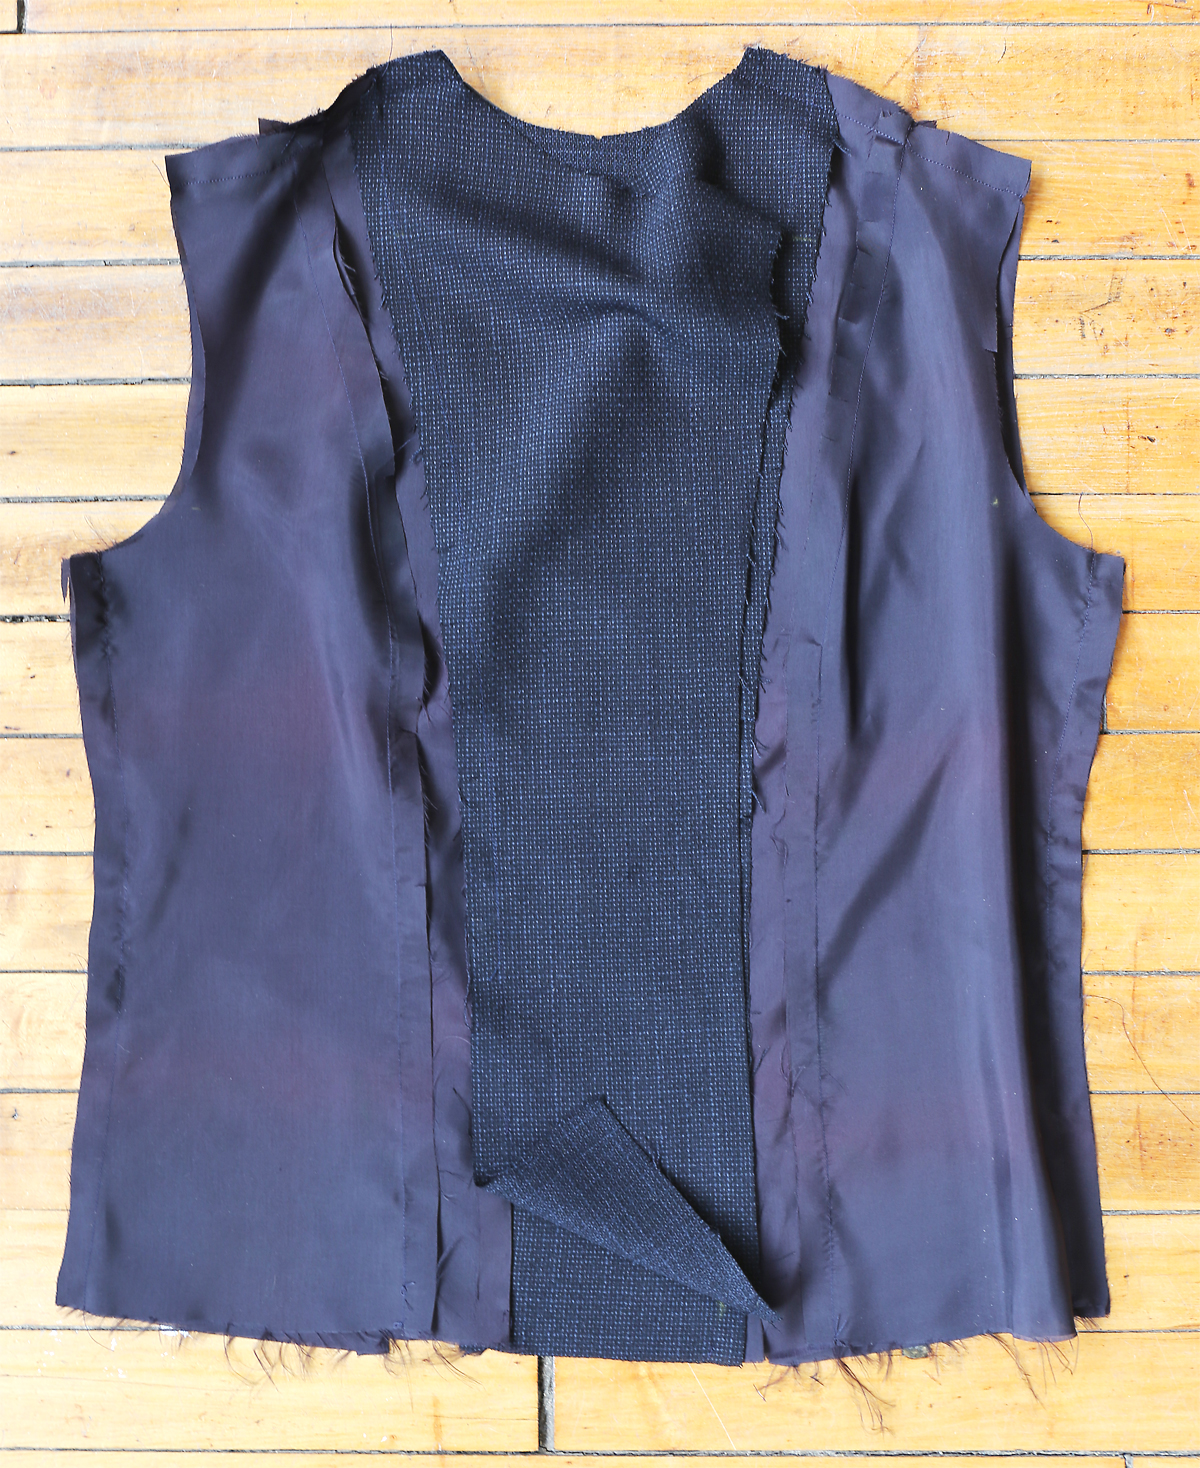
23. To make pleat in BACK LINING (10), on inside, bring center back pleat lines together. Baste. Stitch along stitching lines from upper and lower edges to circles. (The basted portion will be opened up at the very end to leave a little wearing ease in the jacket. In the photo below I placed pins where the stitching changes from regular stitching to basting stitches.)
24. Press pleat toward right back. Baste across upper and lower edges.
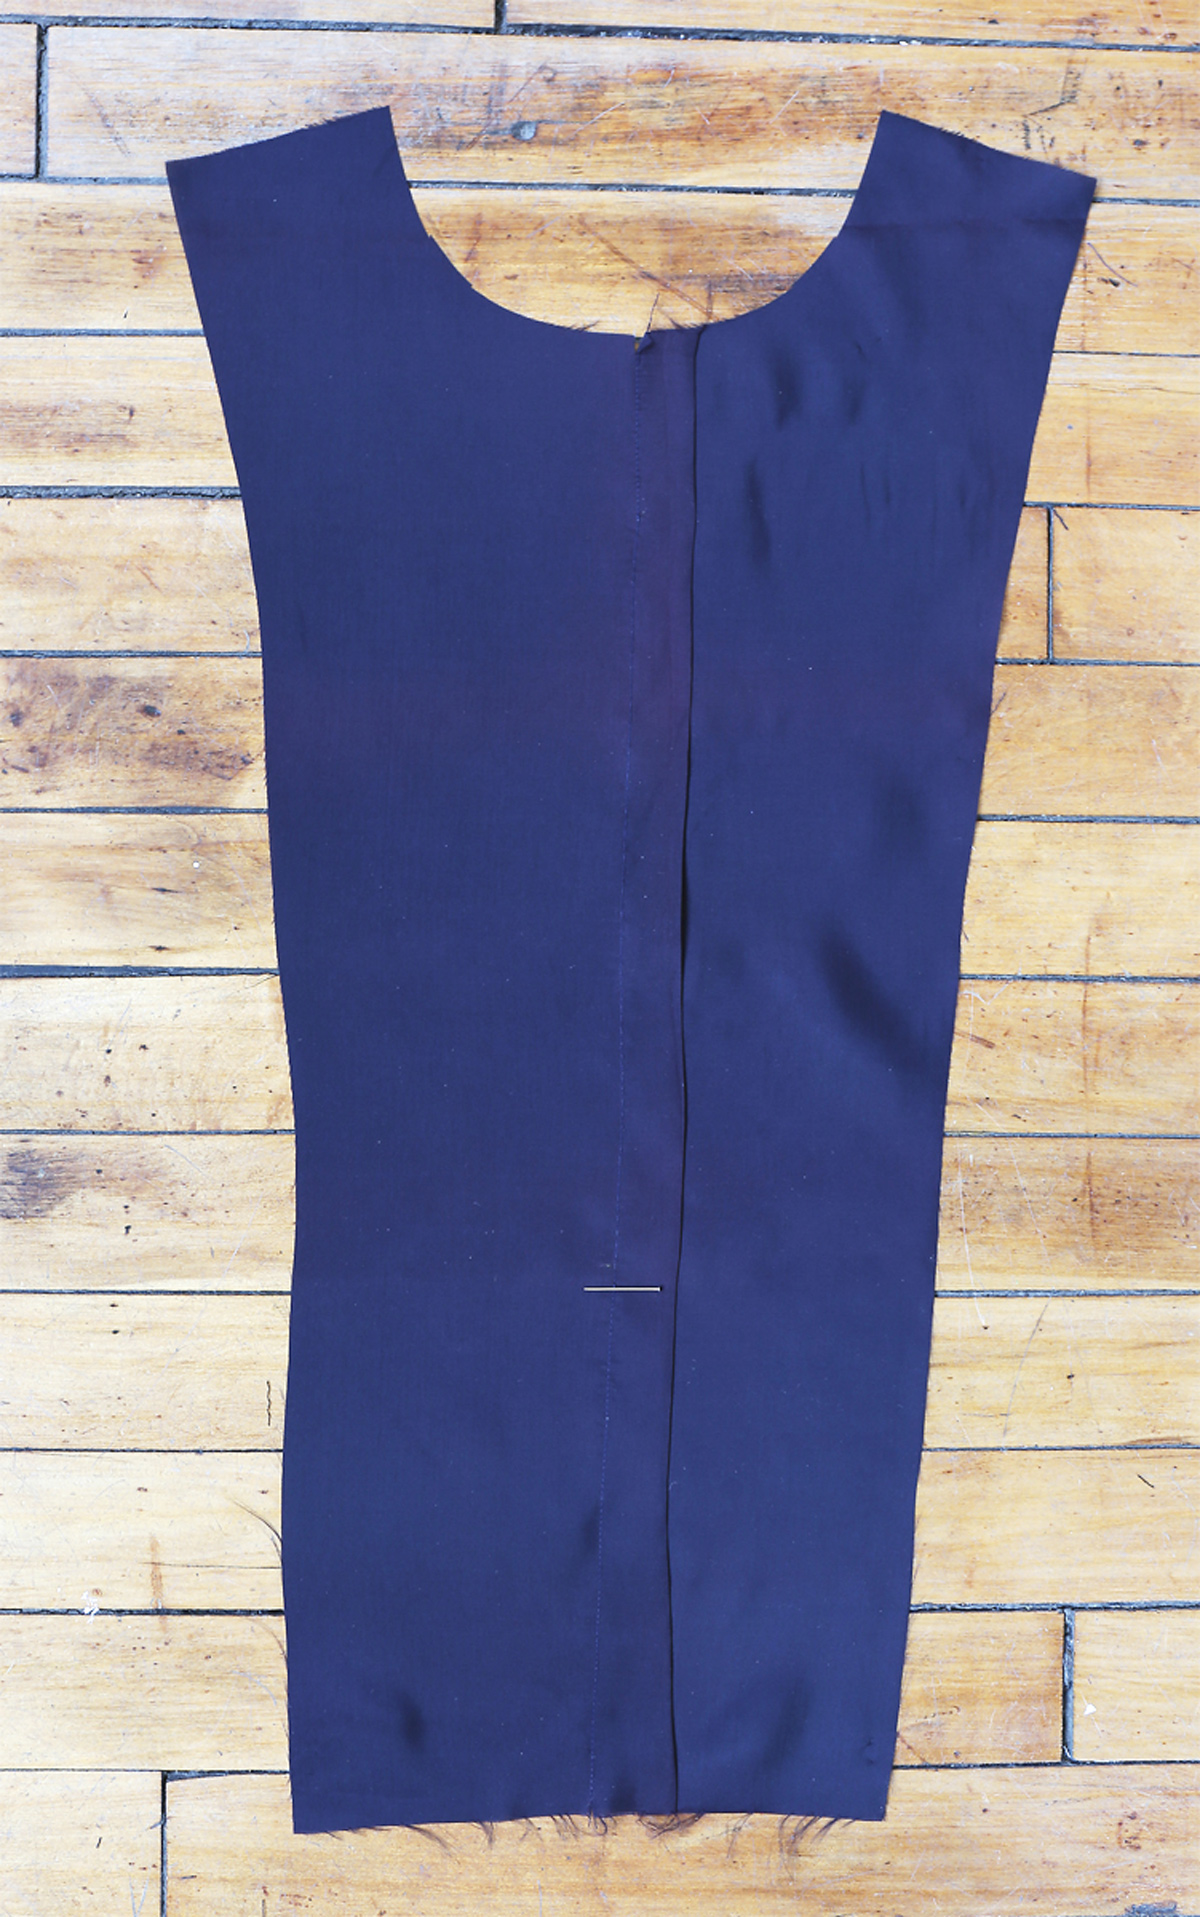
25. STAYSTITCH upper edge of back lining. STAYSTITCH side back edges of back lining above waist. (Again for clipping the seam allowances of opposing curves.
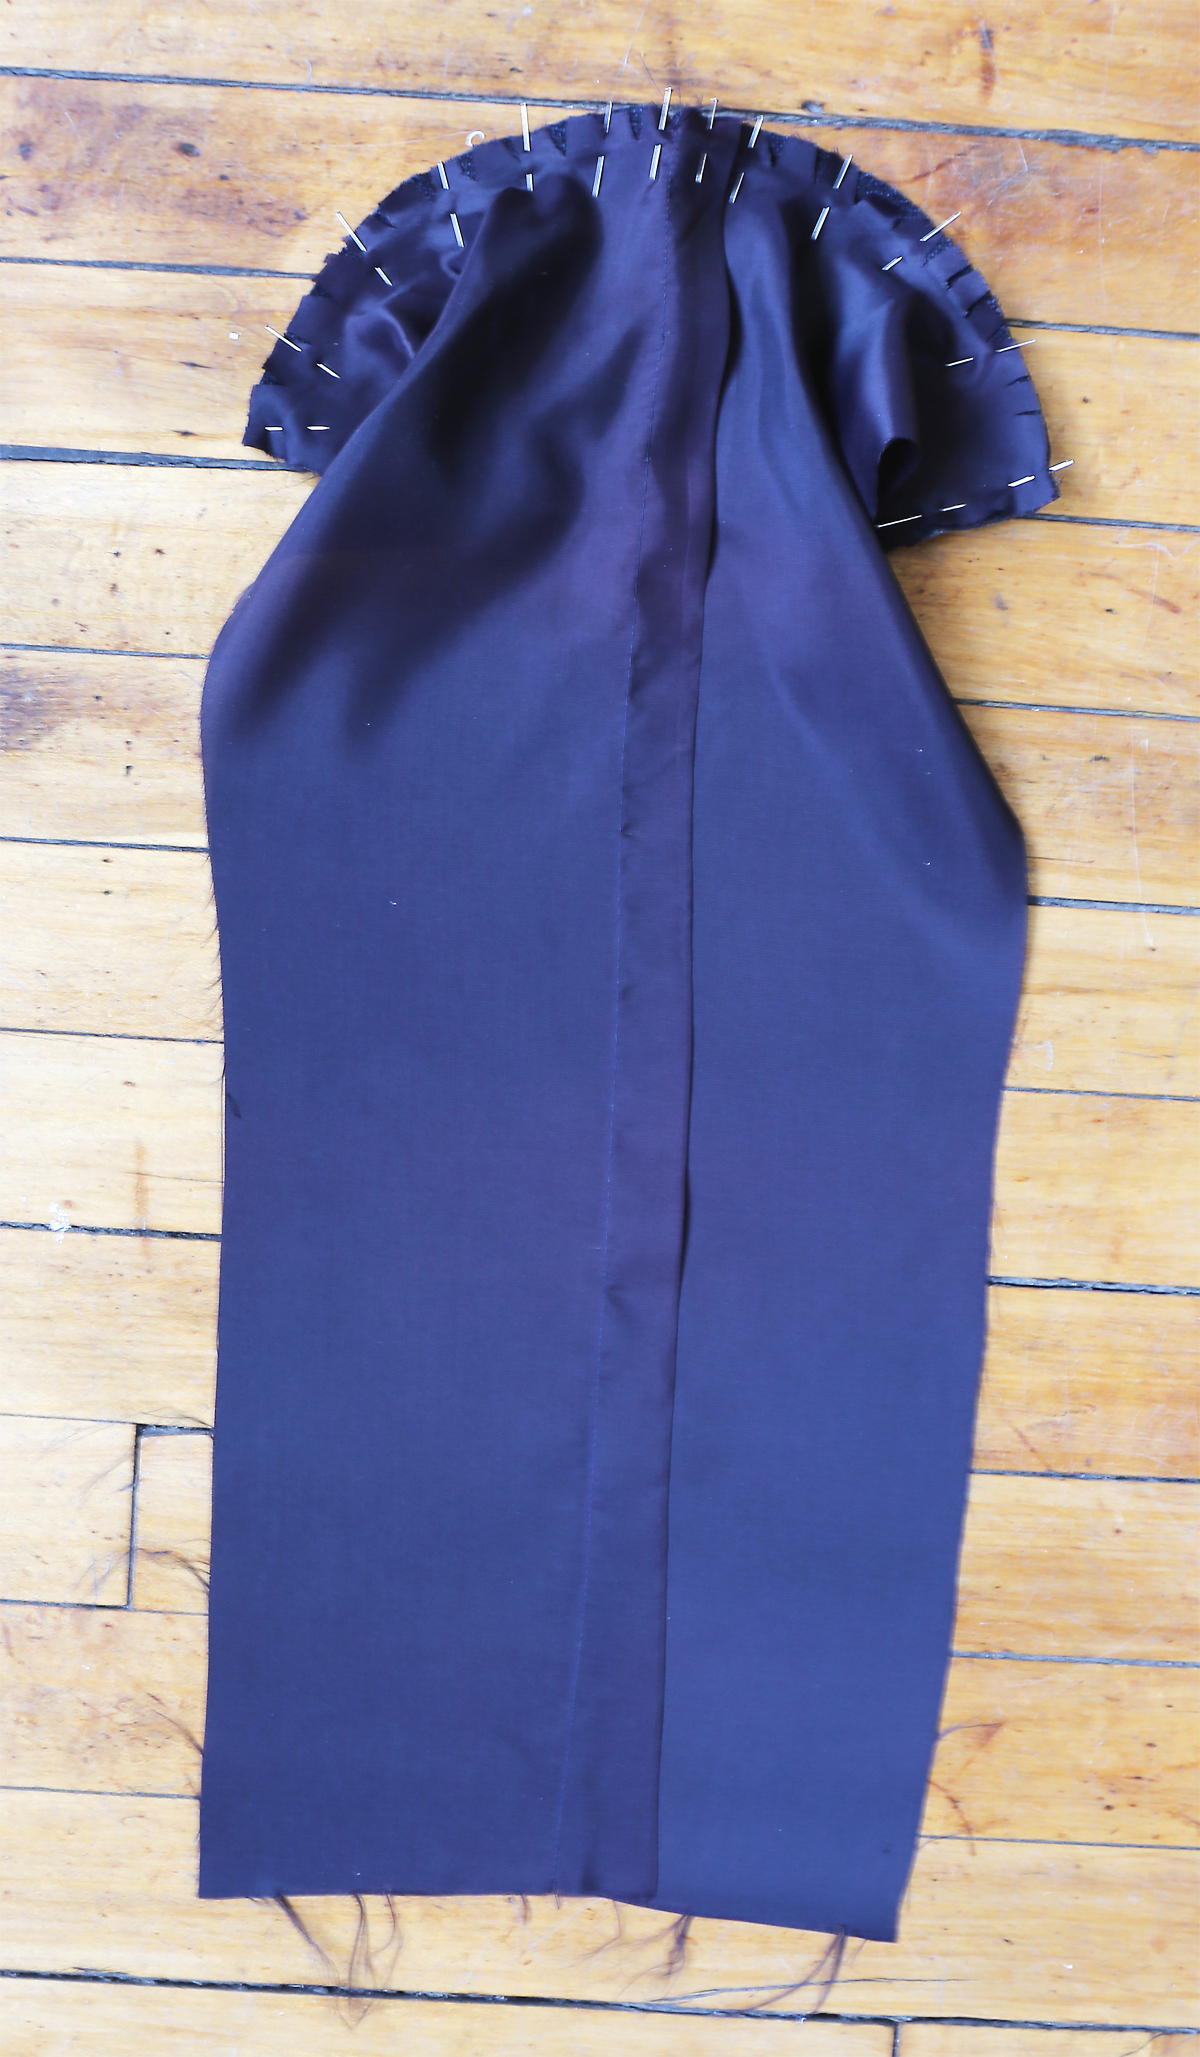
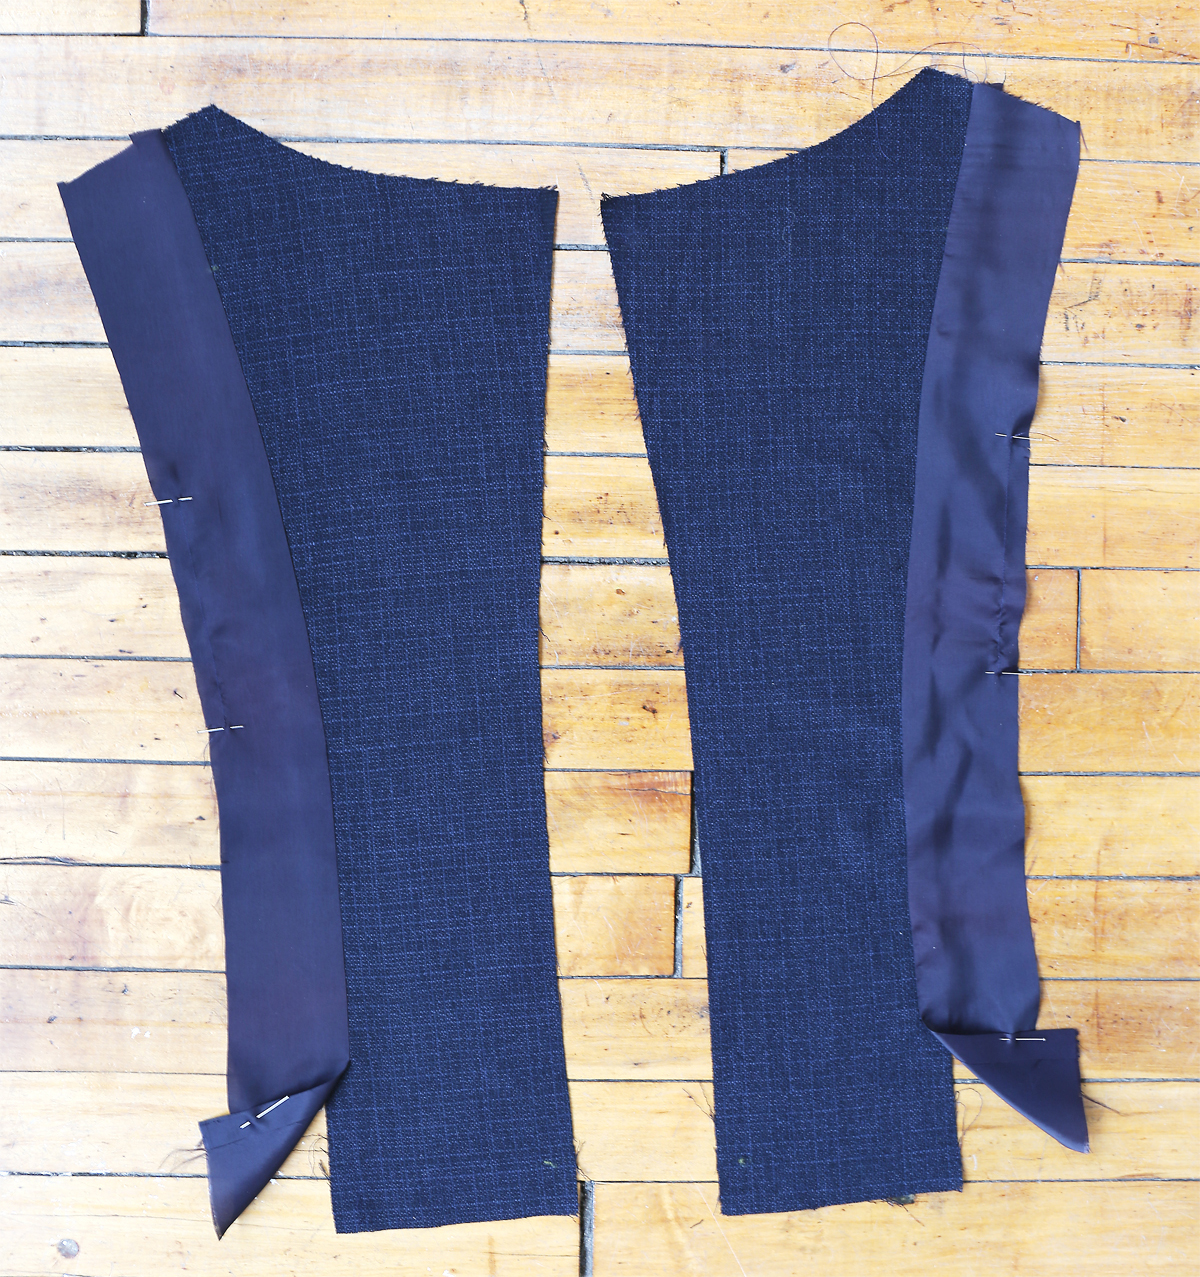
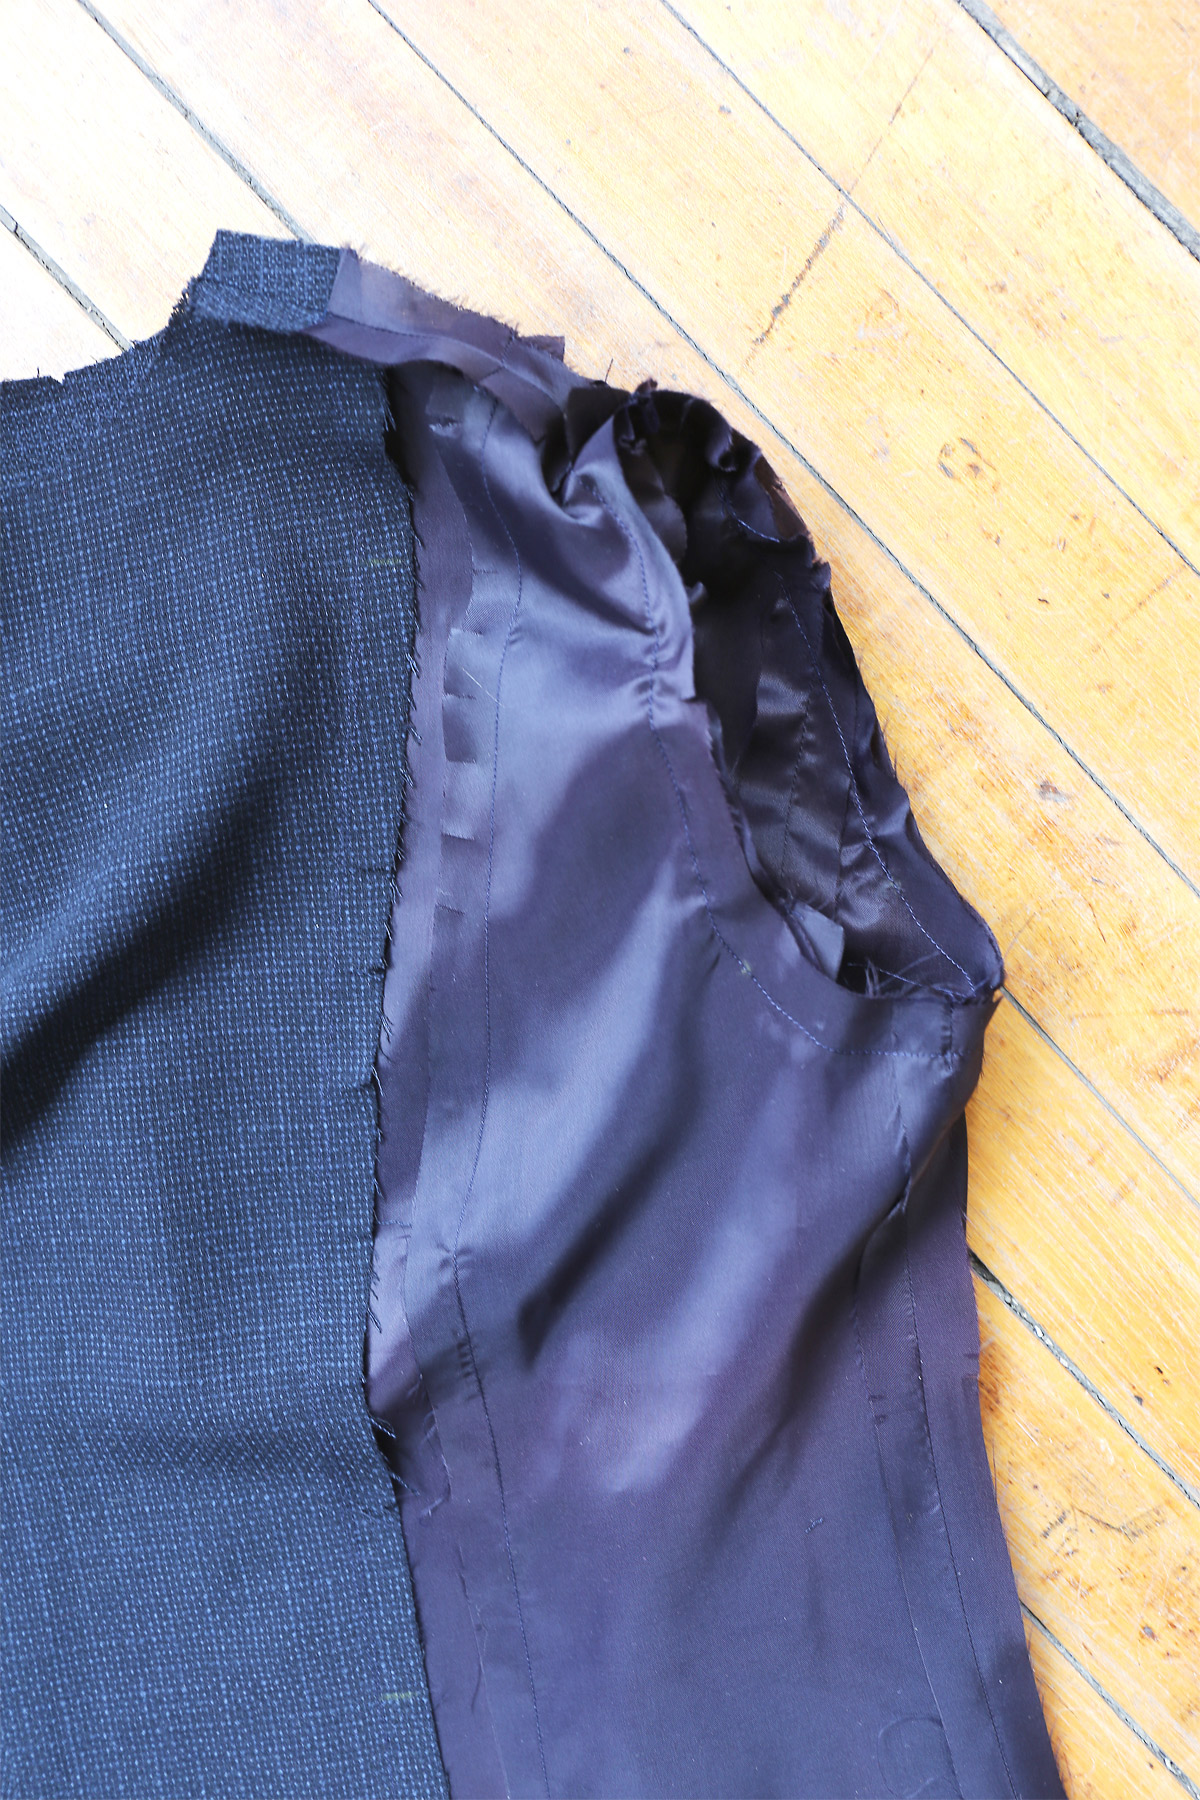
26. Pin BACK NECK FACING (11) to back lining, right sides together, matching notches and centers, clipping back lining where necessary. (This is the trickiest opposing curve of the jacket. Be patient and clip into the seam allowances of the back lining frequently to help it fit. If you start pinning at the outside edges and then pin at the center back, the rest of the lining will gradually fall into place. Use lots of pins to help you! You can see all the clipping I did to get my pieces to fit together below.) Stitch. Press seam allowances toward lining.
27. Pin side back LINING to back lining at side back edges, clipping back lining where necessary. Stitch. Press seam allowances toward back lining.

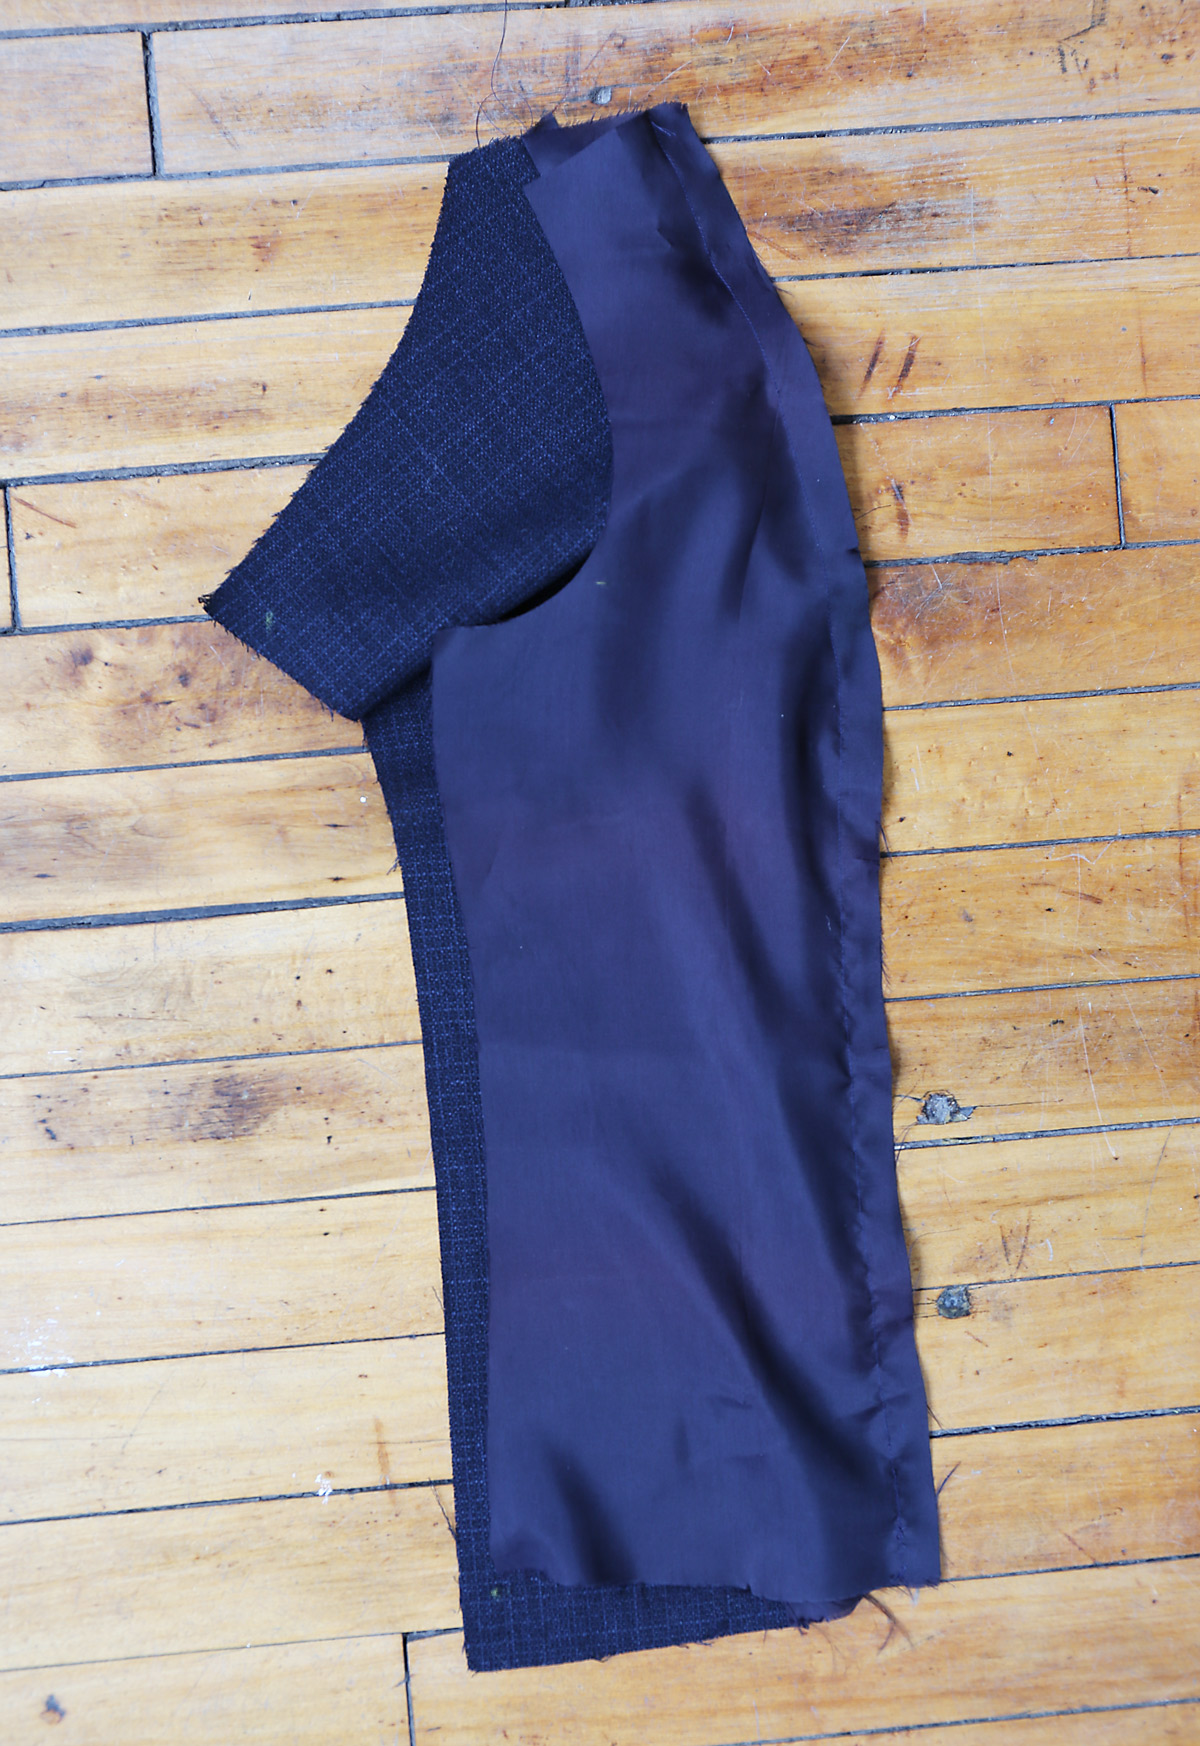
28. STAYSTITCH side front edge of front FACING above waist.
29. Pin middle front LINING to front facing, right sides together, clipping front facing where necessary. Stitch to within 4” (10cm) of lower edge. Press seam allowances toward lining, pressing in remainder of middle front lining seam allowance. (We’re leaving the bottom 4″ open because the lining will have a little pleat at the bottom, allowing the jacket to move with you.)
30. STAYSTITCH side edge of middle front lining between upper two notches.
31. Pin middle front lining to side front LINING, clipping middle front lining where necessary. Stitch. Press seam allowances toward middle front lining. (This is all feeling very familiar, right?)
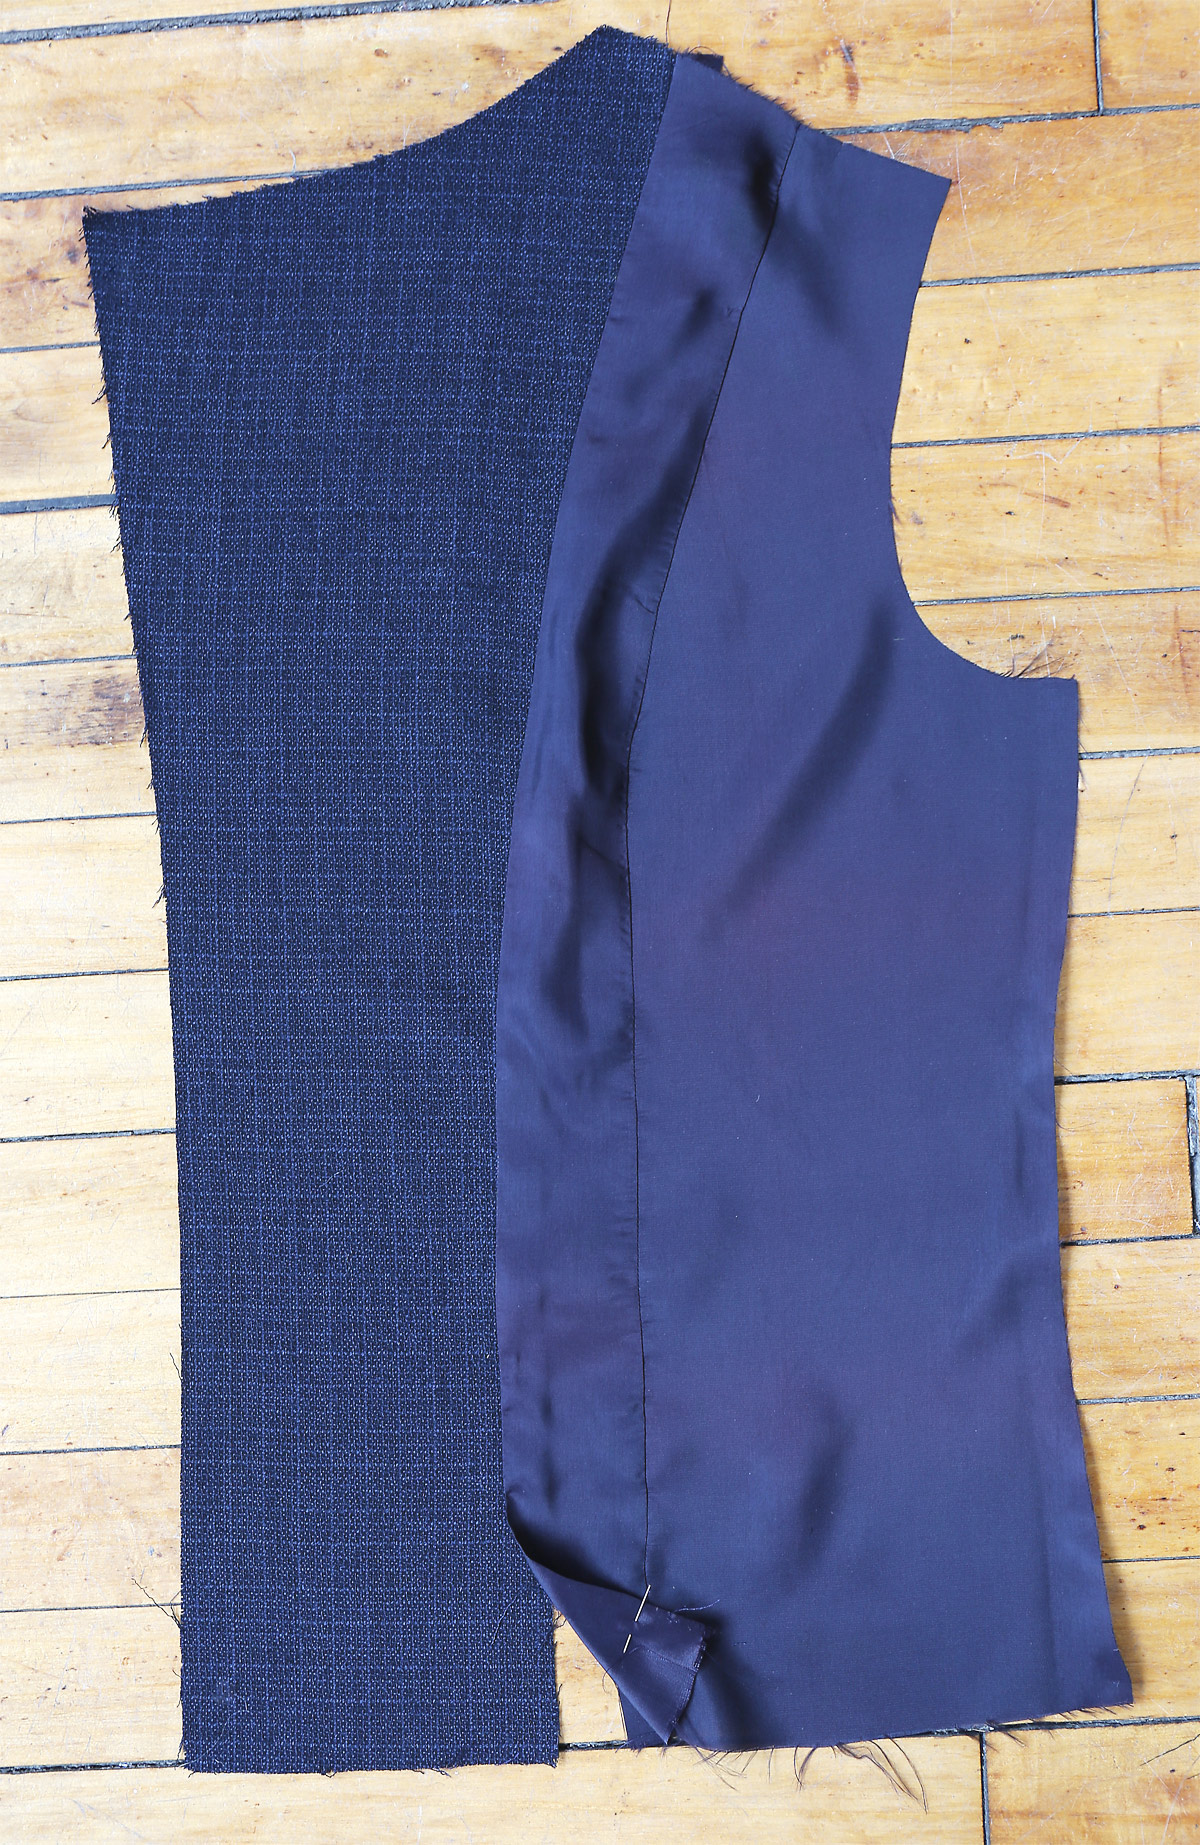
32. Pin back facing and lining to front facing and lining at shoulders, right sides together, matching notches, triangles and seams. Baste. Stitch. Stitch back lining to front lining at sides. (If you’d like to bag out your jacket, be sure to leave the middle of one side seam unstitched for about 6″ at this point. Otherwise, carry on as written!)
33. STAYSTITCH neck and armhole edges of facing/lining.
Now this is where I’ll start to diverge from the written instructions. If you prefer to follow the instructions as written, please feel free to do so. The method in the instructions is a classic fool-proof construction technique that will give you great results. But if you prefer to do less hand sewing (and who doesn’t?) and want to stick with me, I’m going to take you through the process of “bagging out” the lining and doing a lot less hand sewing. Ready? I’m going to move steps around a bit and alter things, so if you prefer to follow the instructions you may want to ignore the rest of the sew-along. But we’ll be here when you get back, we promise!
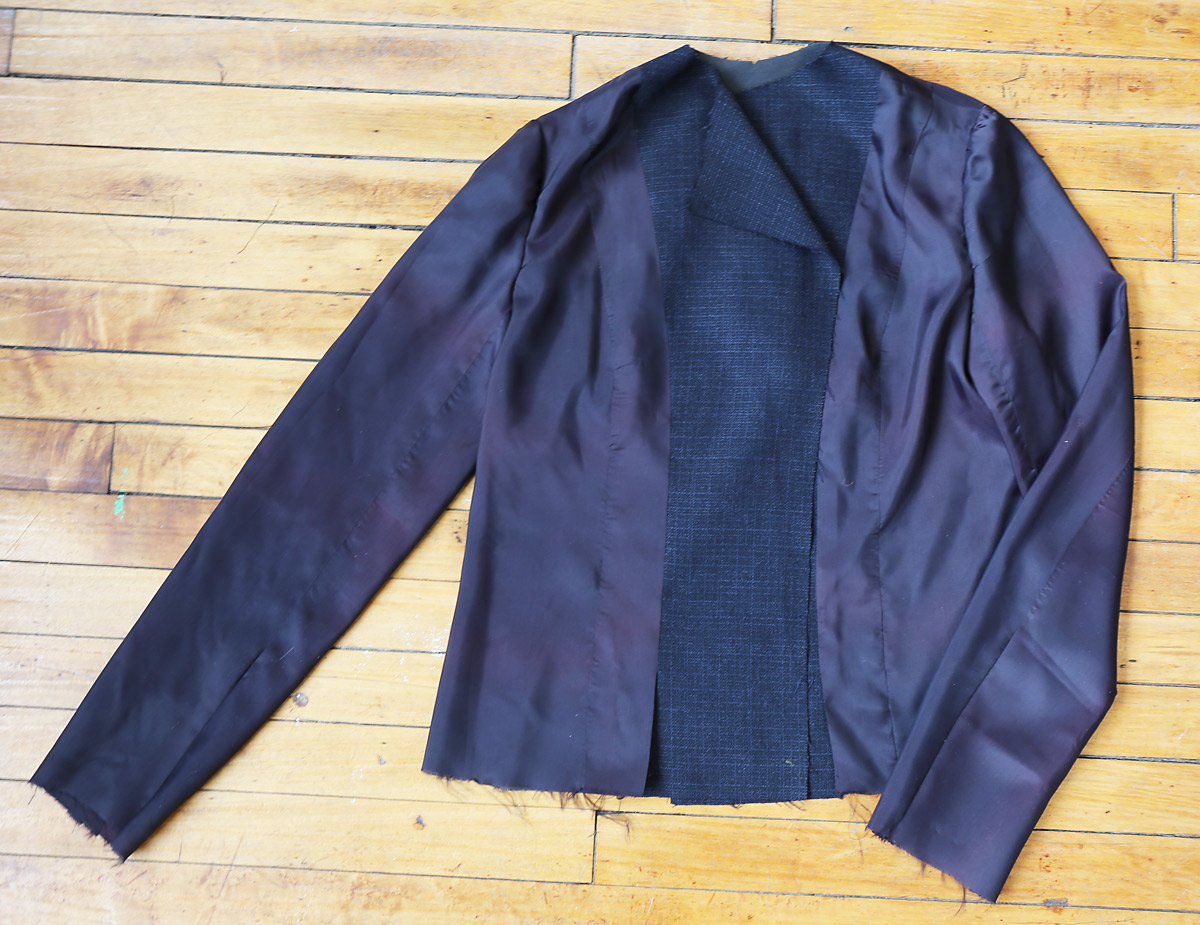
34. Assemble and attach the sleeve linings to the jacket lining as you did with the outer jacket sleeves. Refer to steps 18, 19, and 21 in yesterday’s post if you need a reminder.
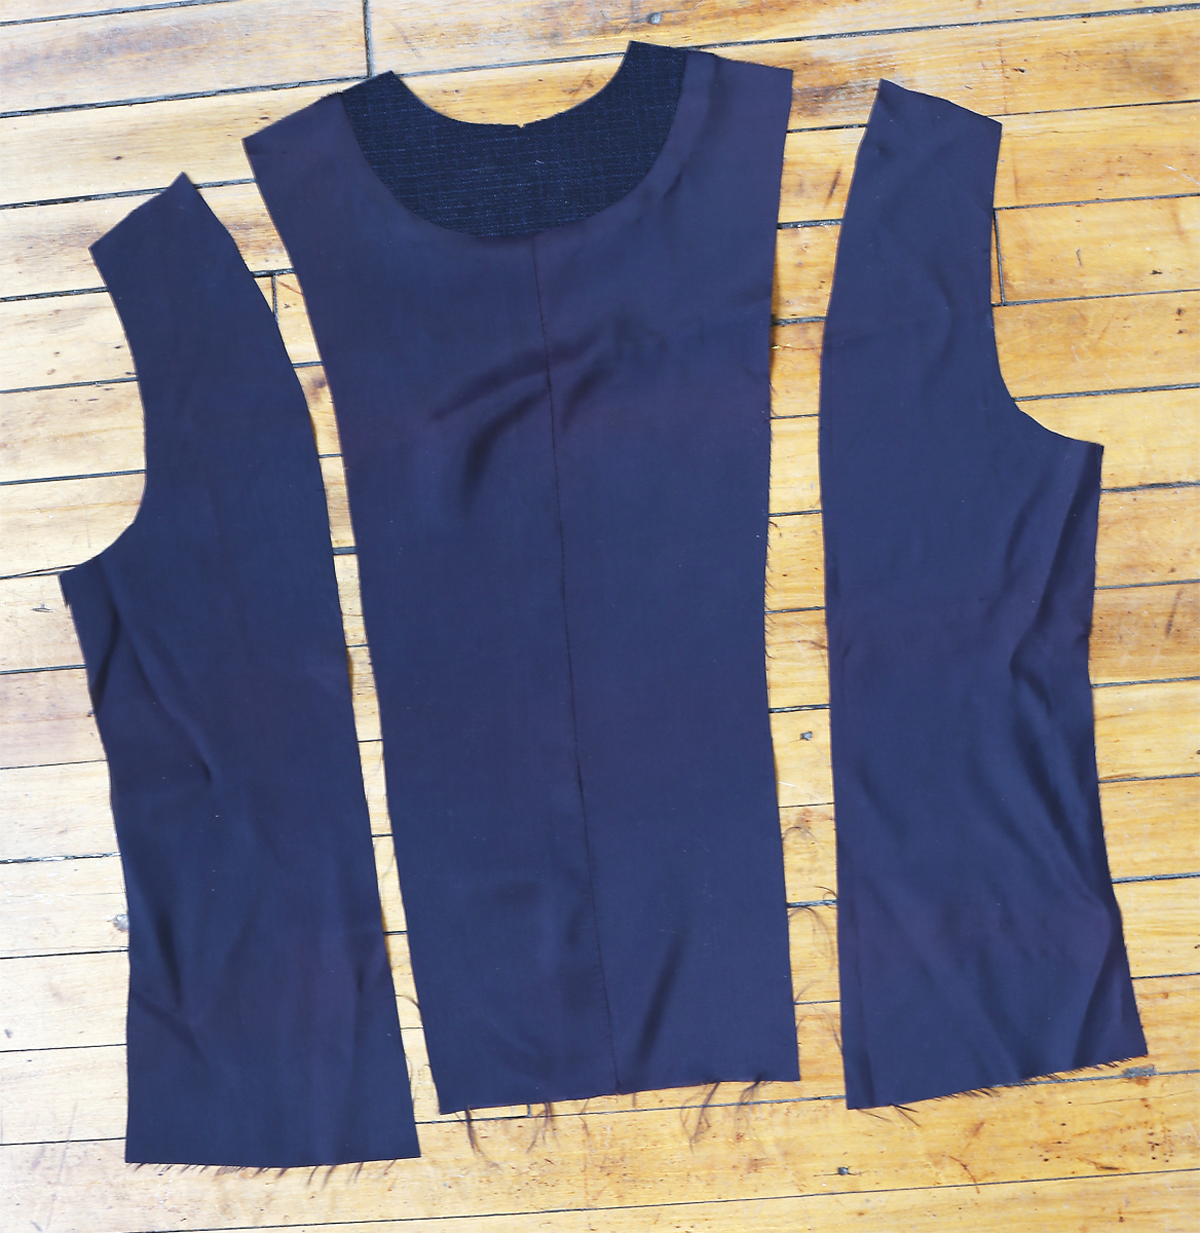
And here we are with a completed jacket lining! We’ll “bag out” our jacket lining tomorrow, and you’ll be surprised at how quick and easy it is to bring the outer jacket and the lining together to finish the jacket.
Continue to Day 5 of the sew-along.


6 Comments:
The pattern instructions show the interfaced front 1 as being used as the facing but you have used it the other way around. I am confused! I have already sewn my zip to the non-interfaced fabric and hope that this will still work. Please advise.
Mary, my apologies! I completely forgot to mention that. I reversed it and used the interfaced pieces as the jacket front because I wanted interfacing and the zippers anyway. Usually the interfaced pieces become the facing, so you did it correctly. I’ll go back and add my comments to Day 1 to clarify the situation, and I apologize for the confusion.
Thanks Liesl. As I am using a bargain fabric which was rather lightweight I decided to fuse a very lightweight interfacing to all front pieces, thinking the zipper would need extra support, so had similar thoughts. Have used a slightly heavier interfacing for facing & just getting ready to set in sleeves and all is looking good so far! Am really enjoying all your extra finishes and intend to use the sleeve heads as suggested.
Should I redo my zipper to interface the seam? Is there a reason for your preference?
Tereza, if your zipper went it ok then there’s no need to re-do it. The only reason I interfaced my fabric is because it’s a rather open weave and I know it needed extra stability. So please don’t let that throw you off track. In truth, I really should have interfaced my entire jacket, but I wanted it to be light and drapey, so I just swapped the interfacing from the facing to the outside of the jacket. I’m sorry if it confused you!
Don’t worry about it! I like to know the reason/logic behind different techniques. Sometimes its hard to know when to use the techniques to achieve a desired outcome. Thank you for explaining!
I am keeping my zipper in as is. My fabric is behaving strangely and the zipper I used is “sport” so it is chunkier than yours seems to be. I don’t want to risk throwing the asymmetrical zipper alignment off.