For those of you who have the Itinerary Dress pattern, here is a fun way to take the obi belt pattern and dress it up for a holiday party.
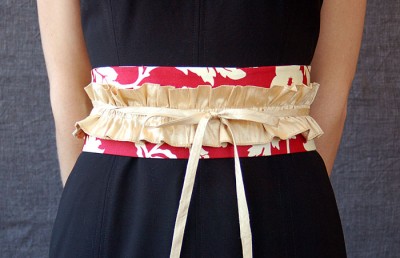
This belt is a great canvas for adding embellishment, so we made it fancy by making the base belt in a printed cotton sateen from the Lisette fabric collection and adding a ruffle of contrasting gold silk dupioni . It’s easy and fun! Here’s how to do it:
- To accommodate the ruffle we widened the belt just a bit adding 3/8″ all the way around the belt.
- Sew the belt according to the instructions, except do not do the topstitching.
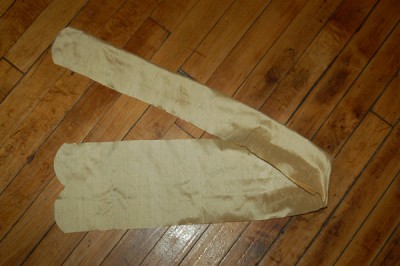
- Cut a strip for the ruffle on the fold so it is 3 1/2″ wide (7″ wide when opened flat) and one and a half times the length of your finished belt. For example, the sample belt was 30″ long, so the ruffle length is 45″. You may need to piece your fabric together to get the right length (just be sure to add 1/2″ seam allowances on both pieces for joining strips). On the short ends of the belt you can round the corners (using your belt pattern piece as a guide) or leave them straight, whichever you prefer.

- With right sides together, sew a 1/2″ seam allowance around the open edges of the belt, leaving a 4″ opening on the long side of the ruffle for turning.
- If you rounded the short ends of your ruffle, clip around the curve. If you kept the short ends straight, trim the corners. Turn the ruffle right side out and press, folding the seam allowances at the opening inside the ruffle.
- Edgestitch the perimeter of the ruffle, 1/8″ from the edge. This will close up the opening left for turning. Press.
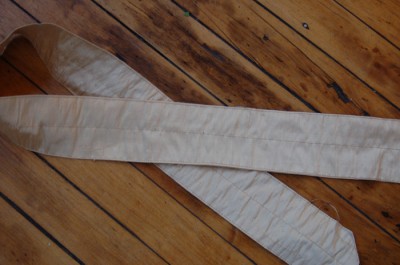
- Using a disappearing fabric marker or chalk marker, mark the midpoint of your ruffle and draw a line down the length of the ruffle. This should be approximate 1 3/8″ from your finished long sides. This will be the stitch guide for your gathering stitch. Sew a gathering stitch along the length of the center line. Be sure to leave long thread tails for gathering.

- Pull one thread on each end of the gathering stitches so that the strip begins to ruffle. Try to evenly space the gathers to avoid bunching.
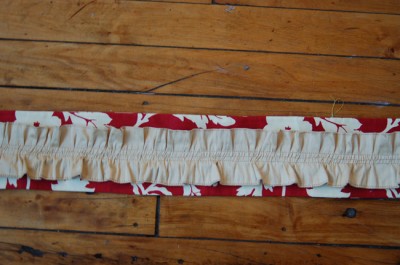
- Lay the ruffle on the front side of your belt. Center it so that the ruffle is approximately 5/8″ from each long belt edge and 1/2″ from each short belt edge. Try to keep your gathering stitch line as straight as possible down the center. Pin the ruffle to the belt along the center gathering stitch line.
- Using the gathering stitch line as a guide, stitch two line of stitching 1/4″ from the center gathering stitch along the length of the ruffle. You now have two rows of stitching equal distance from the center gathering stitch.

- Remove the gathering stitching in the center and the belt is finished.

Happy holidays!


1 Comment:
I love the dress that you are wearing. Is there a pattern for it? If so, could you please let me know? I love the belt also, and will make it, and thank you again for the tutorial and your blog. I love the DVDs. I bought both of them for me. They are my Christmas presents to me. Thanks again.