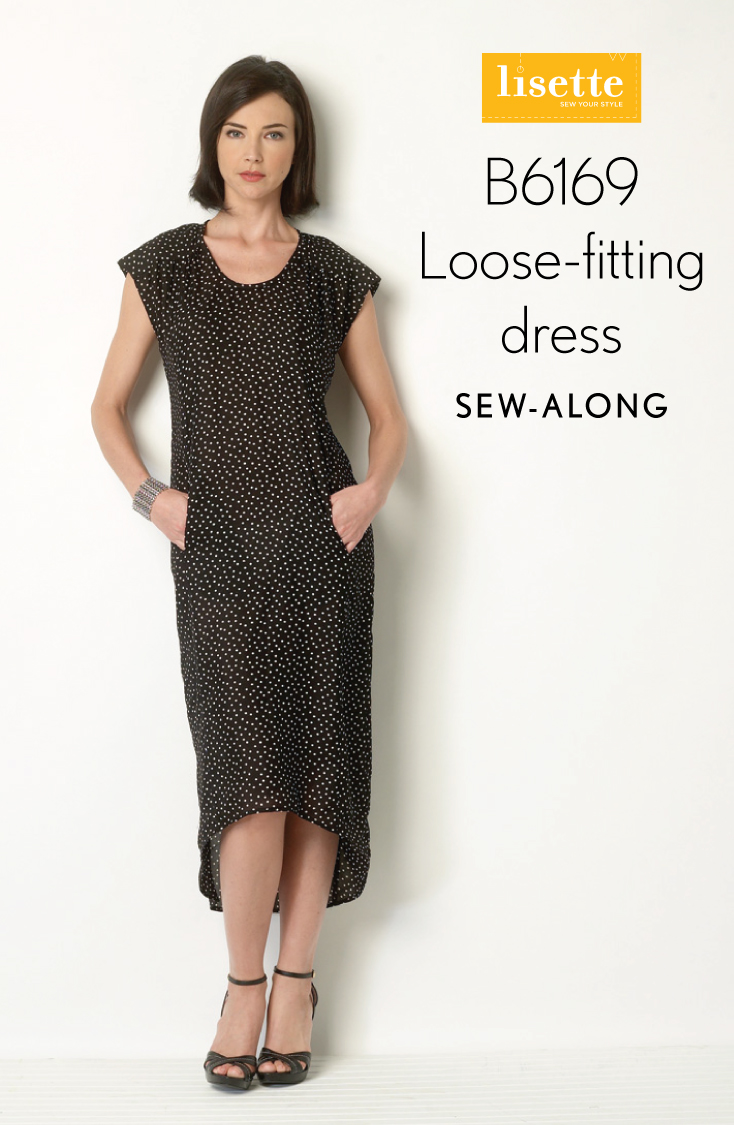
Hello again, friends! Who’s sewing along with us this week? I love drapey dresses like this. They’re so easy to wear and so flattering on many different body types. I wore my finished dress to a fancy benefit last week and got lots of compliments. It was an easy dress to wear, too, because it’s comfortable even when you’re sitting at a long dinner and listening to speakers for several hours.
I talked about my fabric last Friday and want to remind you that I serged a lot of the edges of the fabric after I cut it out because I wanted to dye it and didn’t want it to ravel in the process. You’ll see my white serging through out the sew-along. If you want to serge your edges before you begin, feel free! I would suggest that you don’t serge the yoke edges or the top and bottom edges of the dress pieces (to reduce any unnecessary bulk), but otherwise pre-finishing your seams can save you time in construction. If you’re using a really lightweight fabric you could also consider French seams for the side and back seams, especially. This would give you a really neat finish where the inside of the fabric shows at the high-low hem, too.
Here is the daily plan for the sew-along:
- Day 1 (today): sew the pockets and assemble the dress front
- Day 2: finish the dress front and assemble the dress back
- Day 3: sew the belt for View B. (If you’re making View A you can take the day off!)
- Day 4: finish the yoke and the neckline
- Day 5: hem the sleeves and the dress. And then wear it! After all, Friday night is date night, right?
As always with our sew-alongs, I’ve added my notes and hints in parenthesis. Otherwise the instructions are the same as the guidesheet in the pattern.
Front
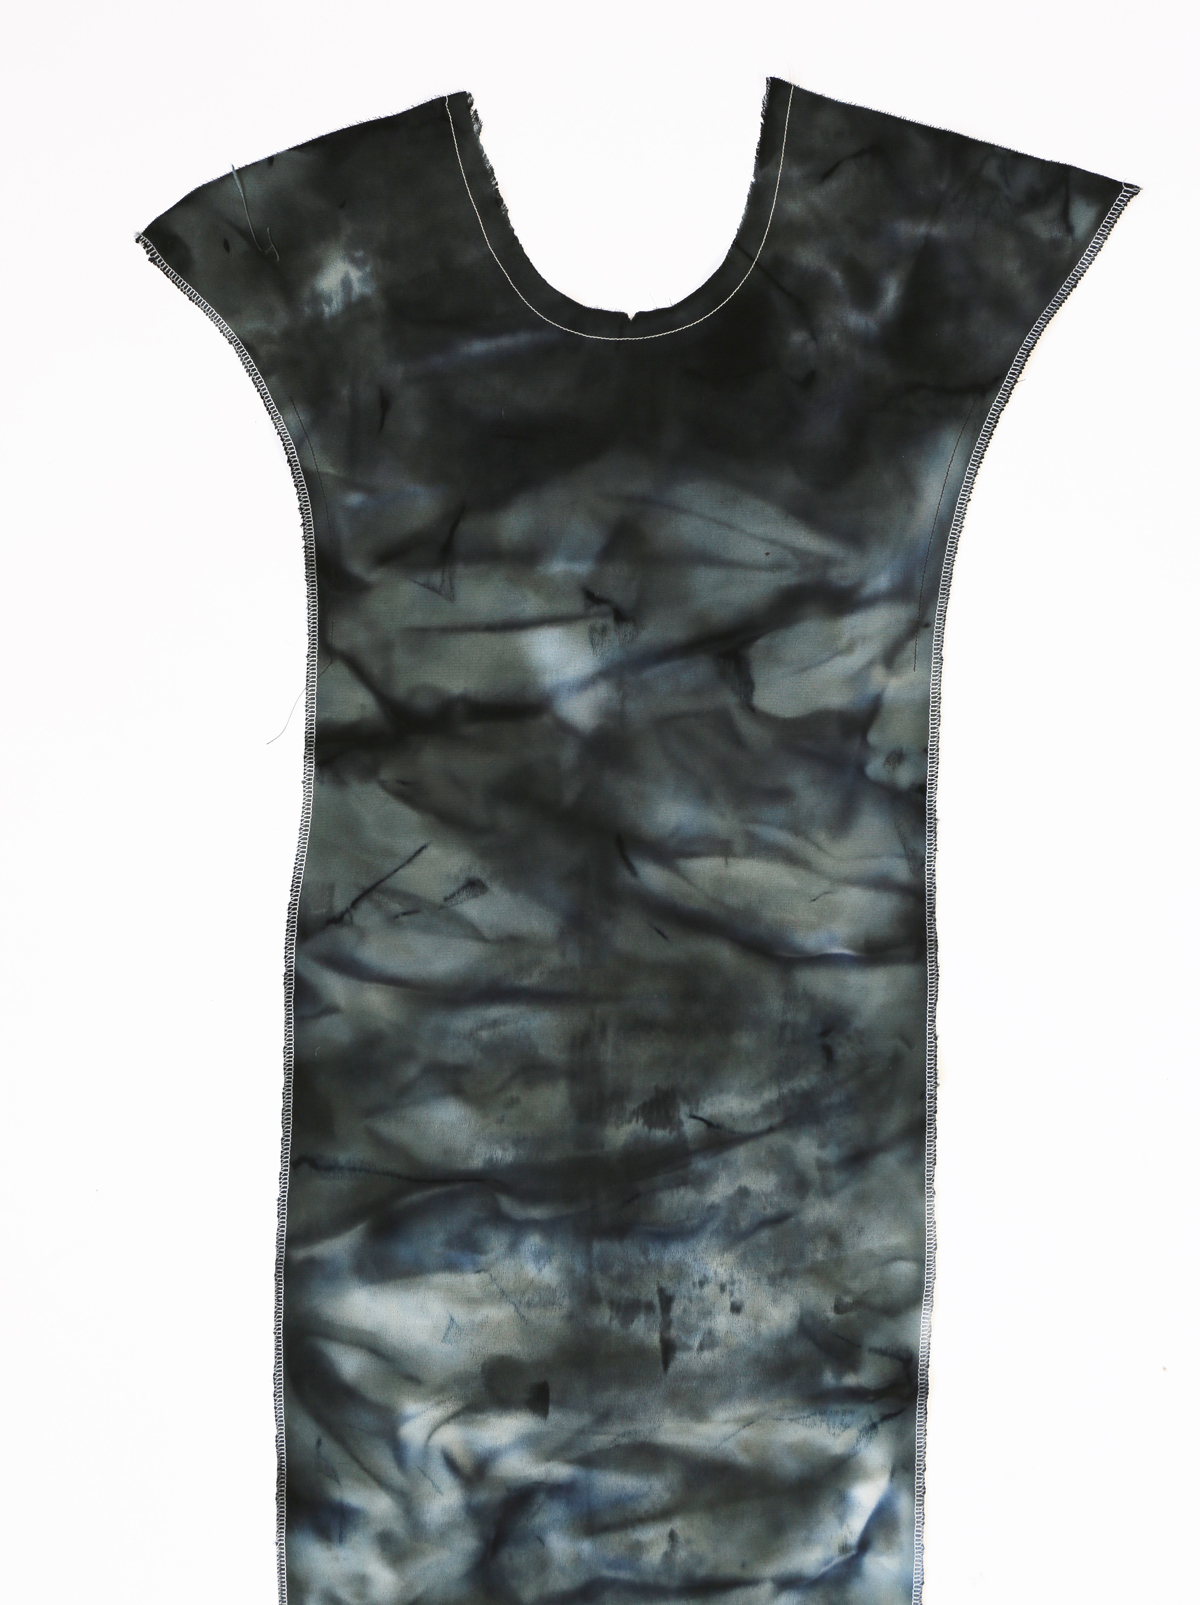
1. STAYSTITCH side front edges of FRONT (12) between upper two notches. (If you look really closely you can see my staystitches in black along the curved sides of the pattern piece.)
2. Stitch one POCKET (13) section to front and each SIDE FRONT (14) section at side front, taking up a 1/4” (6mm) seam allowance. Press seam allowances toward pockets. (Note: If you’re considering using a lighter-weight fabric for your pockets like I did, i would strongly suggest that you use matching fabric for the center front pockets. I learned, after my dress was finished, that the pockets can show when you sit down. I may go back and replace my pockets as a result, so I would suggest learning from my lesson.)
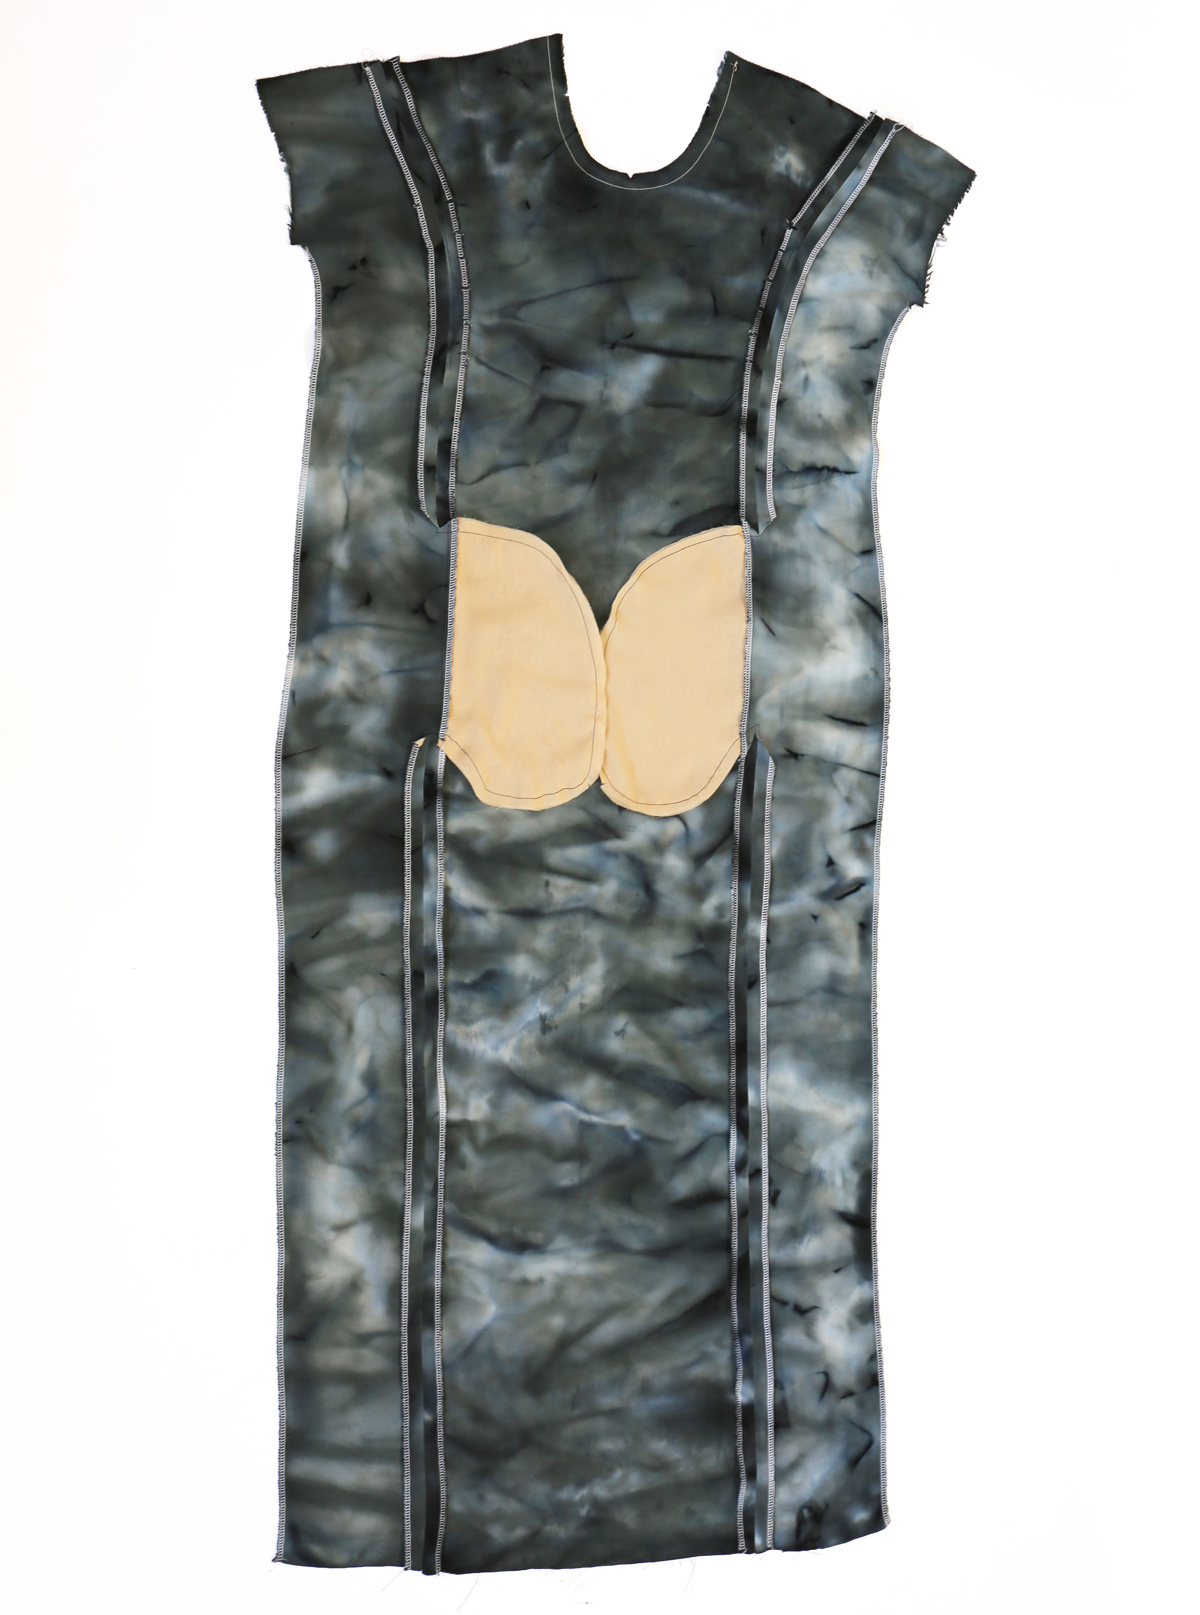
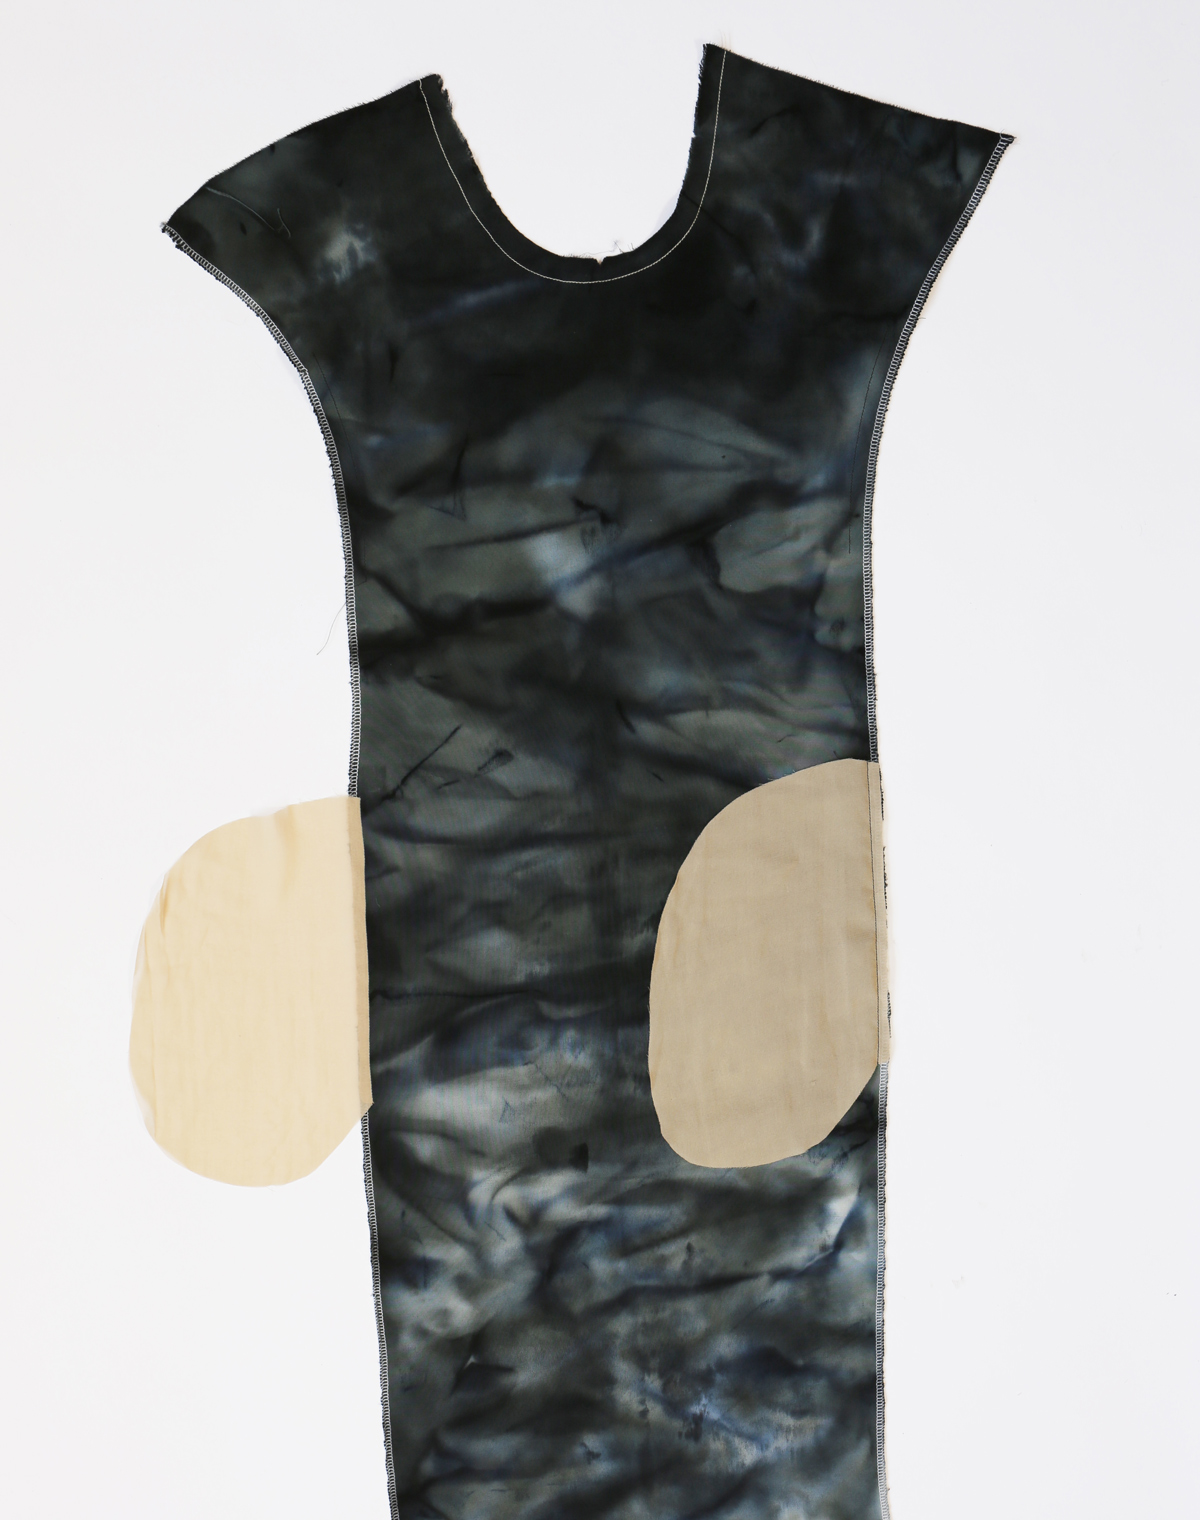 These are the pockets that may show when you’re wearing the dress and you sit down, so you may want to consider using self fabric or matching fabric, unlike what I did.
 It’s ok to use a lightweight fabric for these because they won’t show.

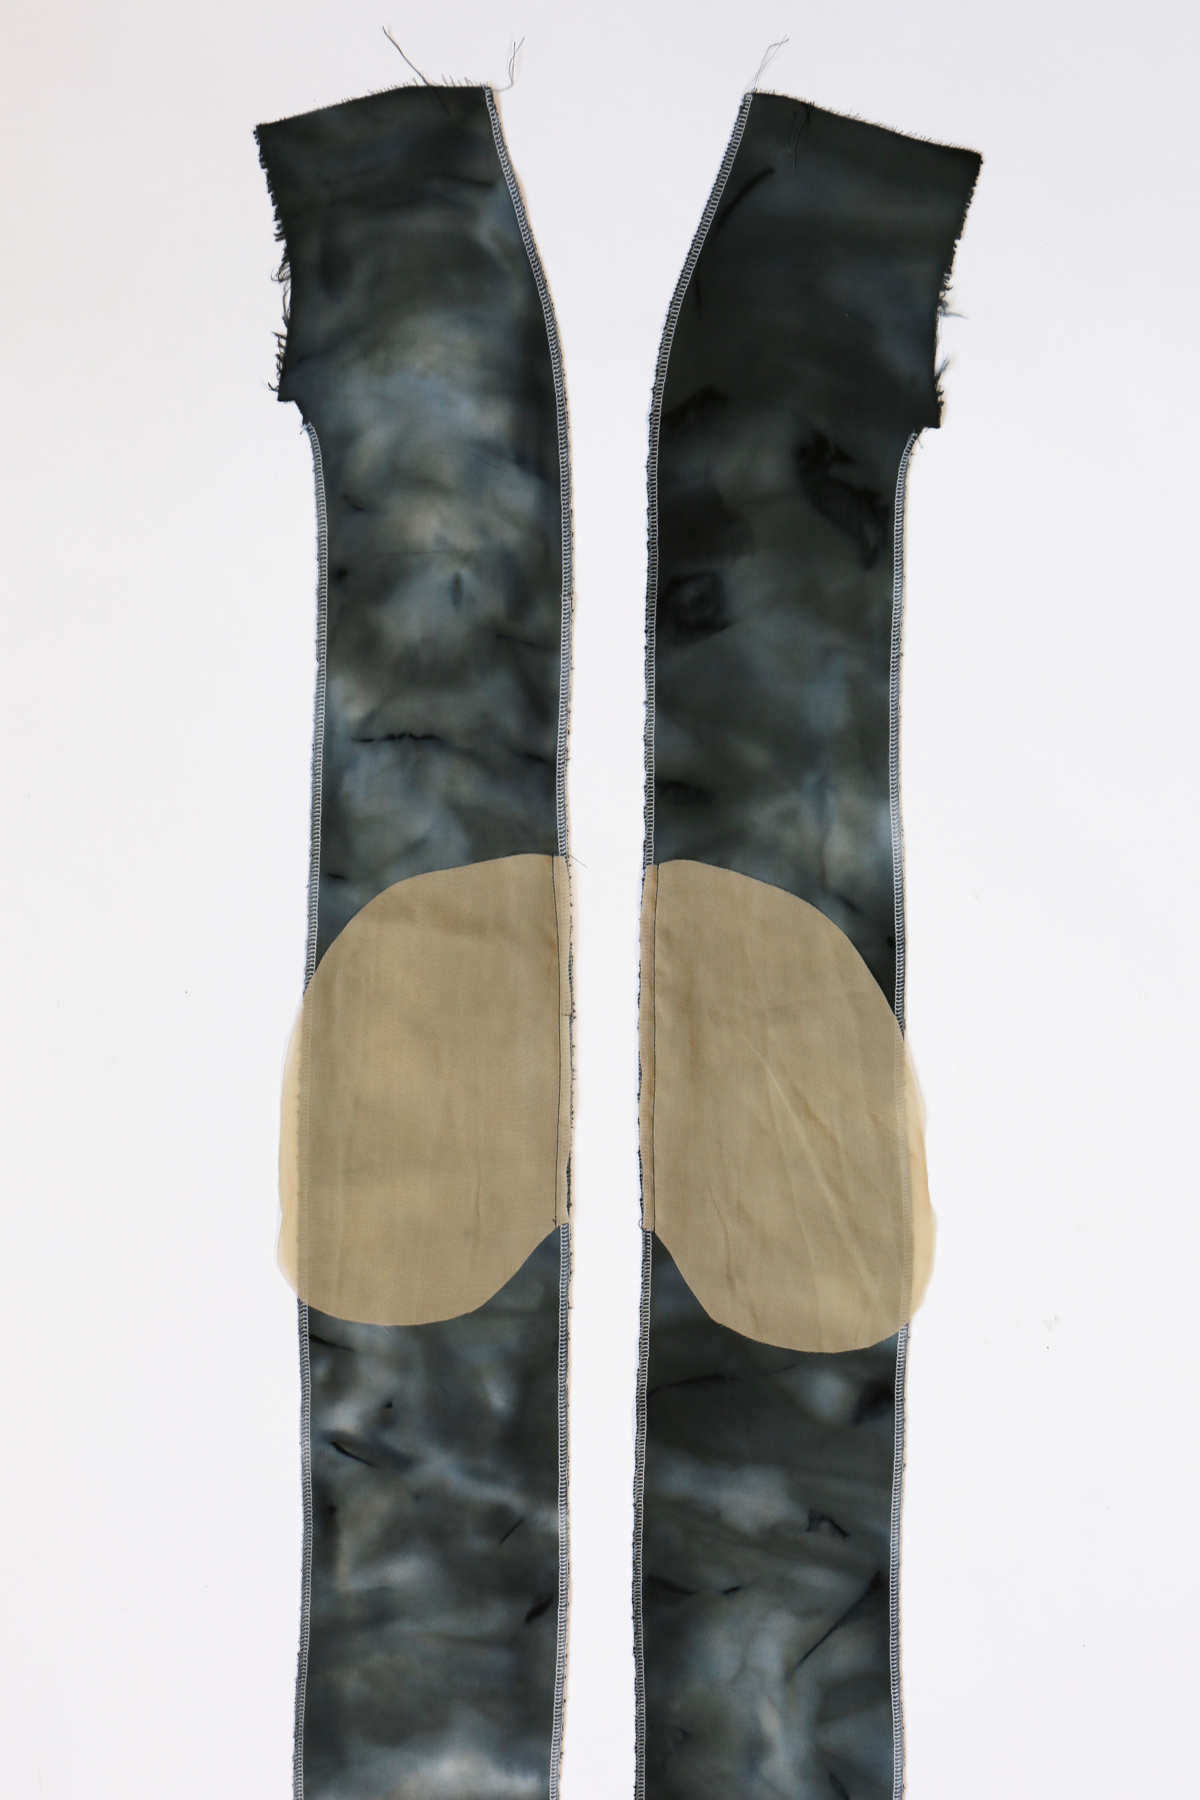
3. Pin side front to front at side front seam, matching notches and circles, clipping front where necessary. Stitch, leaving free between large circles. Stitch pocket edges together to side seams. Clip side front seam allowances above and below pockets. (Feel free to pivot at the circles in order to stitch around the pockets, sewing the entire seam in one go. You’ll see my clipping in the photo at step 4 below. I like to clip at an angle so the fabric doesn’t ravel.)
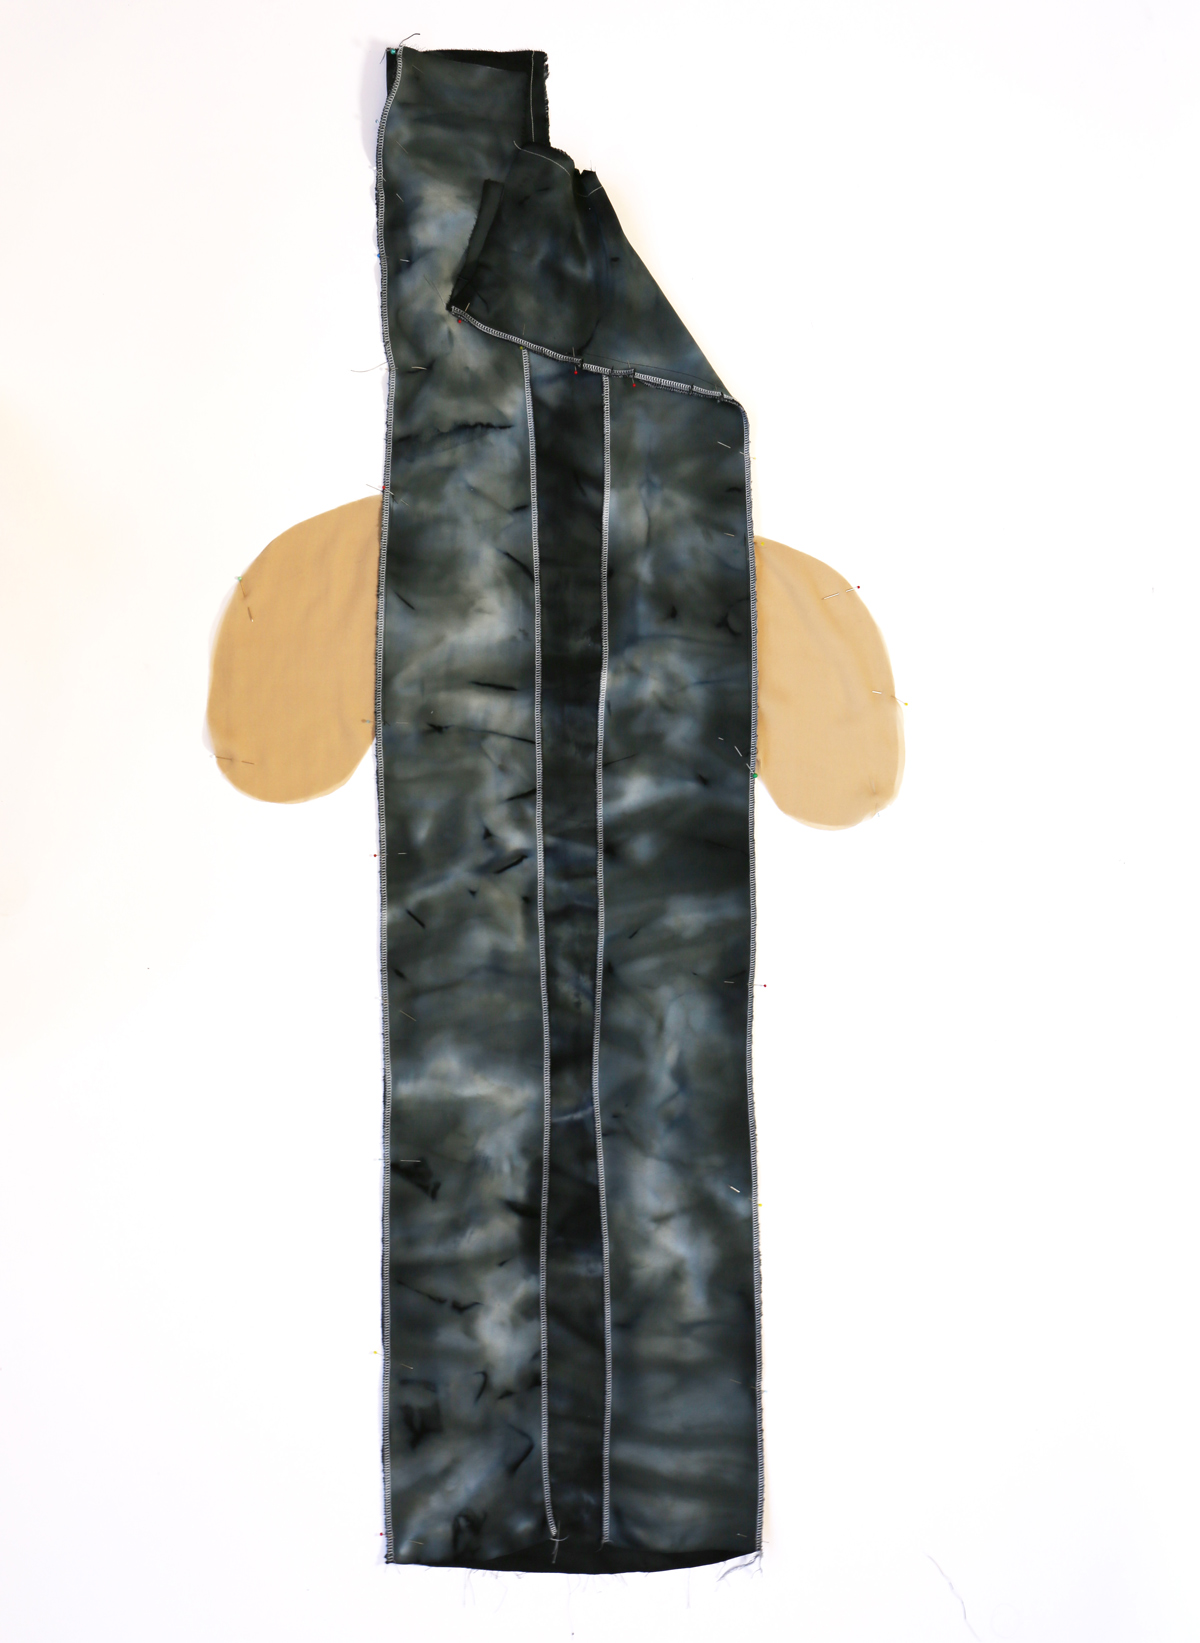
4. Turn pockets toward front along seamlines. Press.
 Really easy so far, right? Tomorrow we’ll attach the yoke and assemble the back of the dress. See you then!


Comments are closed.