Hello again, and it’s Day 3 of the B6168 Fit-and-Flare Dress sew-along. If you’re just joining us I recommend that you begin at Day 1 and catch up with us. Take your time; there’s no hurry and we’ll be here when you’re ready.
Today we’re going to construct the midriff and the optional ties. This part is really easy and quick.
Midriff and Side
Note: Since I sewed View B and don’t have photographs of the ties, I’ve included the illustrations from the instructions for those steps.
12. For each tie end, pin two TIE END (4) sections, right sides together. Stitch, leaving end with markings free. Trim seam allowances. (Especially trim the corner from the tip of the tie so you can get a nice point when you turn it right side out in the next step.)
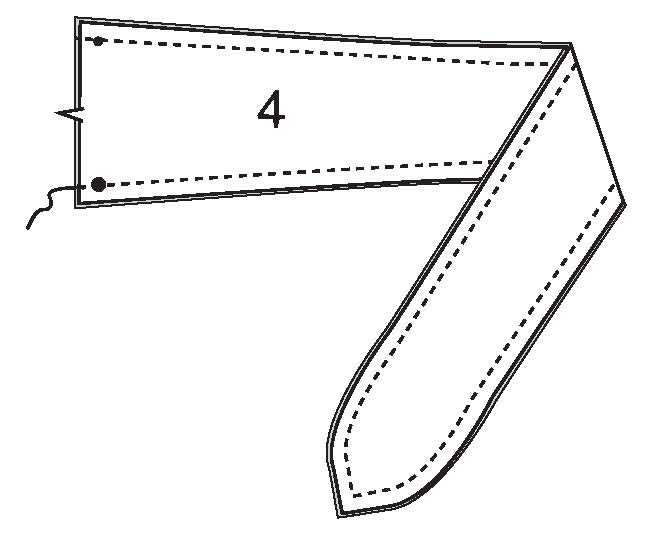
13. Turn right side out. Press. Baste raw edges together. (Use a point presser or a knitting needle to help you gently push out that corner at the tip of the tie. I also find that it can be helpful to press the seam allowances open before turning the tie right side out. This makes it easier to press the edges of the tie once it’s turned.)
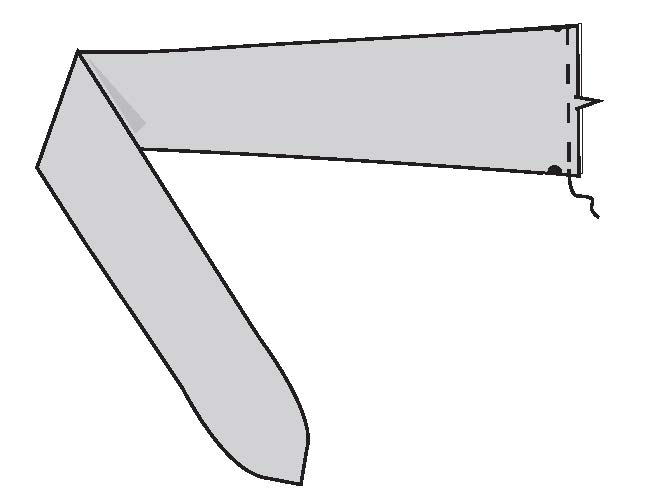
14. GATHER raw edges of tie end. (Two rows of basting stitches with thread tails for pulling. I like to stitch my gathering stitches at 1/2″ and 3/4″ so they’re on either side of the 5/8″ stitch line, but do whatever works for you.)
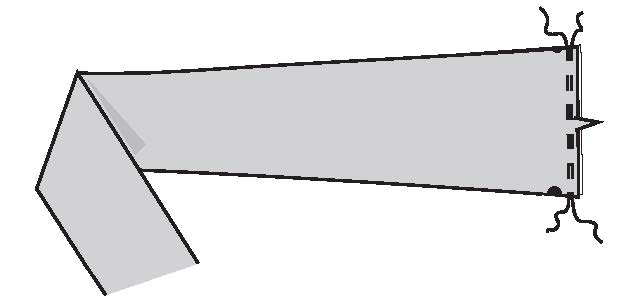
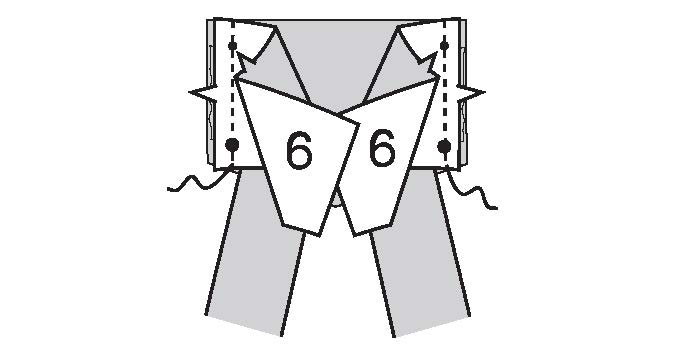
15. On outside, pin one tie end to side edges of interfaced MIDRIFF FRONT (5) section, matching circles. Adjust gathers. Baste. (Uninterfaced midriff front section will be used as facing.)
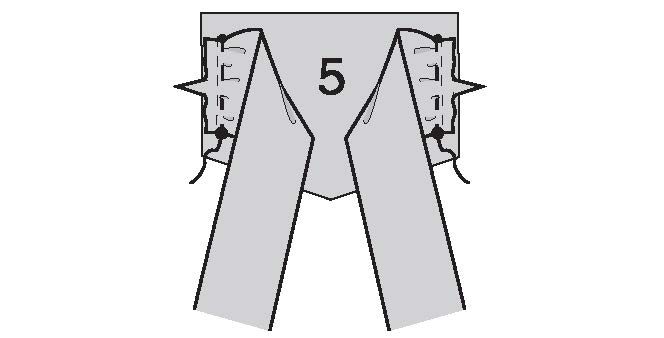
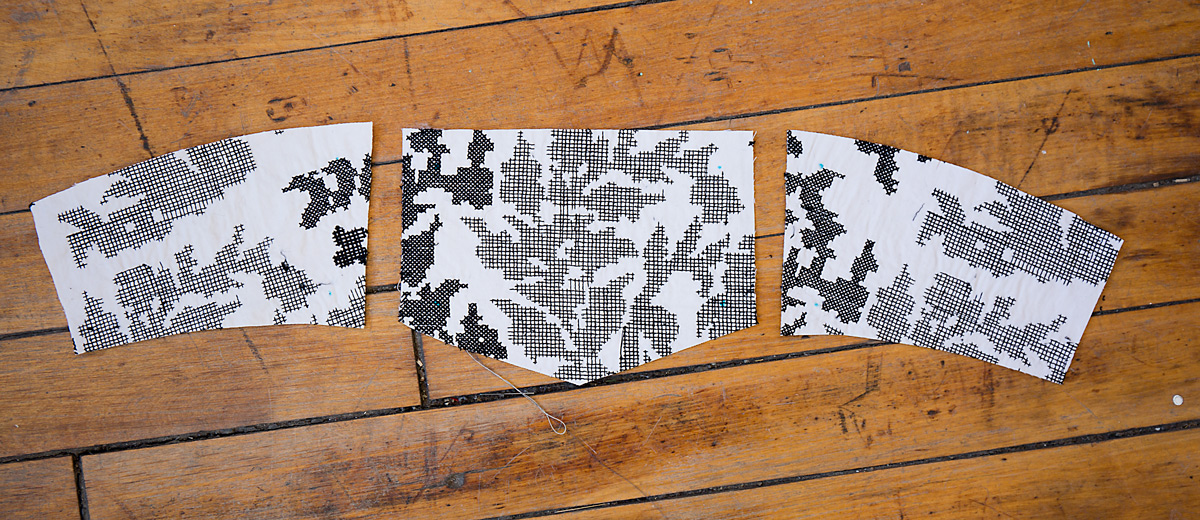
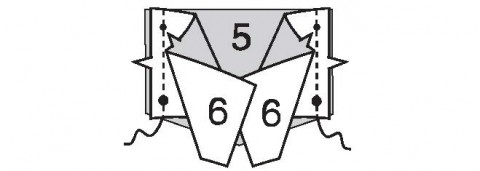
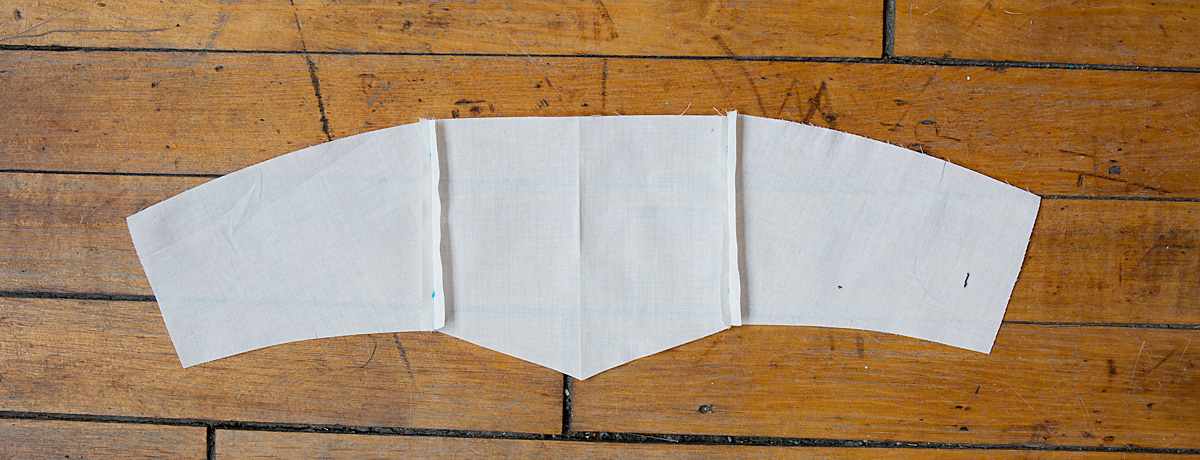
16. Pin one MIDRIFF SIDE (6) section to each side of midriff front. Stitch. Trim seam allowances. Press seam allowances toward midriff front. (Remaining midriff side sections will be used as facing. Remember as you’re stitching these seams that, if you’re adding the ties, they need to stay out of the 5/8″ seam allowances at the top and bottom edges of the midriff. That’s why you basted them between the dots in step 15, above, but keep an eye on them during this step to be sure they stay clear.)
17. View B: Pin one MIDRIFF SIDE (6) section to each side of interfaced MIDRIFF FRONT (5) section. Stitch. Trim seam allowances. Press seam allowances toward midriff front. (Remaining midriff sections will be used as facing.)
Views A, B:
18. Pin midriff to bodice front, right sides together, matching notches, centers and seams to squares, clipping bodice where necessary. Baste.
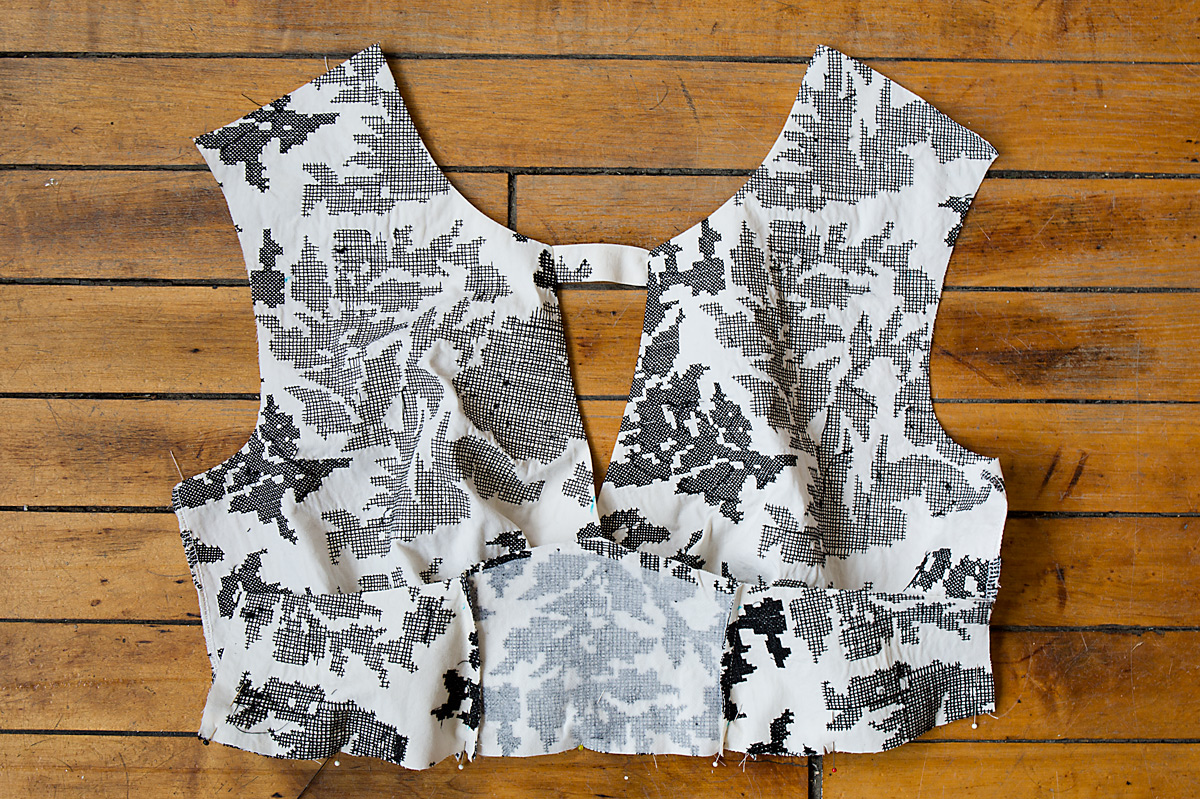
Prepare and stitch midriff FACING sections in the same manner as described for midriff front and side, disregarding tie ends for View A.
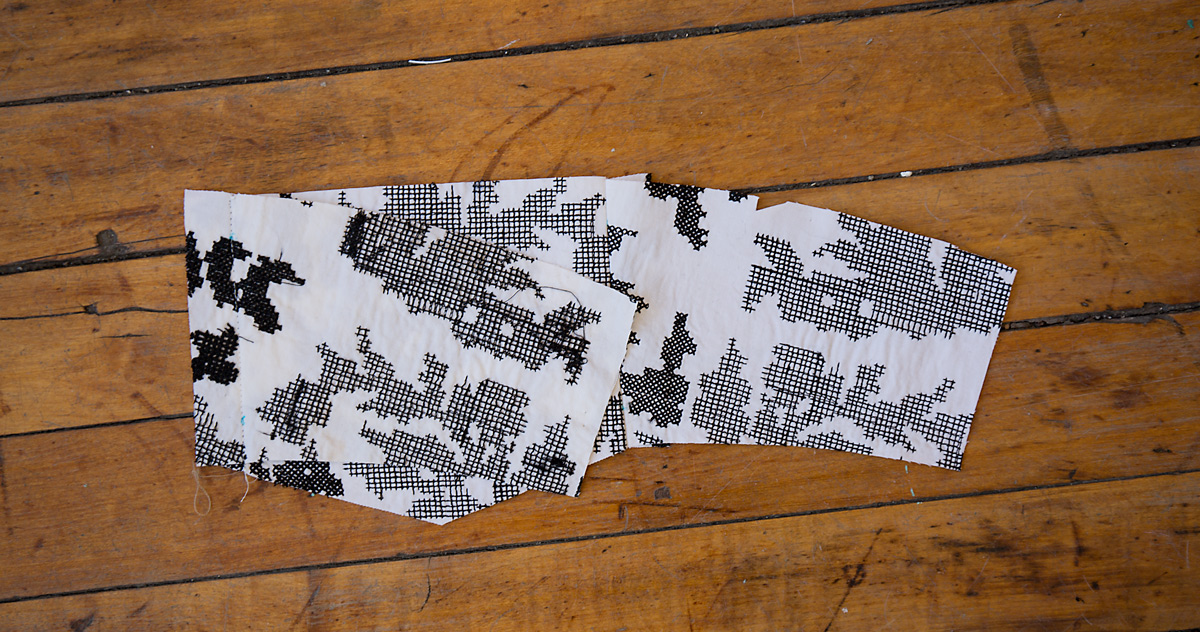
 My facing is plain white, so it’s easy to tell the difference between my basic midriff and the midriff facing. If you’re using the same fabric for both pieces, your facing will be the one without interfacing.
19. Pin FACING to midriff, right sides together, (over bodice front), matching notches and seams to squares. Stitch upper edge through all thicknesses. Trim seam allowances. (Just to be clear here, the front bodice is sandwiched between the midriff and midriff facing for this step.)

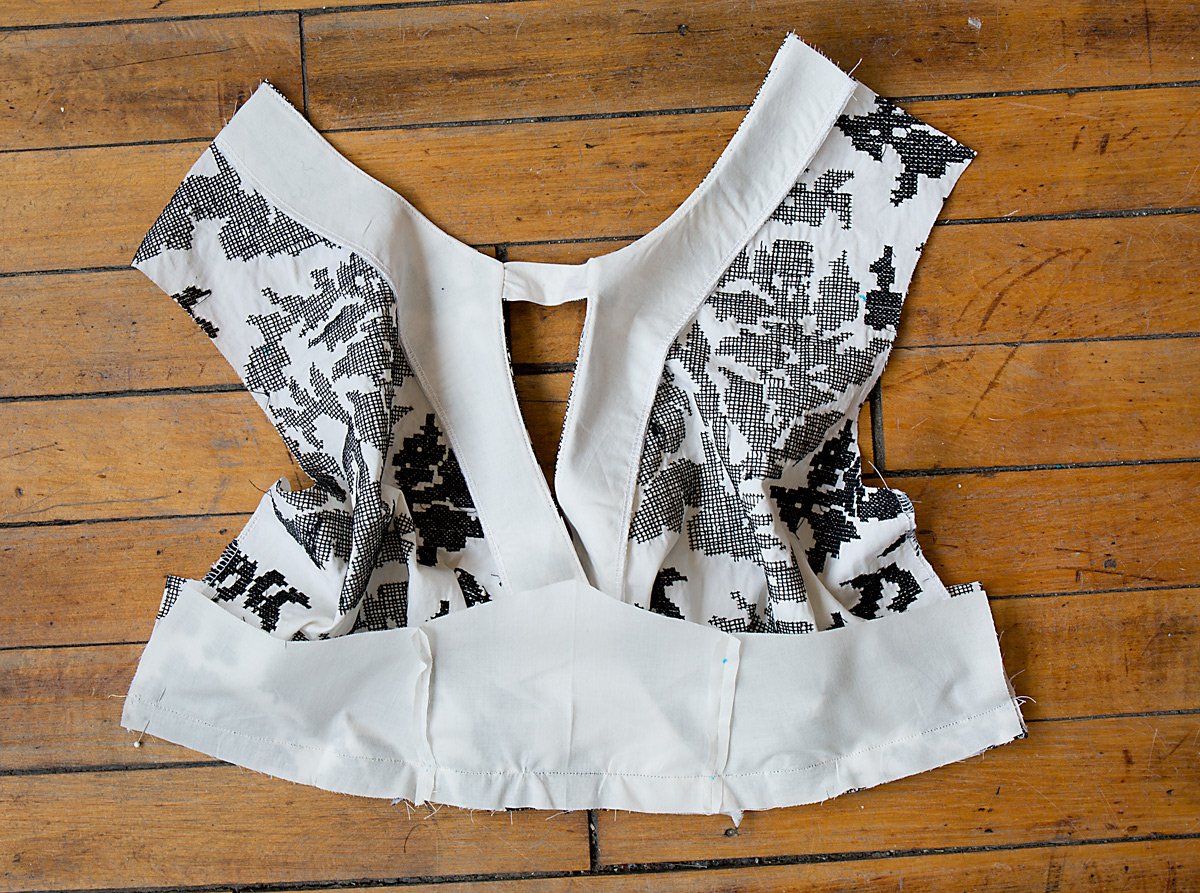
20. Turn midriff and facing down. Press. Baste raw edges together. (I like to trim down the seam allowances a bit at this point to reduce bulk at the top of the midriff, before basting the bottom edge of the midriff.)
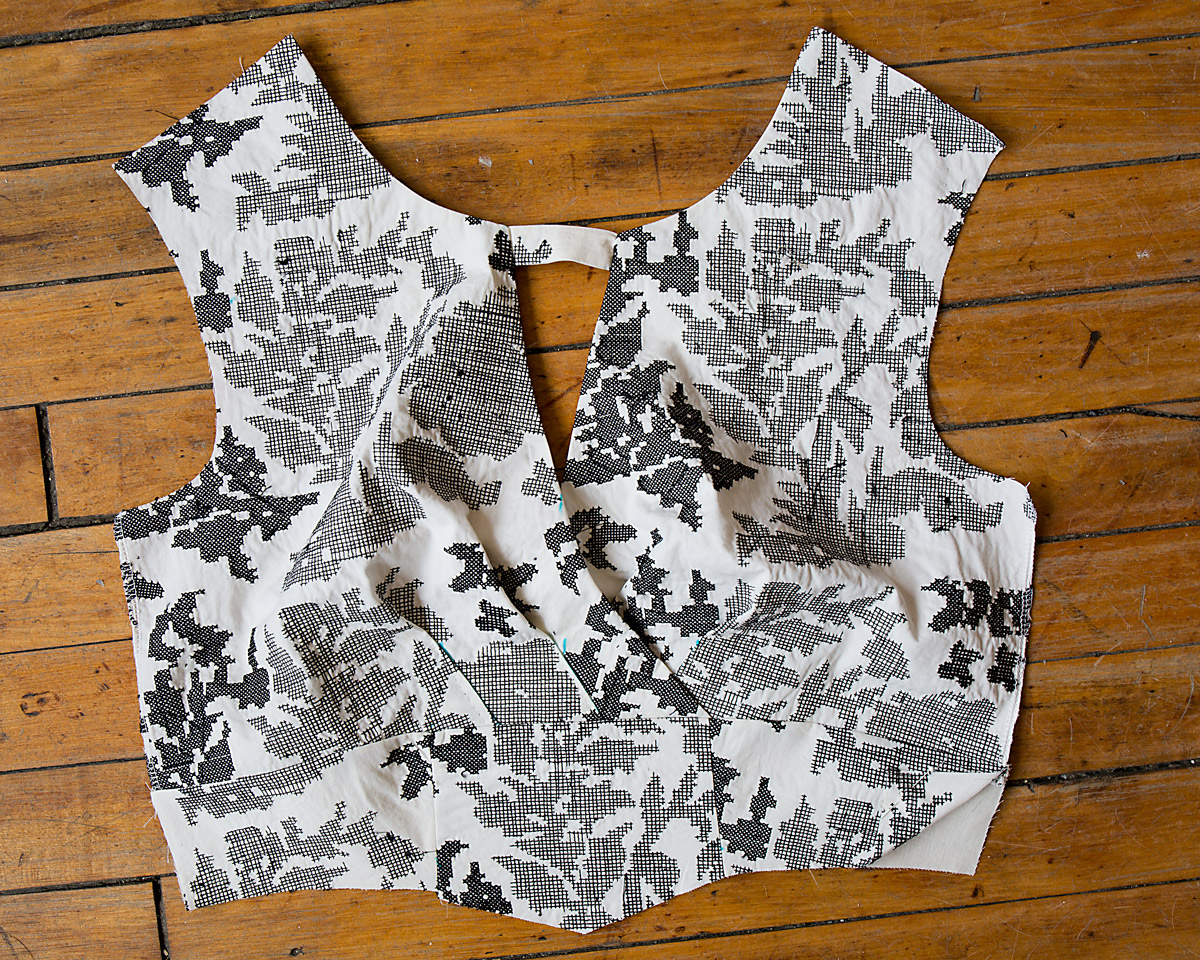 I turned up the bottom right-hand corner so you can see the facing.
All OK so far? Tomorrow we’ll construct the back bodice and put them together so we can add the sleeves as well. As my old boss used to say, “Come back tomorrow. It will be fun!”
Continue on to Day 4.


Comments are closed.