Hello again, and it’s Day 2 of the B6168 Fit-and-Flare Dress sew-along. If you’re just joining us I recommend that you start at Day 1.
Those of you who are ready to get sewing, let’s get started. It’s always nice to get all the prep work out of the way so you can get to the fun assembly part, isn’t it?
For the sew-along, I’m using the words exactly as they’re written in the guidesheet of the sewing pattern itself, and I’ve added notes and explanations in parentheses so it’s easy for you to follow along. Here we go.
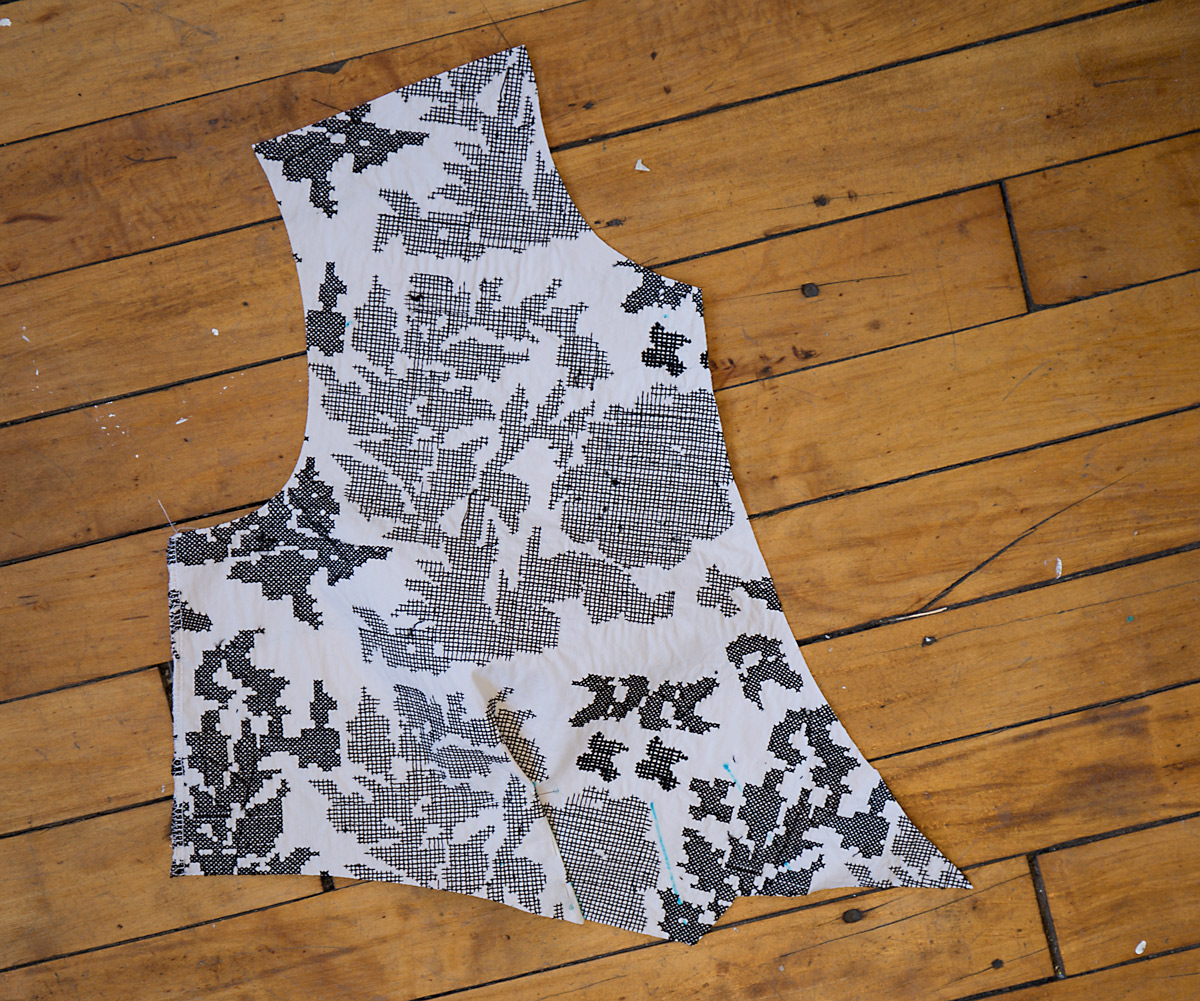
Bodice Front
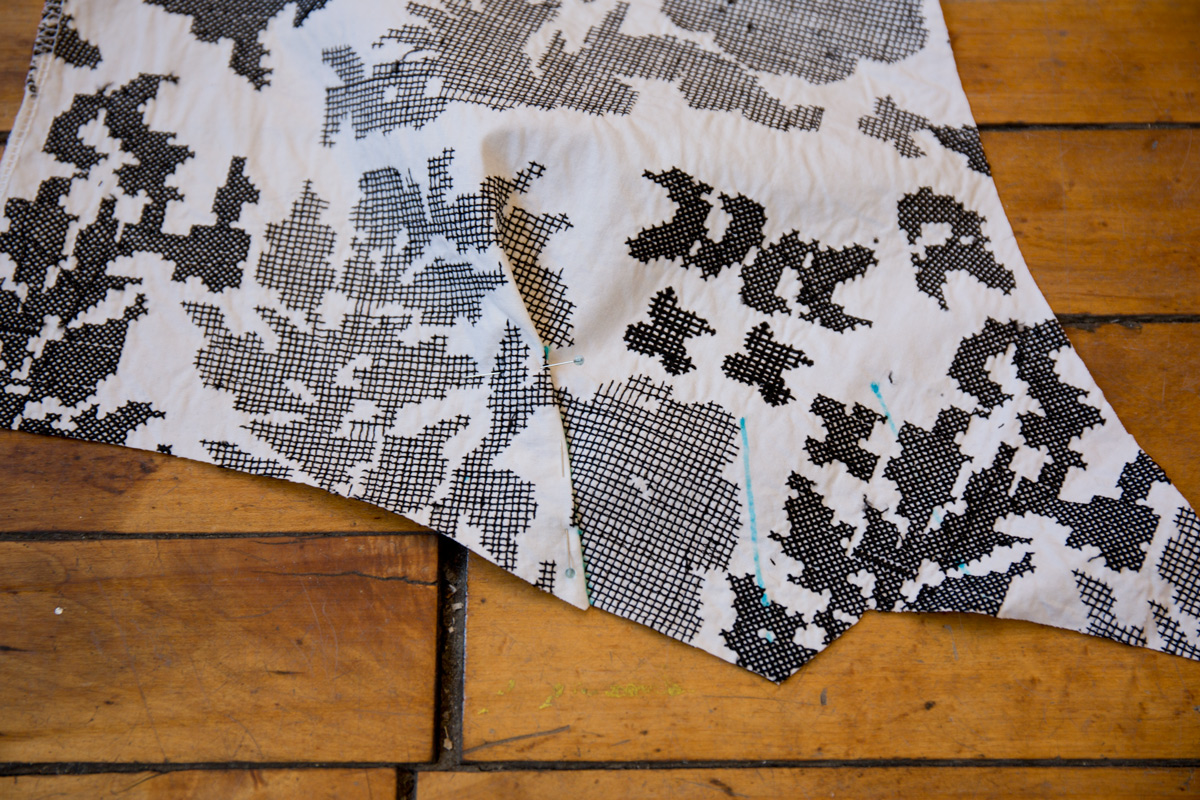
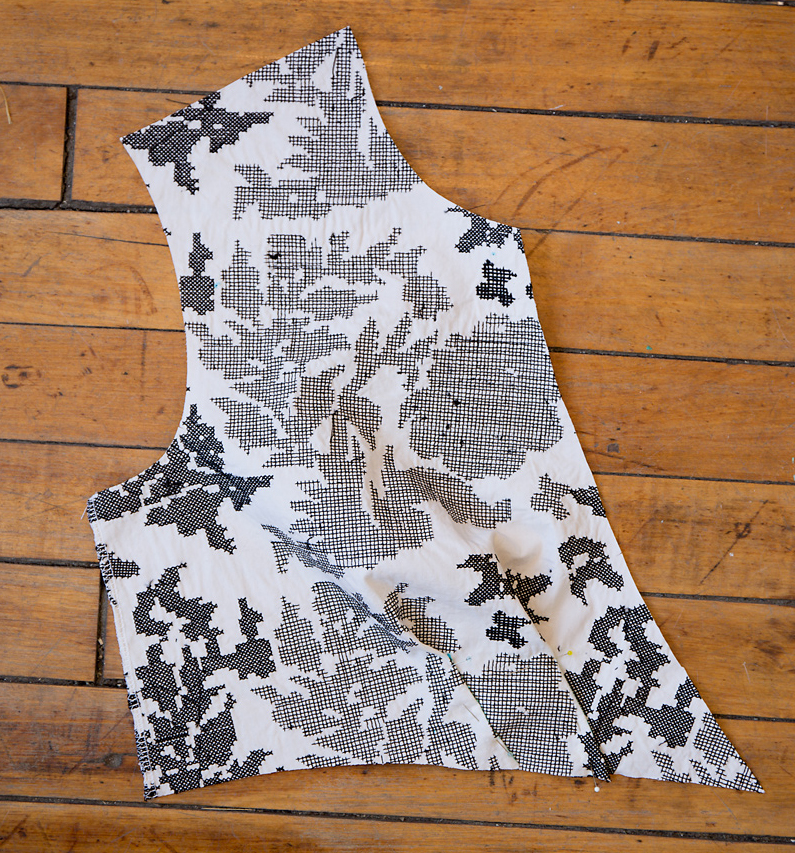
2. To make pleats in BODICE FRONT, on outside, crease along lines of small circles. Bring creases to lines of large circles. Baste (center fronts). Baste across lower edge. Press. (If you start at the out side edge and work your way in it’s east to keep track of which line gets folded and matched to the next line, as shown below.)
 first pleat pinned in place
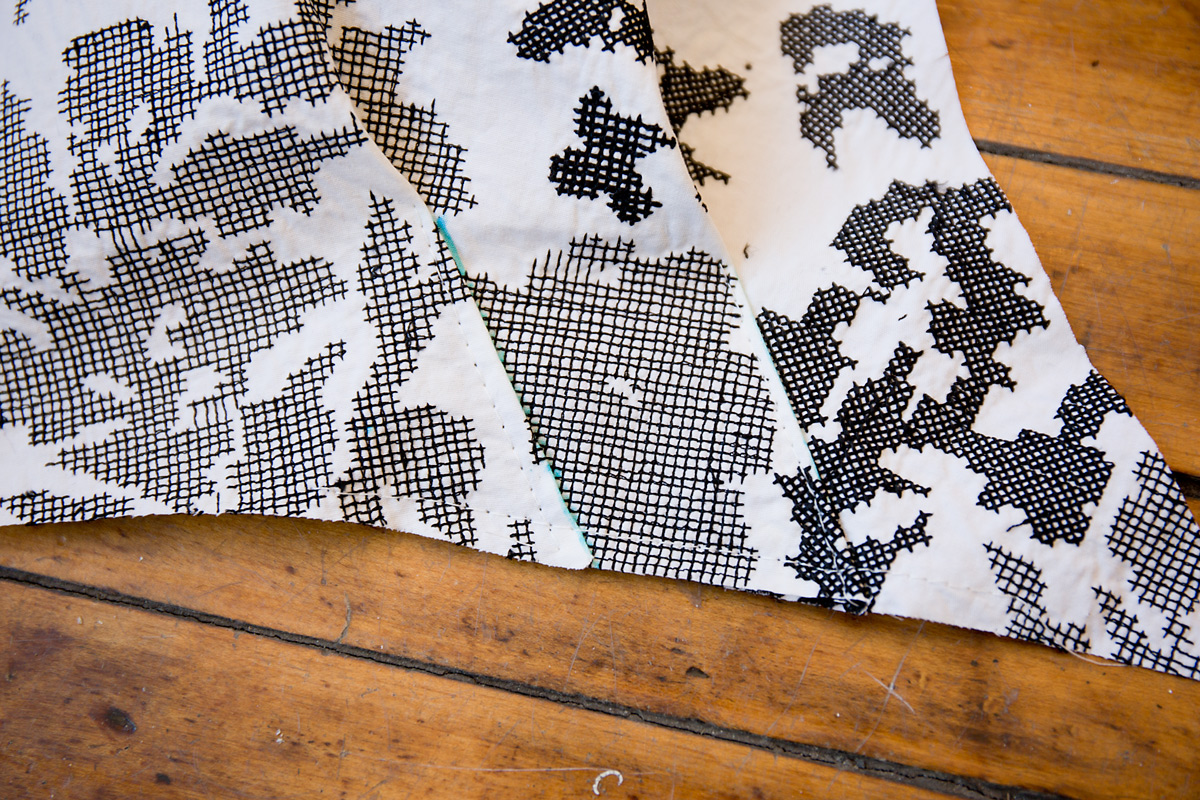
 both pleats pinned
 If you look very closely you can see the (white) basting stitches holding my pleats in place until I’ve finished constructing the dress, when I will remove them.
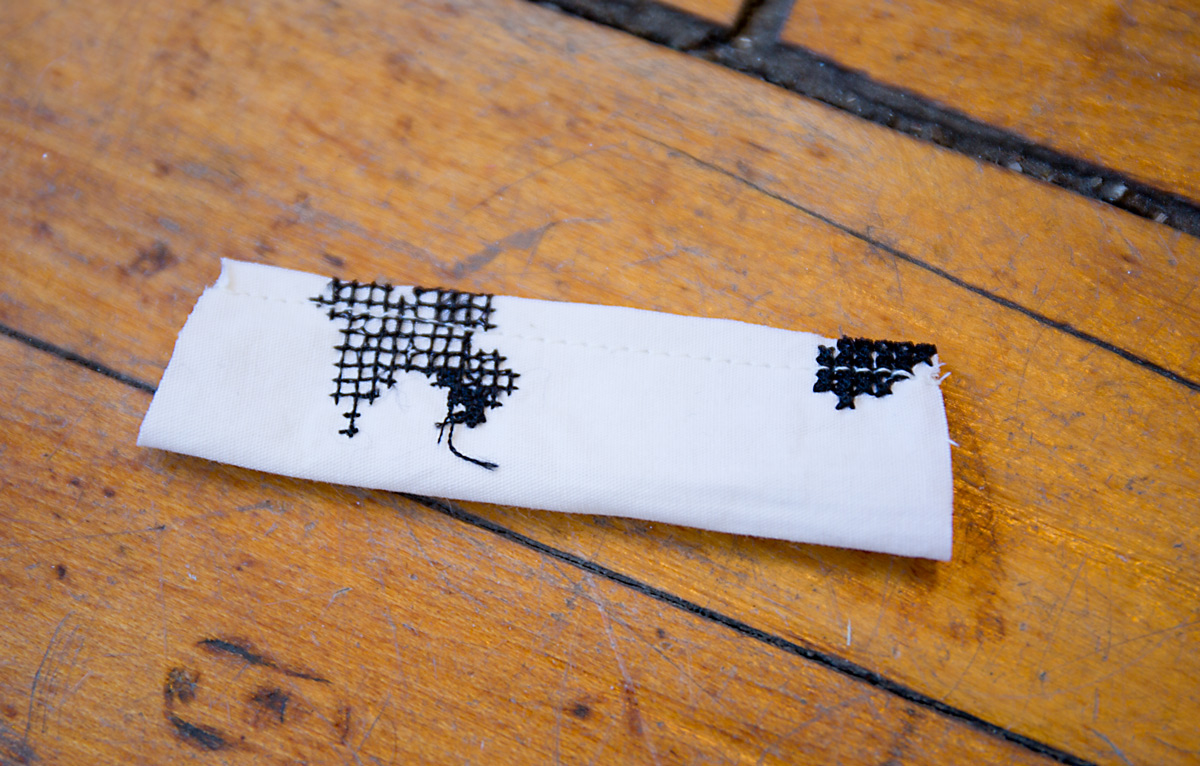
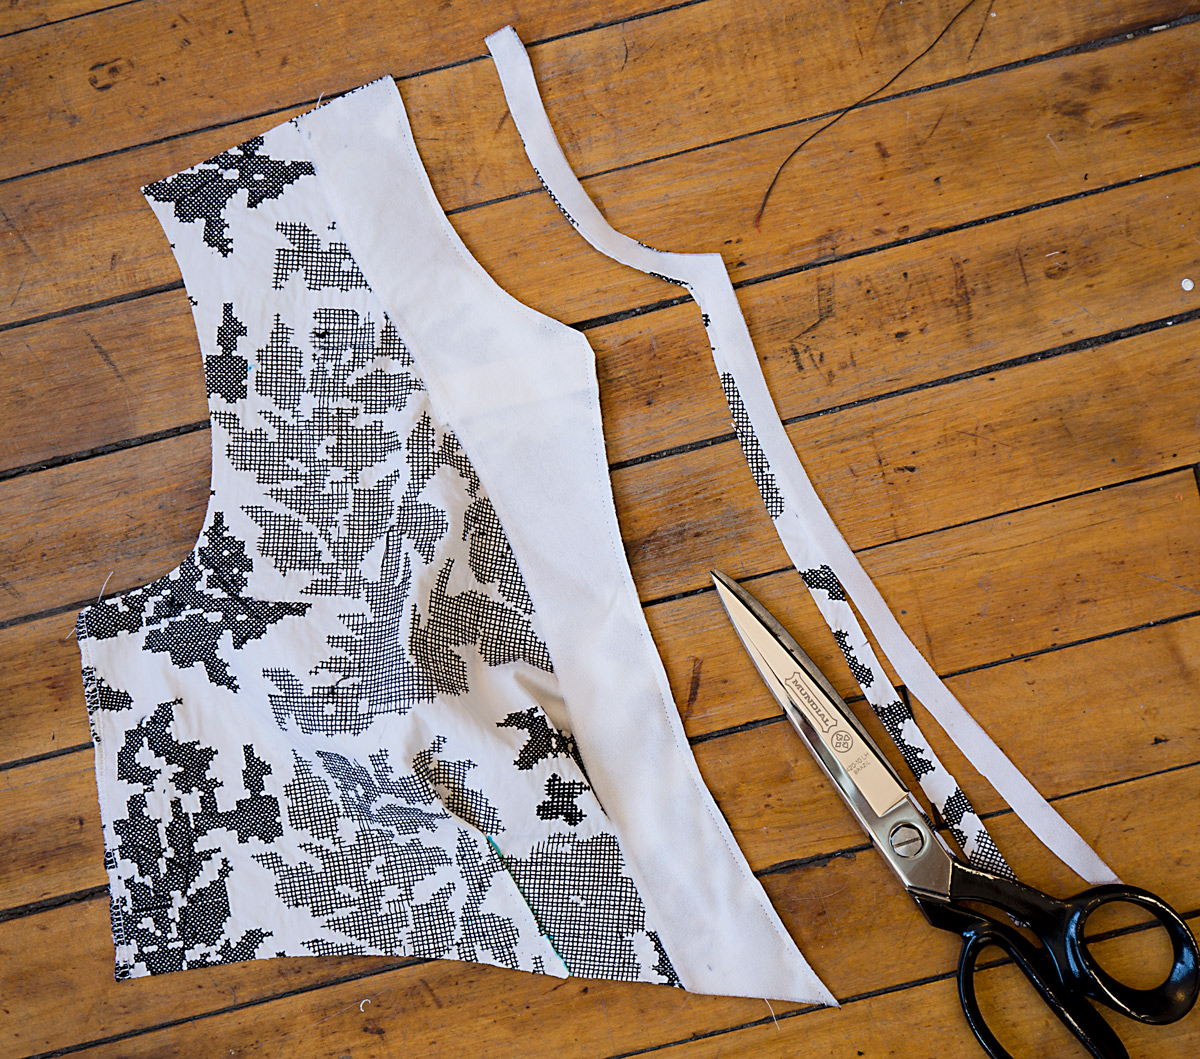
3. Fold TAB on foldline, right sides together. Stitch long edges. Trim seam allowances. (I trimmed my seam allowances to about 1/8″.)
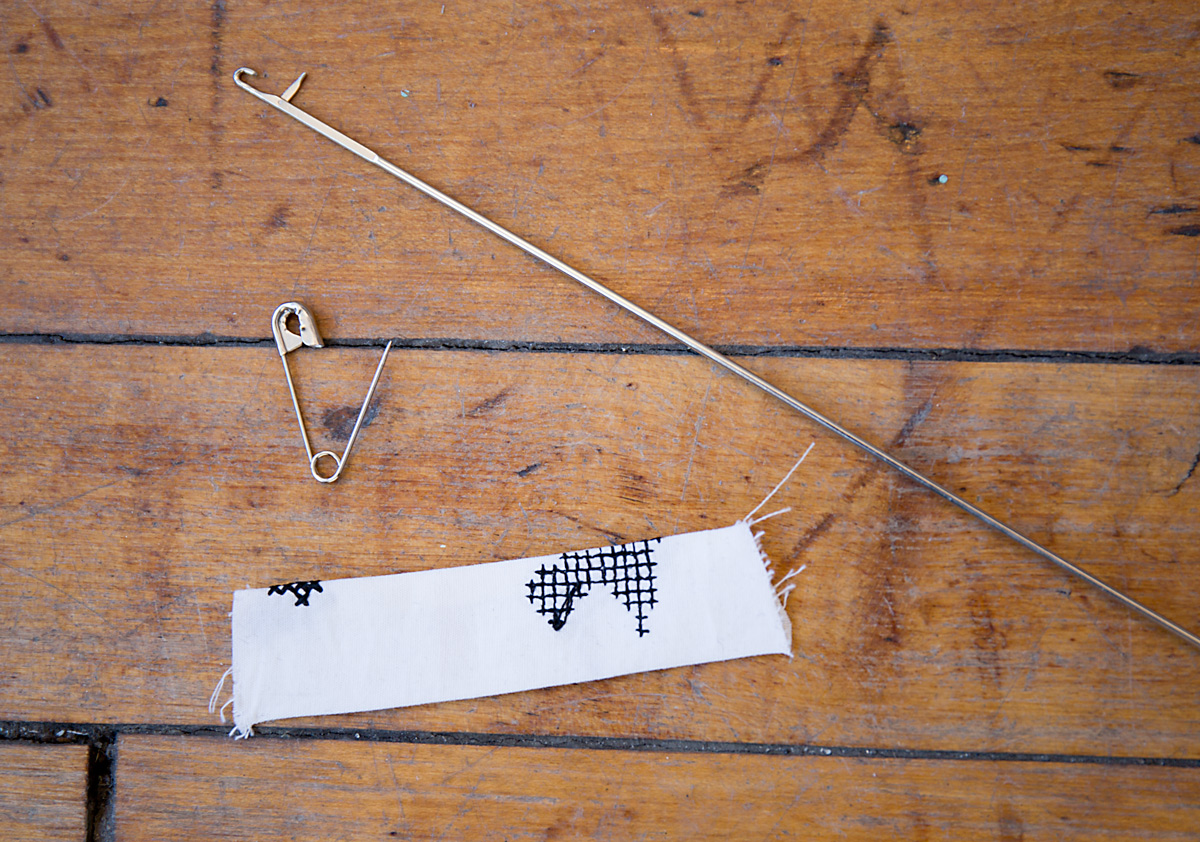
4. Turn right side out. Press. Baste raw edges together. (Use whatever tool you like for turning the tab right side out; I used a safety pin, but a loop turner like the one shown will work well too.)
5. Pin tab to right bodice front, matching circles. Baste. (If your tab has a better side, it should be facing down in this step so it will be visible on the finished dress. I chose the side with a little embroidery as the better side of my tab.)
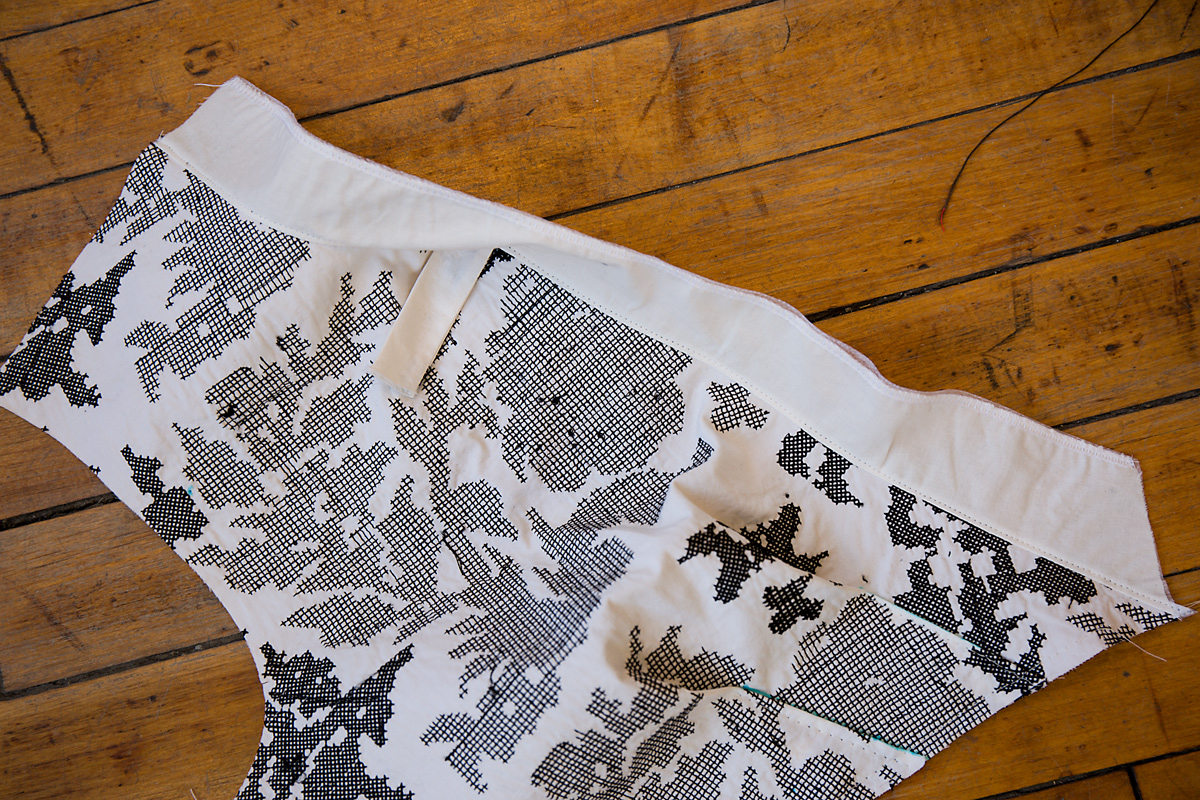
6. FINISH long unnotched edge of FRONT FACING. Pin right front facing to right bodice front, matching notches and circles. Stitch neck and front edges. Trim seam allowances. (Reminder: my facings are plain white poplin. I serged the outside edge of the facing to finish it, but if you don’t have a serger it’s fine to either zigzag stitch the edge or do a narrow hem. Once you’ve stitched and trimmed the seam allowances, press the seam allowances toward the facing so it can be understitched in the next step.)
 stitched
 trimmed
7. UNDERSTITCH facing as far as possible. (You won’t be able to stitch all the way to the tab, but try to understitch as much of the facing as possible to encourage the facing to stay well inside the neckline when the dress is worn. You can see in the photo below that I’ve pressed the seam allowances and the facing away from the bodice and edgestitched the facing as close to the tab as I could reach. I also edgestitched the neckline. If you’ve ever been confused about understitching, it’s simply an edgestitch on the facing side.)
8. Turn facing to inside, turning tab outward. (Press.) Baste lower edges together.
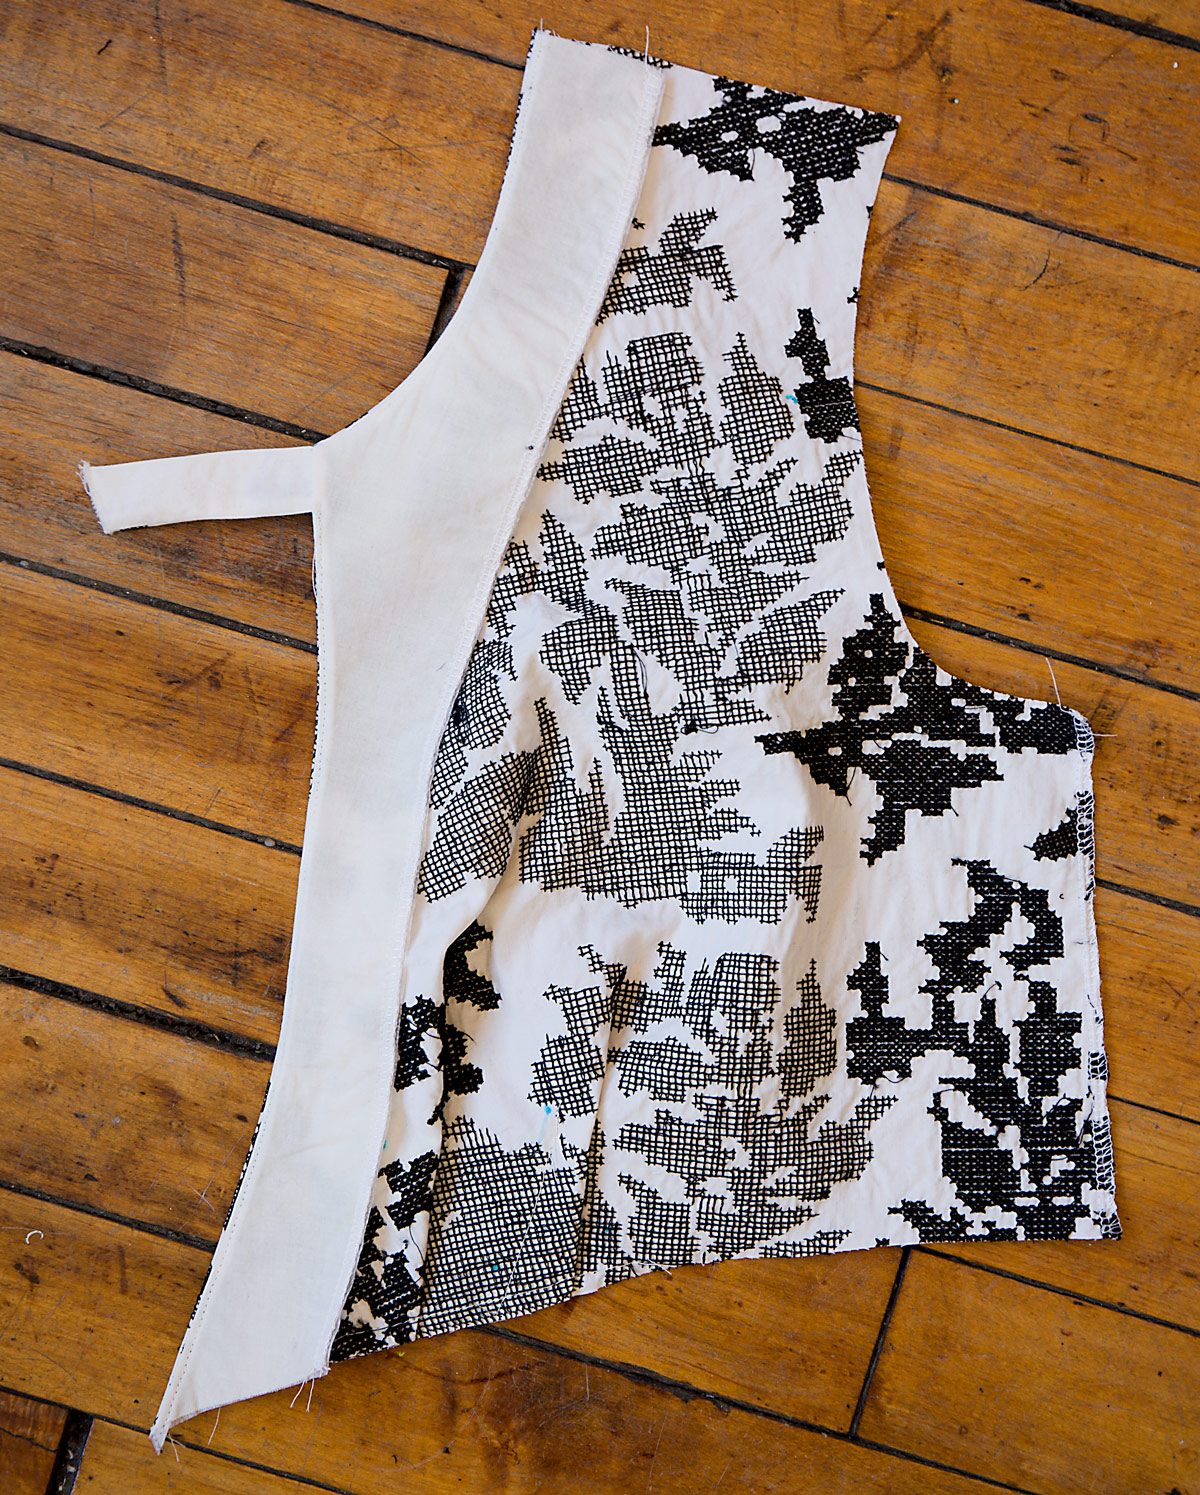
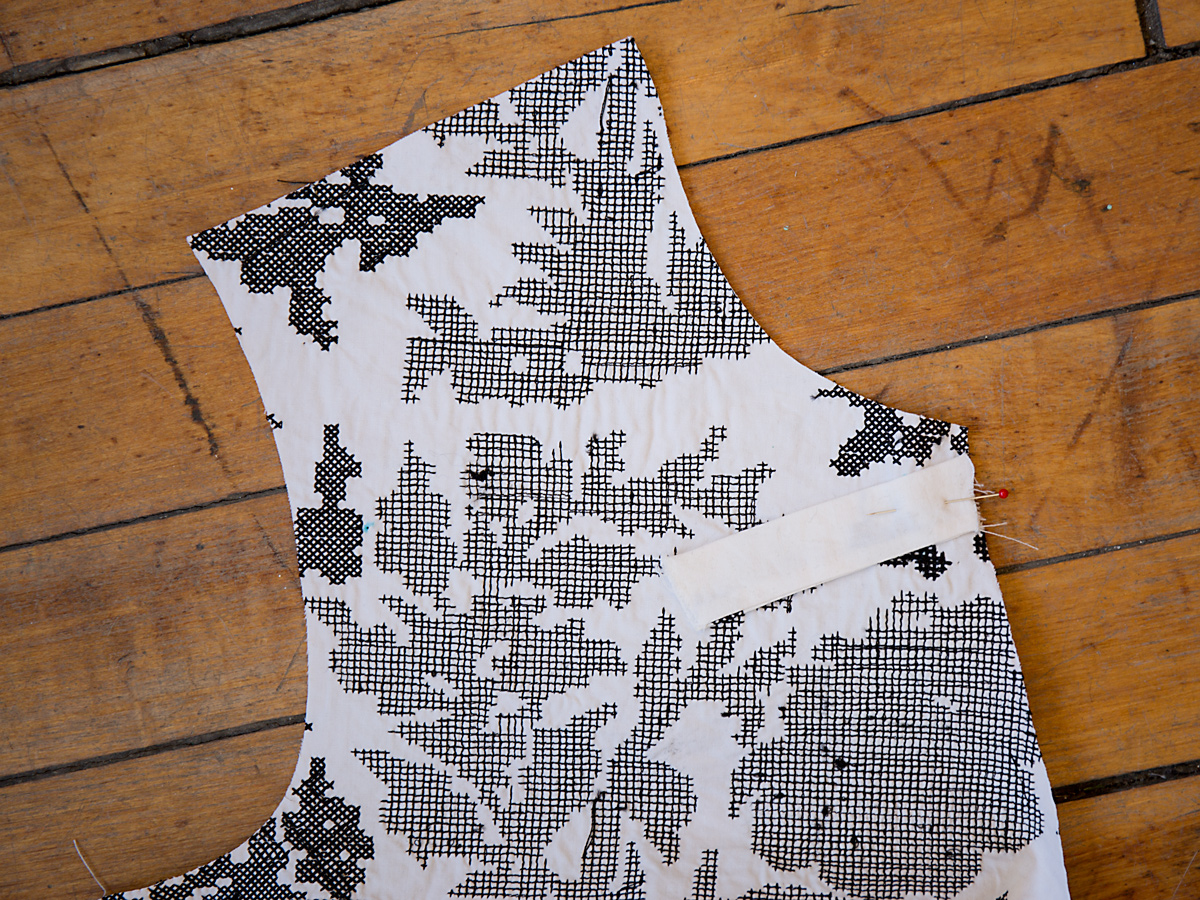
9. Pin free end of tab to left bodice front, matching circles. Baste. Prepare and apply left front facing to left bodice front in the same manner as described for right bodice front. (So you’re essentially doing the same thing you did for steps 5-8 but with the other side of the bodice attached to the end of the tab this time.)
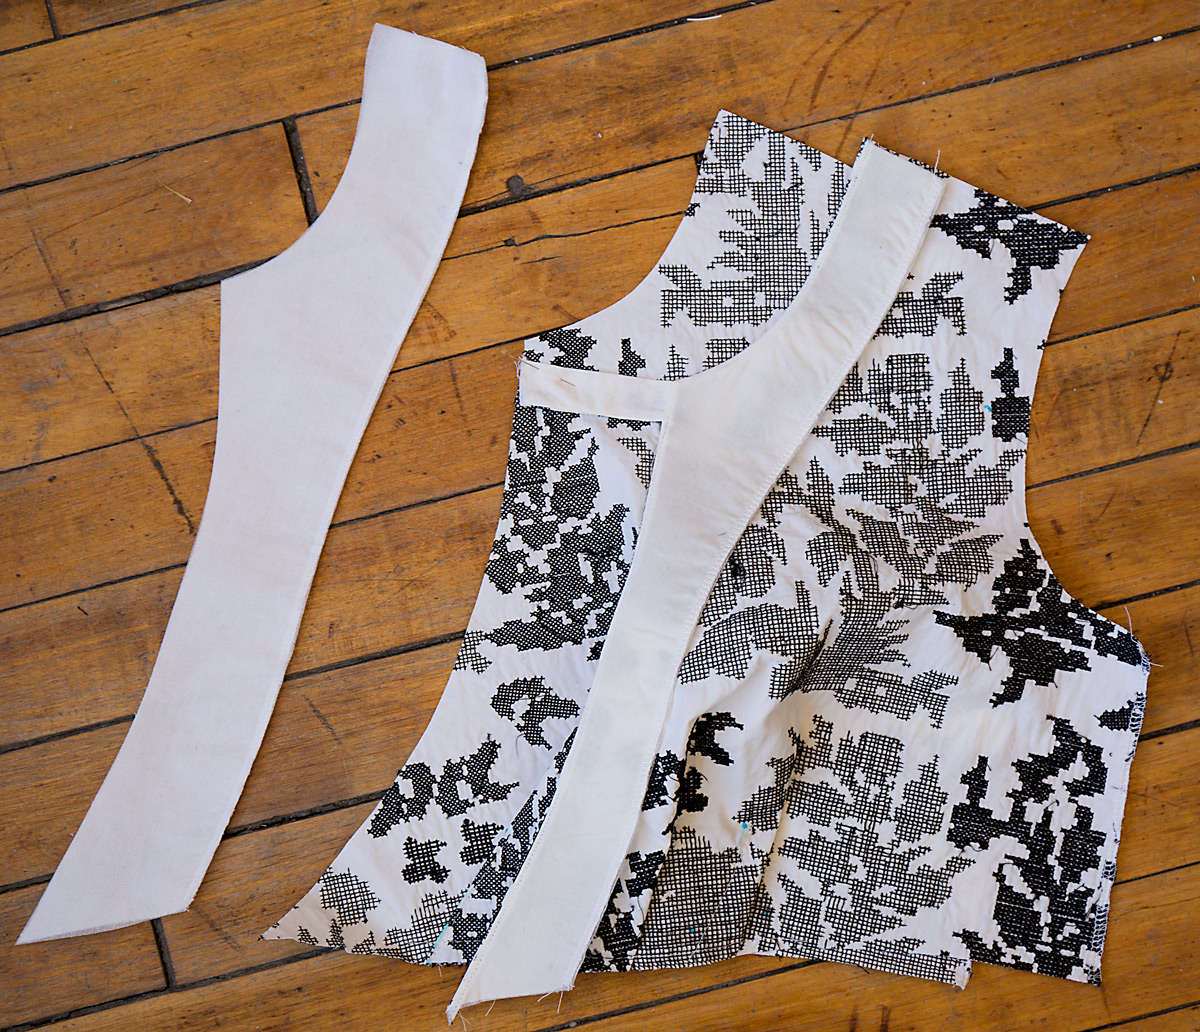
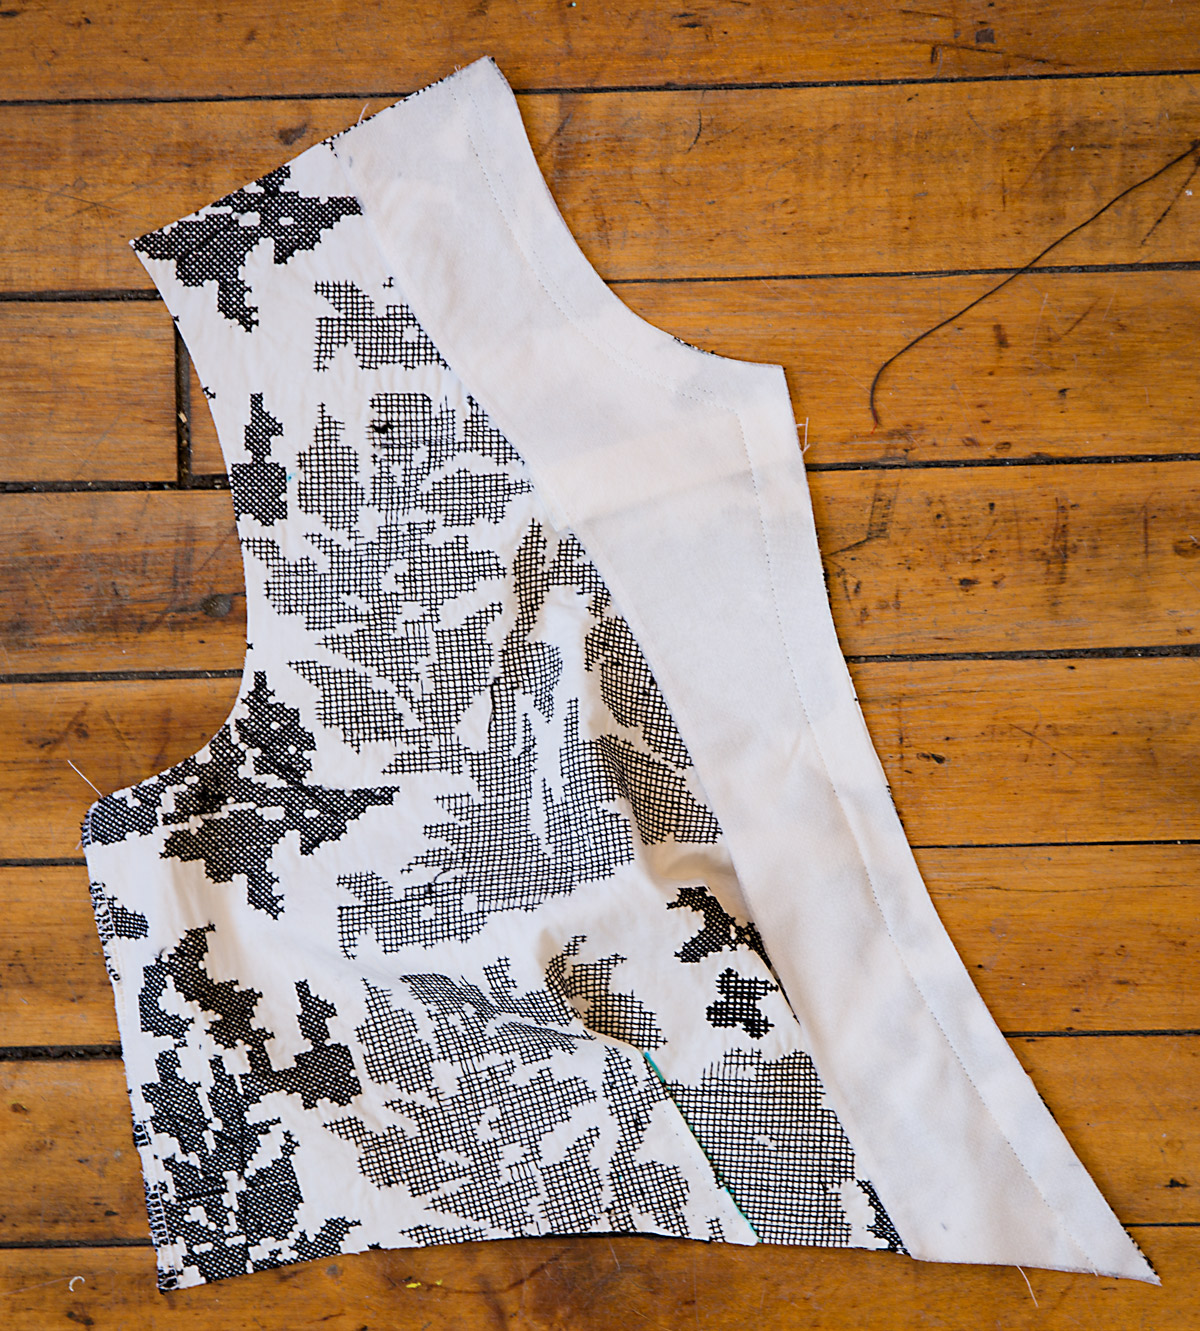
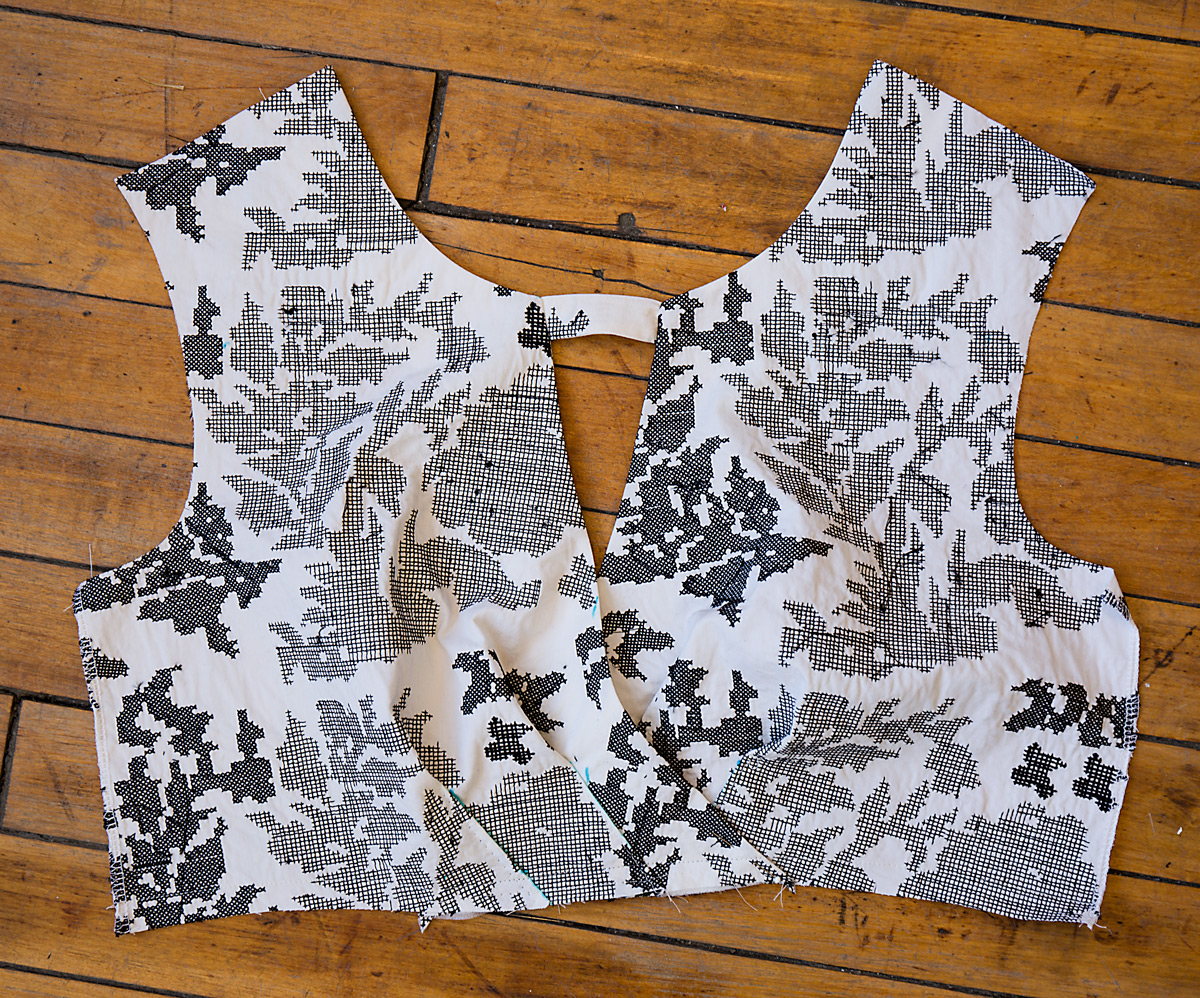
10. With right sides up, lap right bodice front over left, matching notches and centers. Baste along center front. Baste across lower edge. (Be sure you get those center-front lines matched and basted together so the neckline will be the right depth and the bodice is the right width. See step 11 below for a photo of the bodice basted and completed. If you didn’t mark your center-front lines, that’s OK. Just hold the pattern piece up to the fabric and it’s easy to mark them now, remembering to account for the stitched seam allowances.)
11. STAYSTITCH lower edge of bodice front.
That wasn’t too bad, was it? Our dresses are already starting to take shape. I’ll be back tomorrow with the midriff and ties–if you’re including the ties. See you then!
Continue to Day 3 of the sew-along.


5 Comments:
I like your sew a long instructions, they’re excellent. I especially like the FBA you did yesterday and placed it in my arsenal.
Thanks so much!
I can’t wait to join this sew-along but haven’t yet decided on the fabric type for the dress. Can you tell what kind of fabric you are using?
Sure, Dalia! I talked a little bit about my fabric choices in this post: http://www.sewlisette.com/blog/2015/03/sew-along-fabrics/
For this dress, my fabric is a cotton poplin that’s heavily embroidered. But check the Flickr group for inspiration, too, because a wide variety of fabrics have been used, including rayon:
https://www.flickr.com/groups/sewlisette/pool/
I know this is a long shot, but can anyone tell me how long the tab piece is, once it’s folded? I’ve lost my pattern piece (I’m pretty sure it was feline interference). I’m sure I can get the basic shape by folding a strip of fabric and following the shape of the bodice, but I don’t know the length. Thanks in advance!