Welcome to Day 3 of the Lisette B6169 drapey dress sew-along. If you’re just joining us, you’ll want to start at Day 1. Today we’ll be finishing the yoke and the neckline.
Yoke Facing
17. Stitch each yoke front FACING to yoke back FACING at shoulders. Press under 5/8” (1.5cm) on front edges of yoke facing. Trim pressed-under edge to 3/8” (1cm). (I like to use a basting stitch as my folding guide because it helps me to be really accurate, especially when I’m sewing with a slippery fabric. You can see my basting stitches at the top of the photo below. I waited to fold, press, and trim them until step 19, below.)
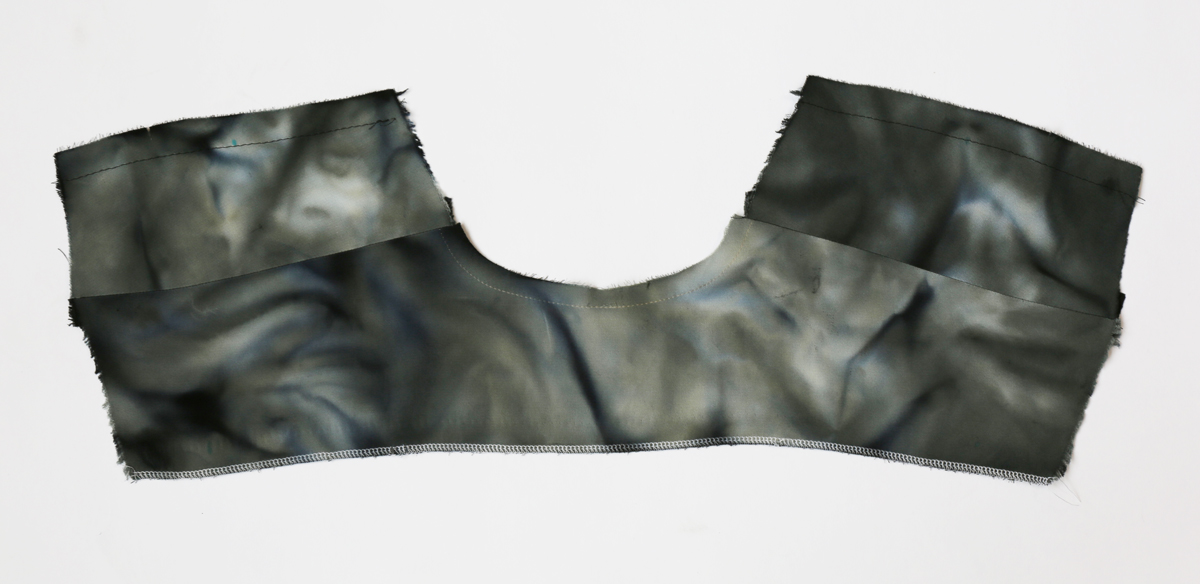
18. Pin right side of yoke back facing to wrong side of back, matching notches, centers and small circles. Stitch. Press yoke and yoke back facing away from back. (Here you’ve essentially sandwiched the front dress between the two front yokes and you’ll stitch right over your original stitching. This give the yoke a clean finish on the inside as well as the outside!)
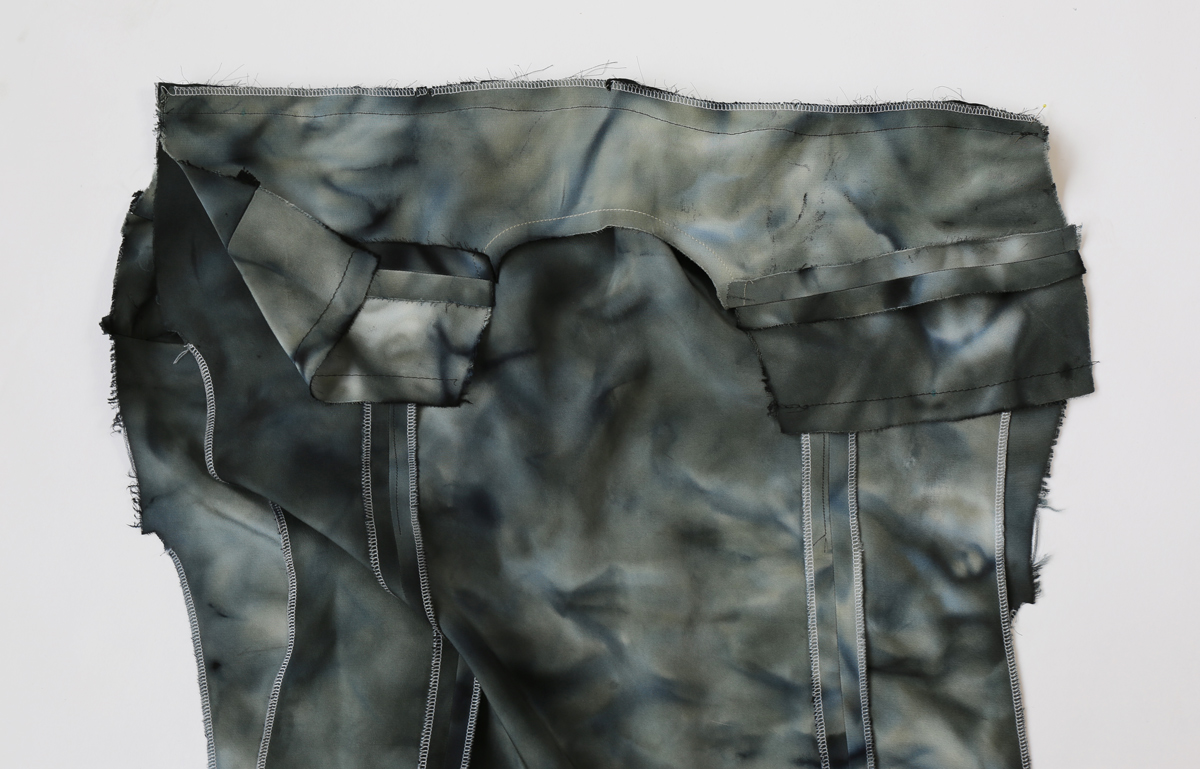
19. SLIPSTITCH pressed-under edges of yoke facing over front seams. Baste neck and armhole edges together. (If you prefer, you can use the burrito method to stitch this seam. I had already trimmed my seam allowances at this point, so I followed the method in the instructions and hand-stitched the facing. The advantage of hand stitching is that you have better control over the fabric so you can be sure the layers lie flat as you stitch them, and since my dress is fancy silk I wanted it to have a fancy finish as well.)
20. Stitch back to front at sides, from lower edge to square. (I left this until after I had finished the neckline because I find that it’s easier to work with the garment as flat as possible for as long as possible.)
Neck Binding
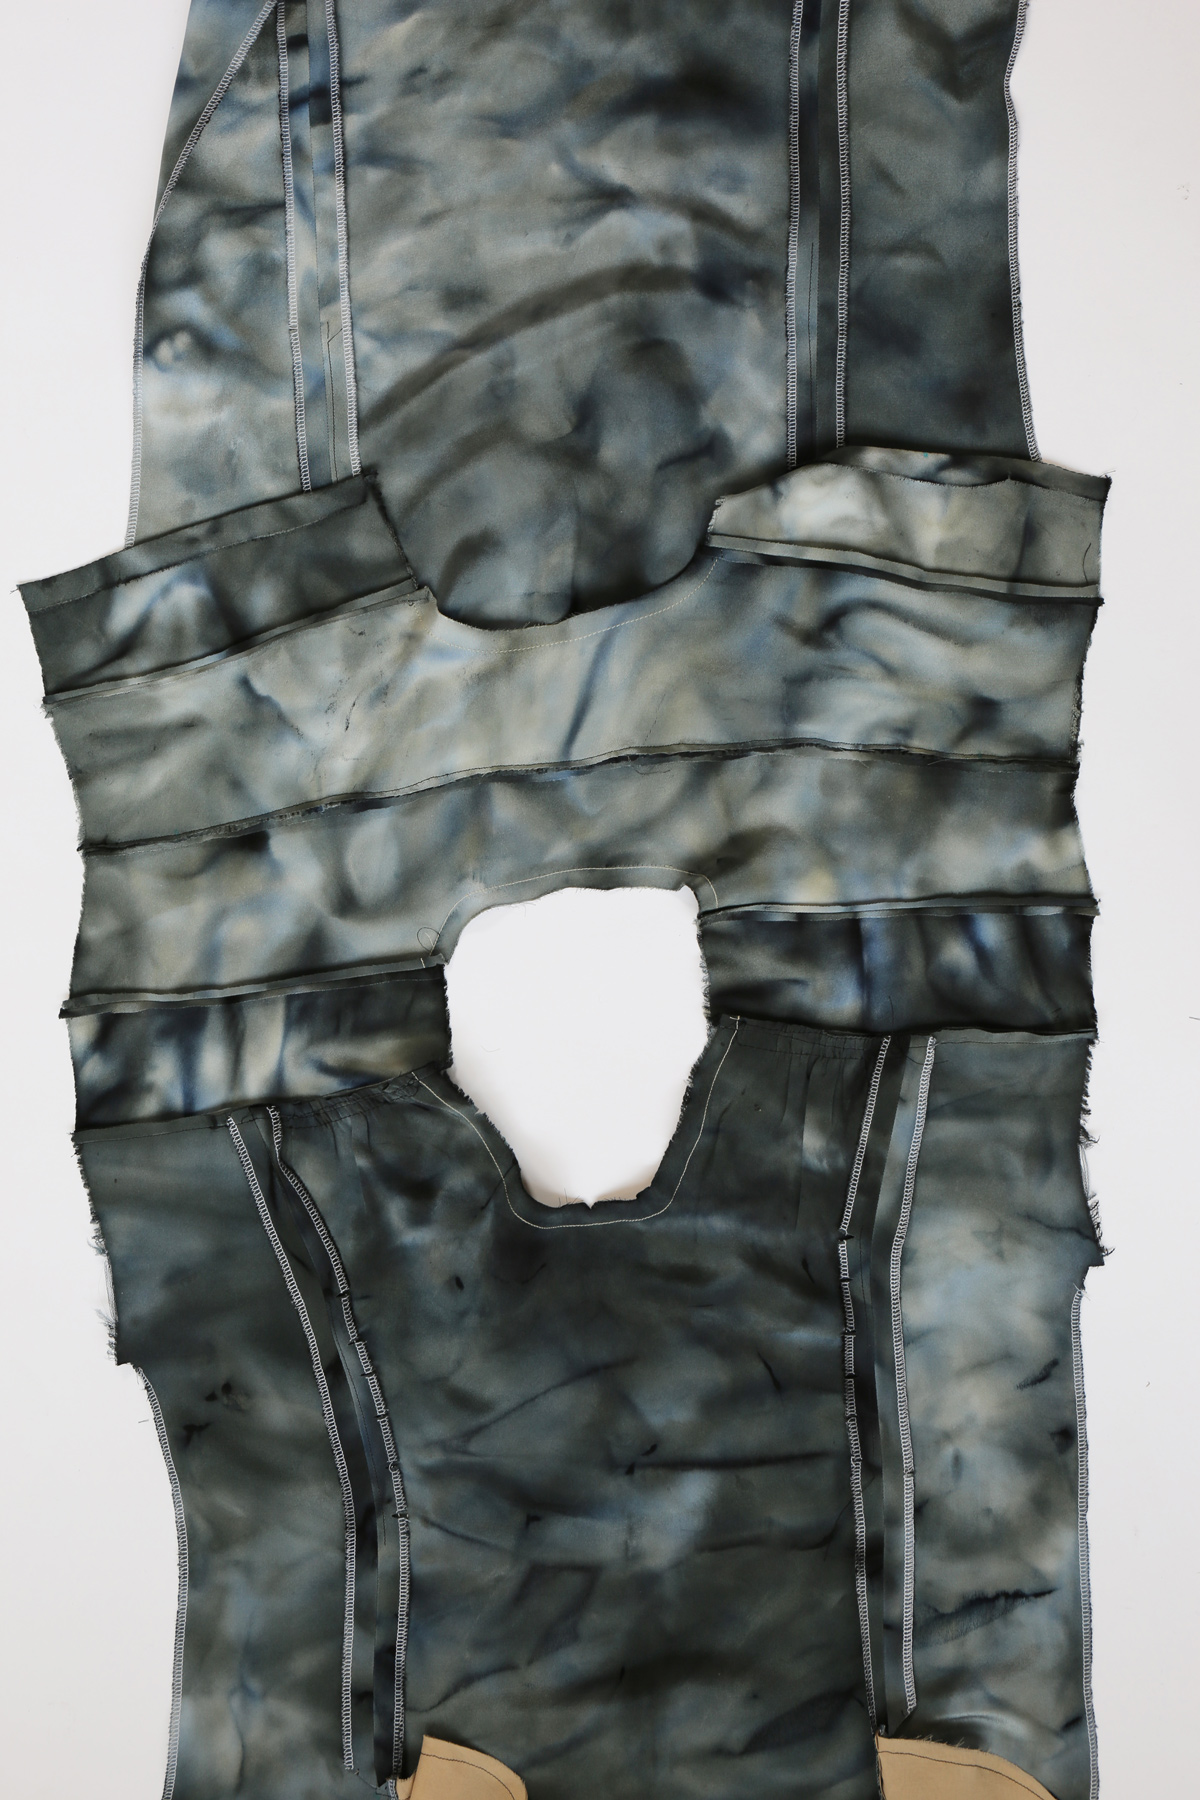
21. STAYSTITCH neck edge of dress. (This prevents it from stretching and distorting as you apply the binding in step 24.)
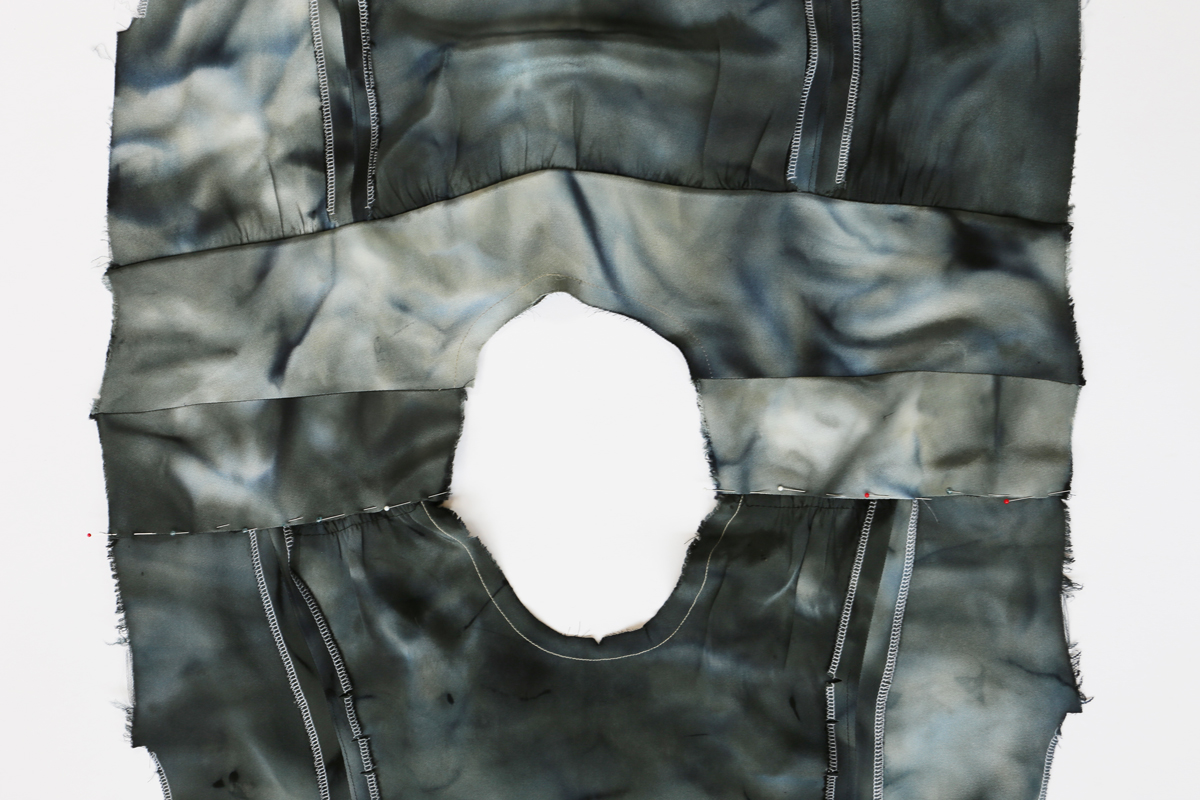
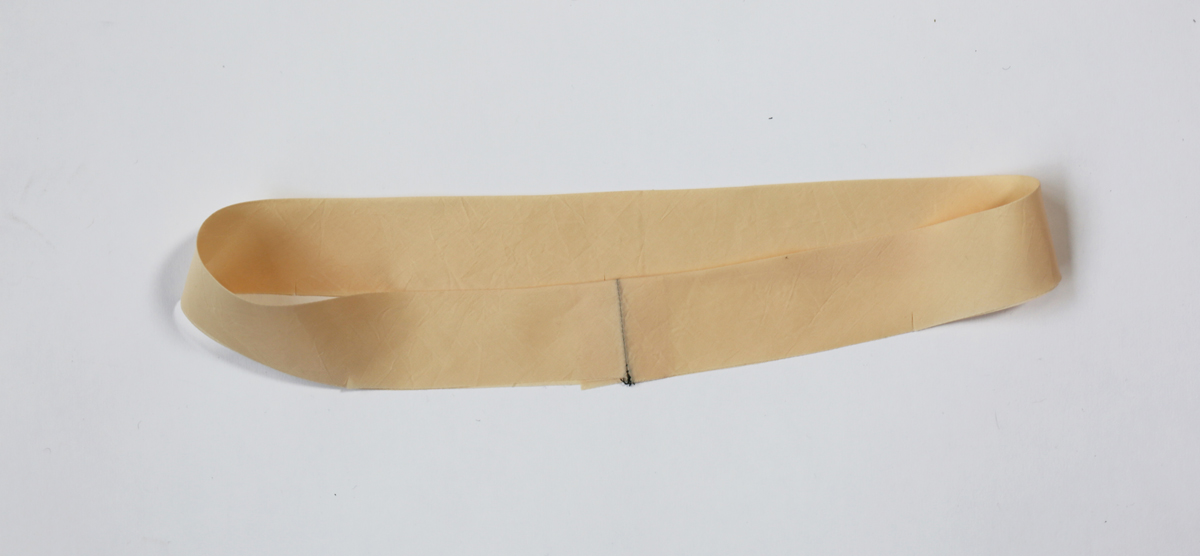
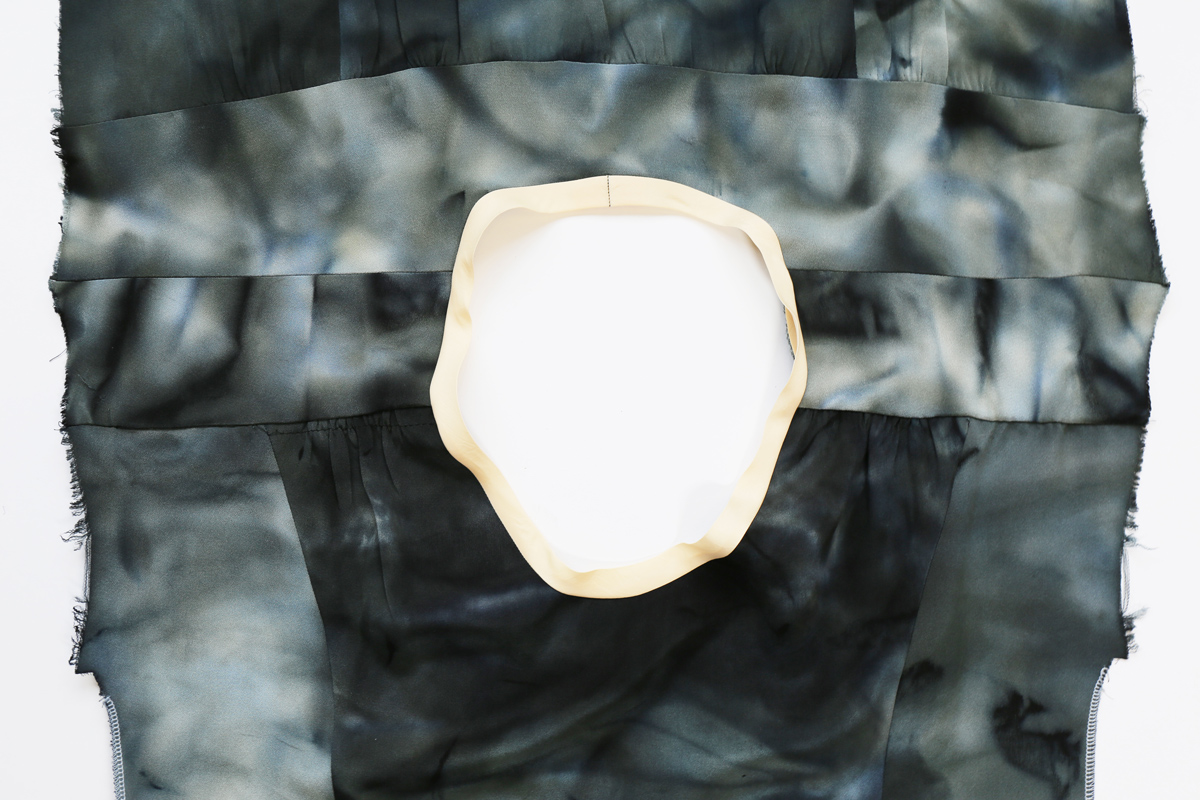
22. Stitch center back seam of NECK BINDING (19).
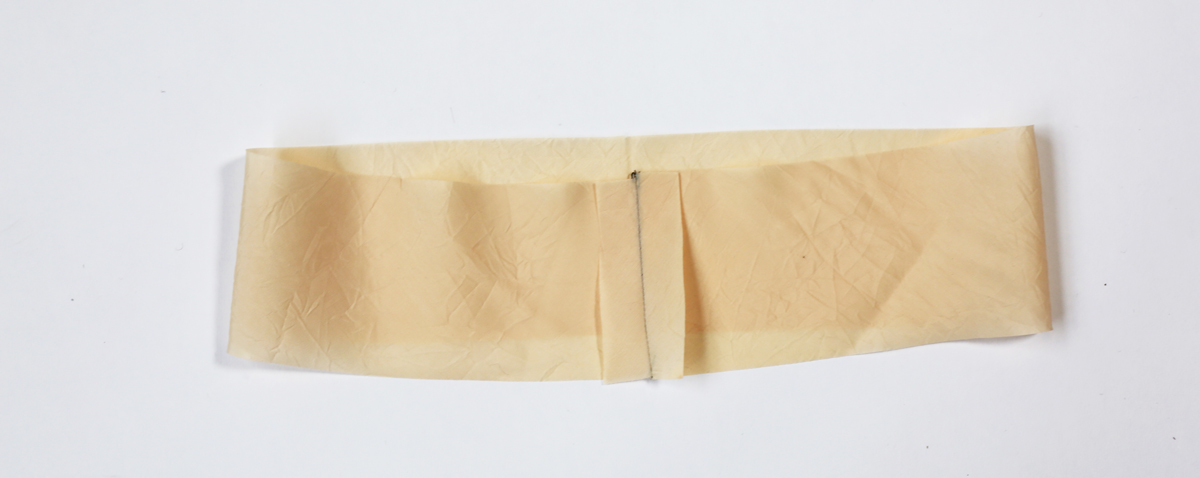
23. With wrong sides together, fold binding along roll line. Press lightly. Pin raw edges together.
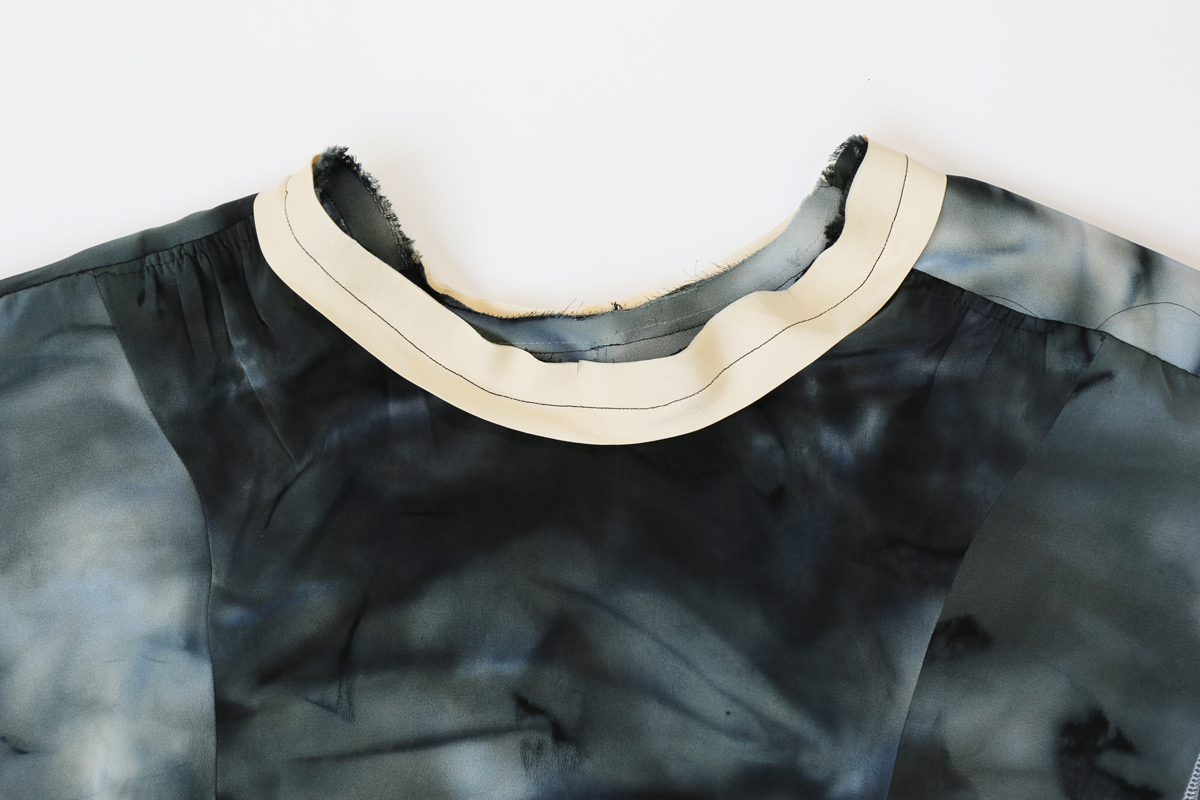
24. On outside, pin binding to neck edge, matching notches, centers and triangles. Stitch, stretching binding to fit. Trim seam allowances to a scant 1/4” (6mm). Turn seam allowances toward binding.
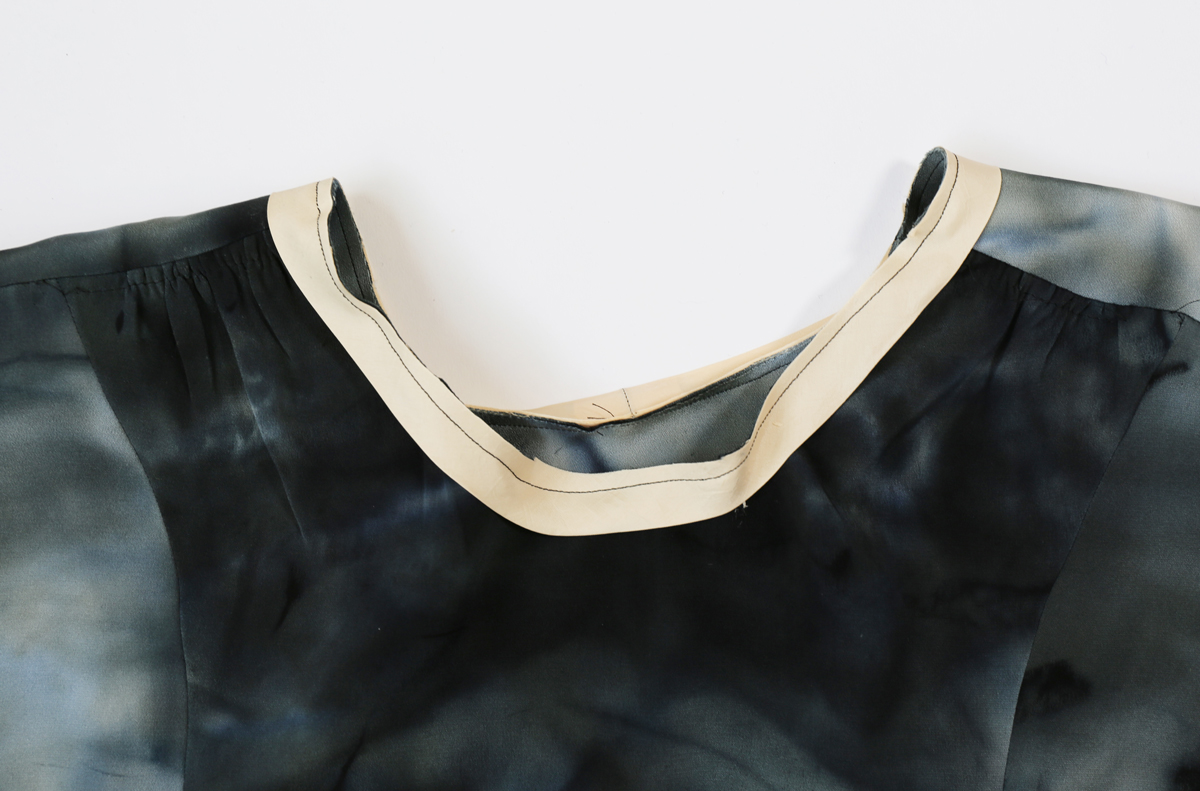
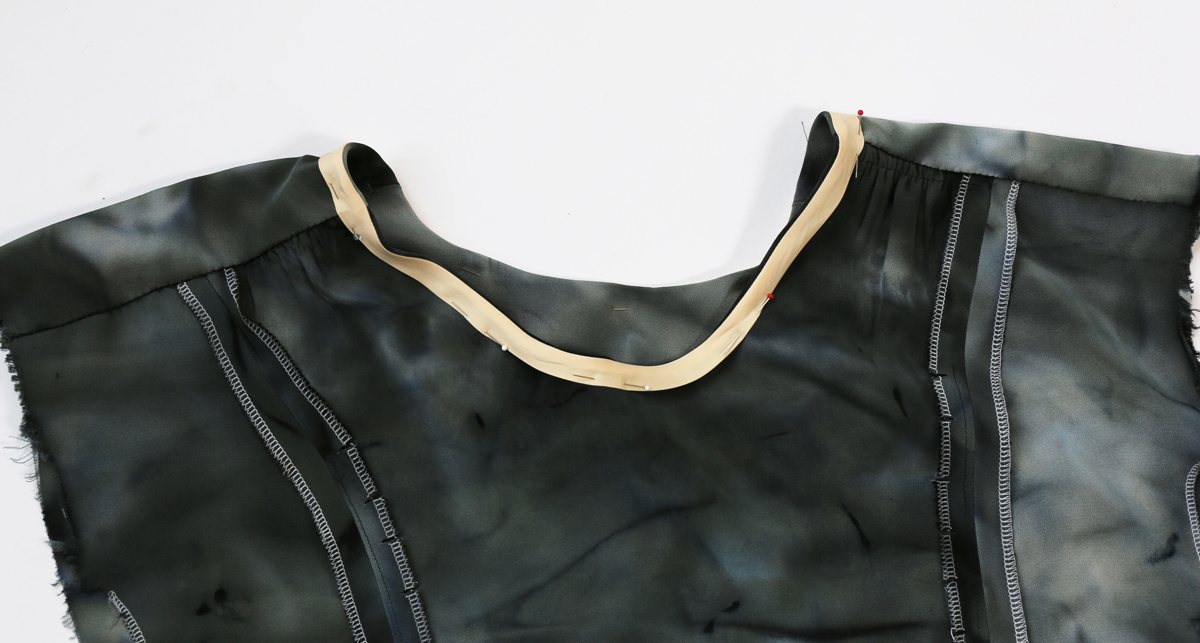
25. Turn binding to inside, encasing raw edges. SLIPSTITCH folded edge over seam, stretching binding to fit.
Do you like the clean finish of the neckline? Tomorrow we’ll finish up, hemming the sleeves and the dress.


Comments are closed.