How is your moto jacket coming along? If you’re just joining us, you can start at the beginning right here and catch up with us. Don’t worry; there’s no rush!
So far we’ve got the front and back of the jacket assembled. Today we’ll assemble and attach the two-piece sleeves and finish the outer jacket. And I’ll show you how to make shoulder pads so you can customize them to suit your preferences. Ready?
Sleeve
I do love a good two-piece jacket sleeve! It gives such a nice shape and fit. If you’ve never sewn one before, it’s not difficult; there are just two seams instead of one.
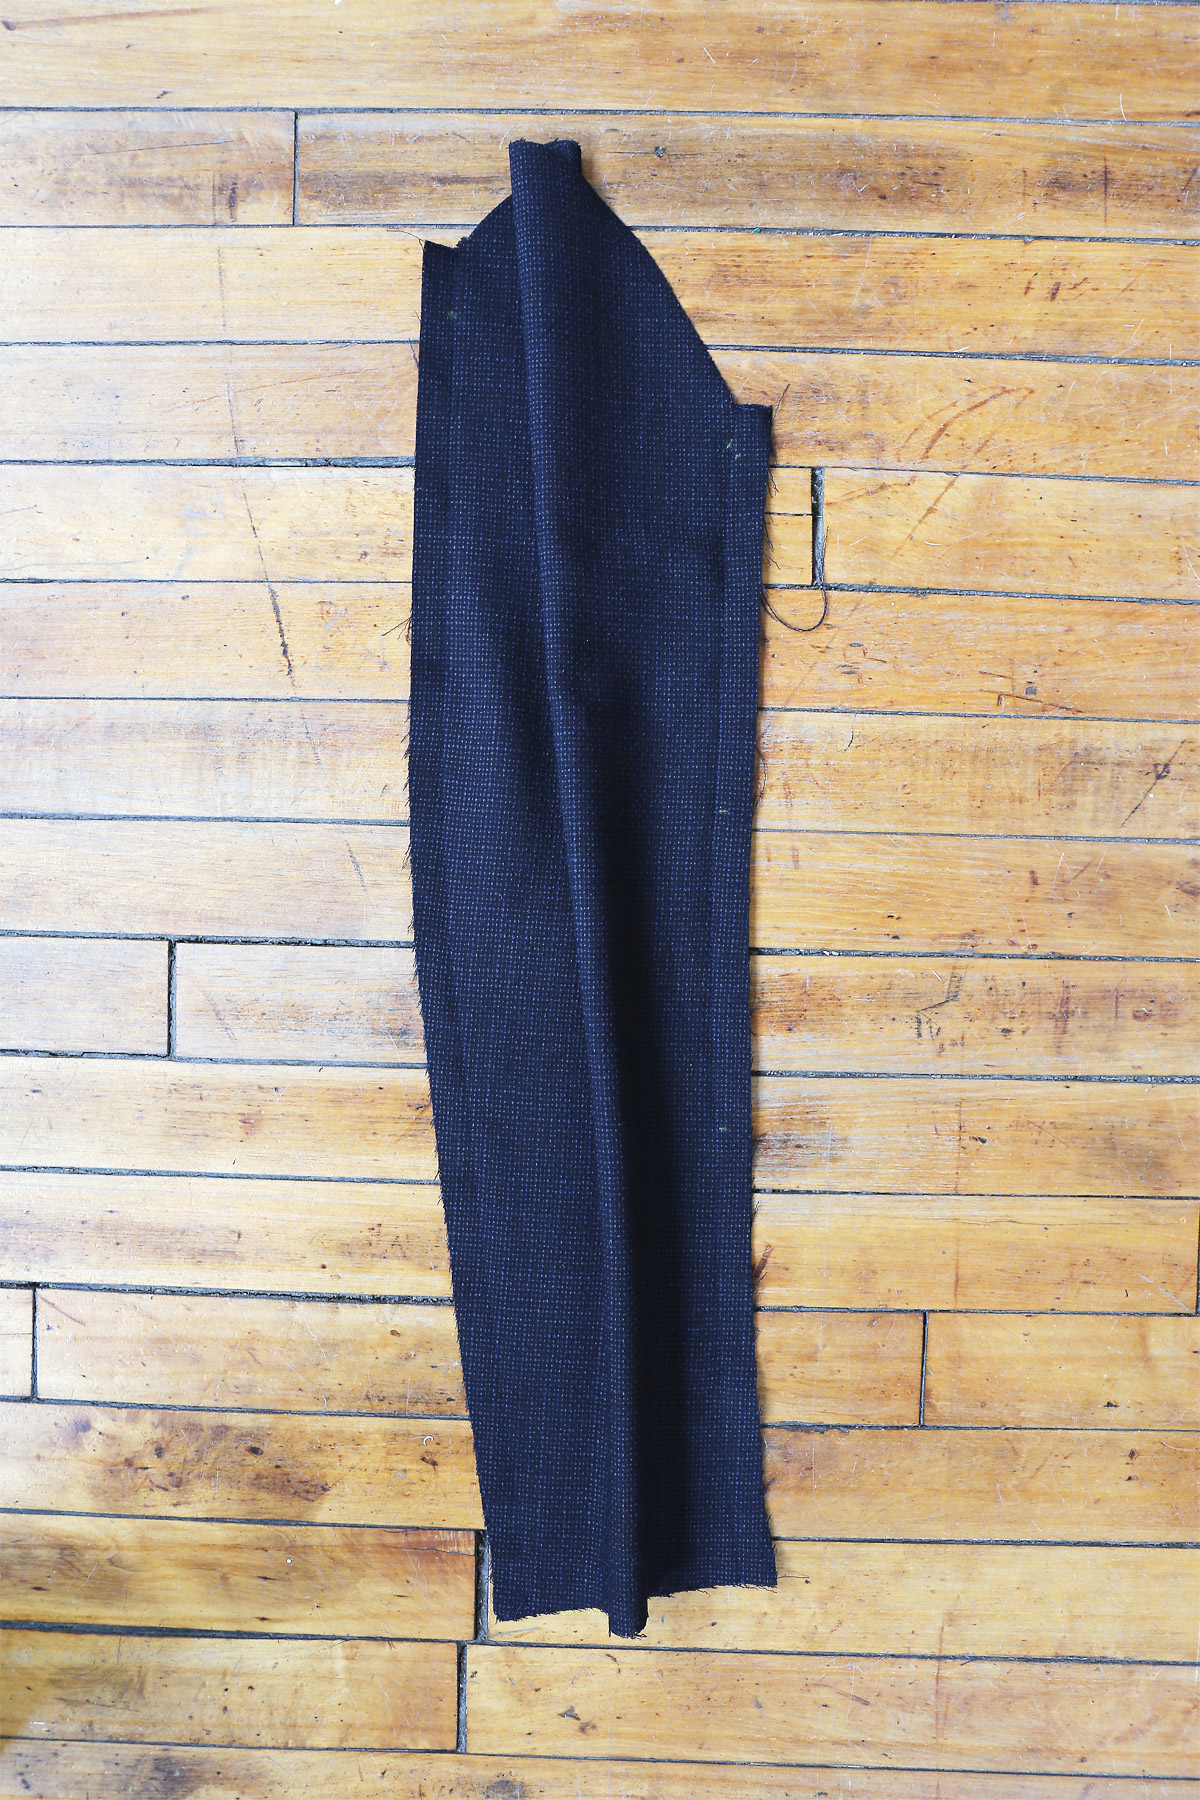
18. Pin UPPER SLEEVE (8) to UNDER SLEEVE (9) at front edge, right sides together, matching large circles, stretching upper sleeve to fit. Baste. Stitch. Stitch upper sleeve to under sleeve at back edge, matching notches. (The little bit of stretch on the first seam gives the sleeve a better drape and fit. Press the seam allowances open or to one side when you’re done.)
19. EASESTITCH cap of sleeve between small circles. (I always use two rows of easestitching: one at 4/8″ and one at 6/8″ so there’s a row of easestitching on either side of the seam line. It helps to control the fullness and makes it easier to remove the stitches after you insert the sleeve. Leave nice long thread tails so you can pull them and anchor them as you’re fitting the sleeve to the armhole.)
20. Turn up a 1-1/2” (3.8cm) hem on lower edge of sleeve. Baste close to fold. Hand-sew in place, easing in fullness, if necessary. Press. (If you’d like to “bag out” the lining with me later, skip this step for now. If you’re bagging out the lining you’ll want to hem the sleeve leaving the top 3/4″ of the hem edge free so you can machine-stitch the lining later. Stick with me and I’ll cover this on Day 5. Otherwise, if you’d prefer to follow the instructions and assemble the jacket the more traditional way, hem the sleeve as written.)
21. With right sides together, pin sleeve into armhole edge, matching notches, small circles, large circles to shoulder seams and square to underarm seam. Adjust ease. Baste. Stitch. Stitch again 1/4” (6mm) away in seam allowances. Trim close to second stitching. Press seam allowances flat. Turn seam allowances toward sleeve. (I nearly always hand baste the sleeve into the armhole before machine stitching it so I can carefully control the fullness of the sleeve cap ease. When you go to machine-stitch the sleeve, I sew it with the sleeve fabric facing down. That way the feed dogs will carry it along and the armhole fabric will be dragged a bit by the foot. The sleeve and armhole rarely pucker this way.)
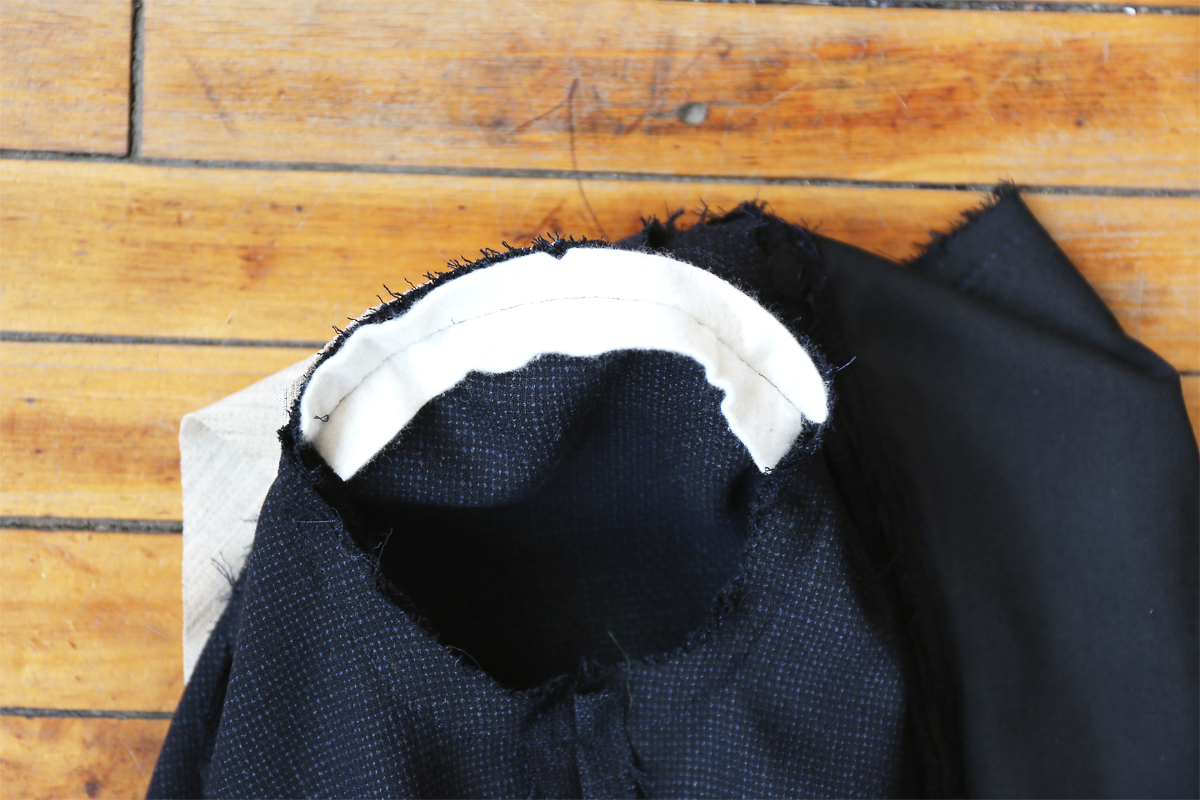
Extra credit #1: At this point, I usually add a thin strip of quilt batting to fill in the sleeve cap a bit. This is called a sleeve head. If you choose to do the same, cut two strips of lightweight quilt batting to be about 7′ x 1 1/2″. Find the center of each strip, and pin one long edge of one strip to the seam allowances of the sleeve cap, matching the center to the shoulder seam. Stitch the batting to the sleeve cap at the seam allowances, stitching as closely to the seam line as you can. This little bit of batting will help to keep the sleeve cap filled in so it doesn’t collapse on itself. Once the batting is in place, trim the ends a bit to round them (not shown in the photos).

Extra credit #2: How would you like to learn how to make shoulder pads? It’s very easy. You’ll need a few scraps of woven fabric (I like to use a stiff sew-in interfacing for the underside of the shoulder pad and a lightweight woven fabric for the top.) You’ll also need some scraps of thin quilting batting.
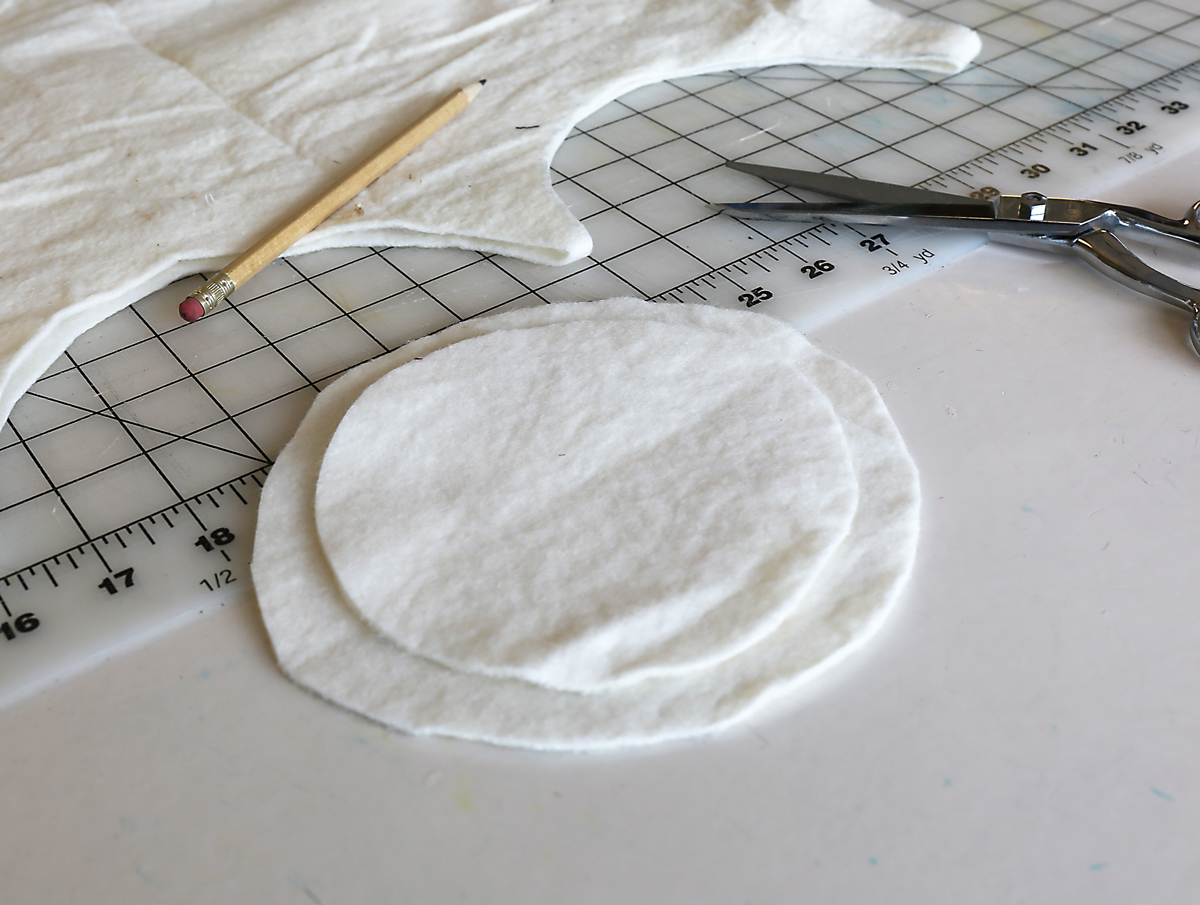 a. Start by cutting a circle of batting about 6″ in diameter. Cut another circle 5 1/2″ in diameter. If you want a thicker shoulder pad, cut another circle 6 1/2″ in diameter. The idea here is to cut each circle a different diameter so the shoulder pad gradually gets thinner at the edges rather than having a sharp edge.
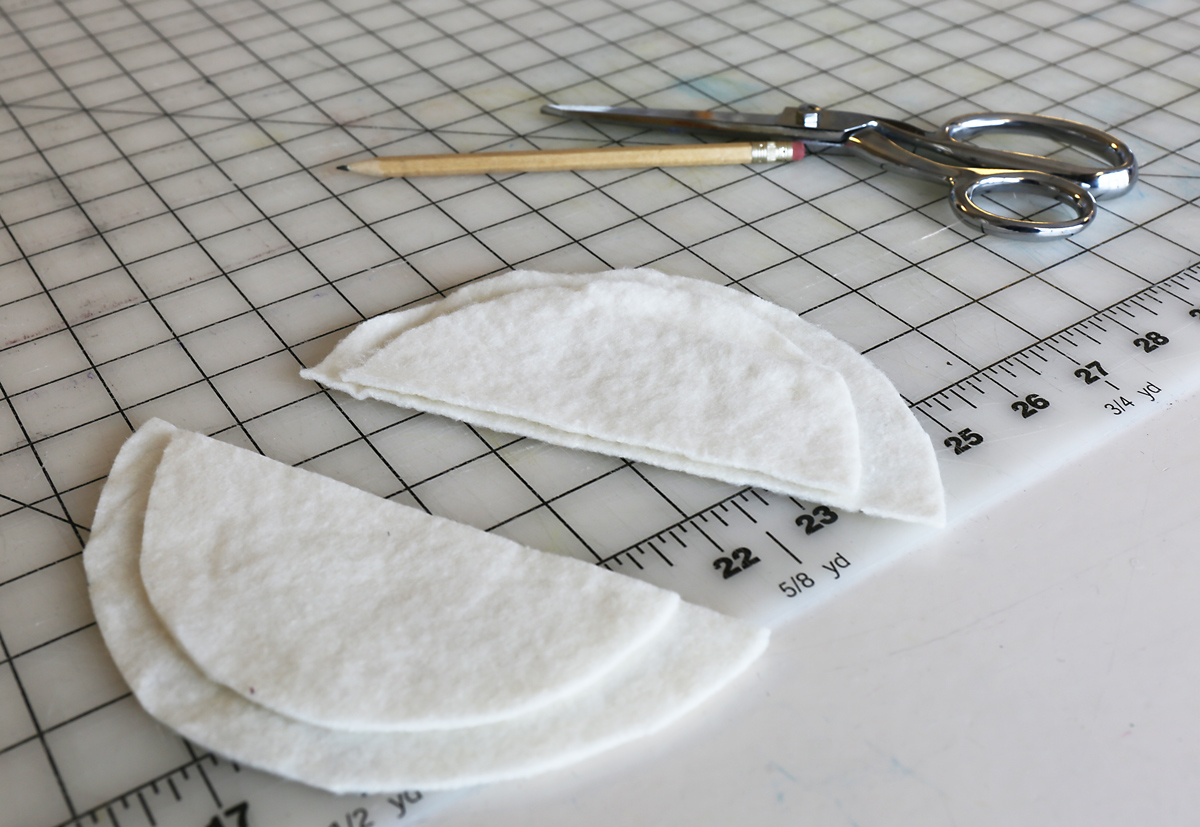 b. Stack the circles on top of each other largest to smallest. and cut them in half down the center. You now have matching batting for two shoulder pads.
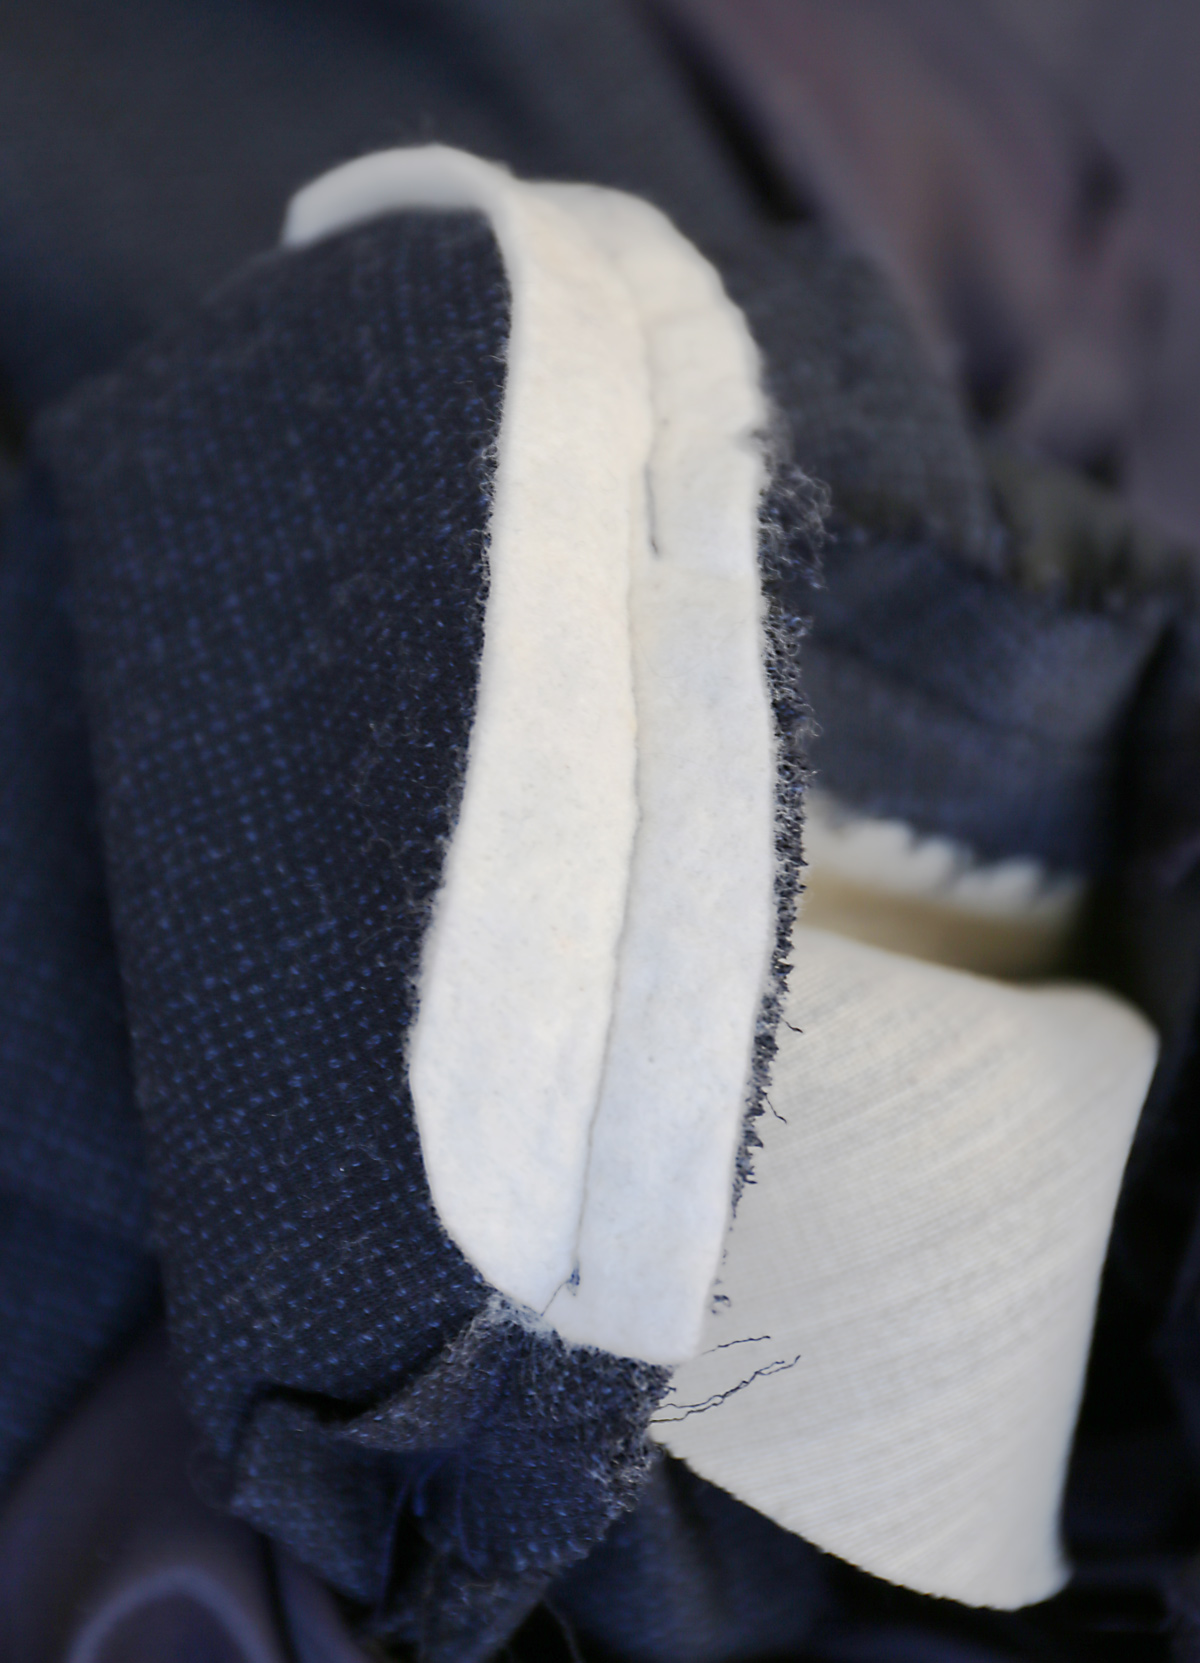
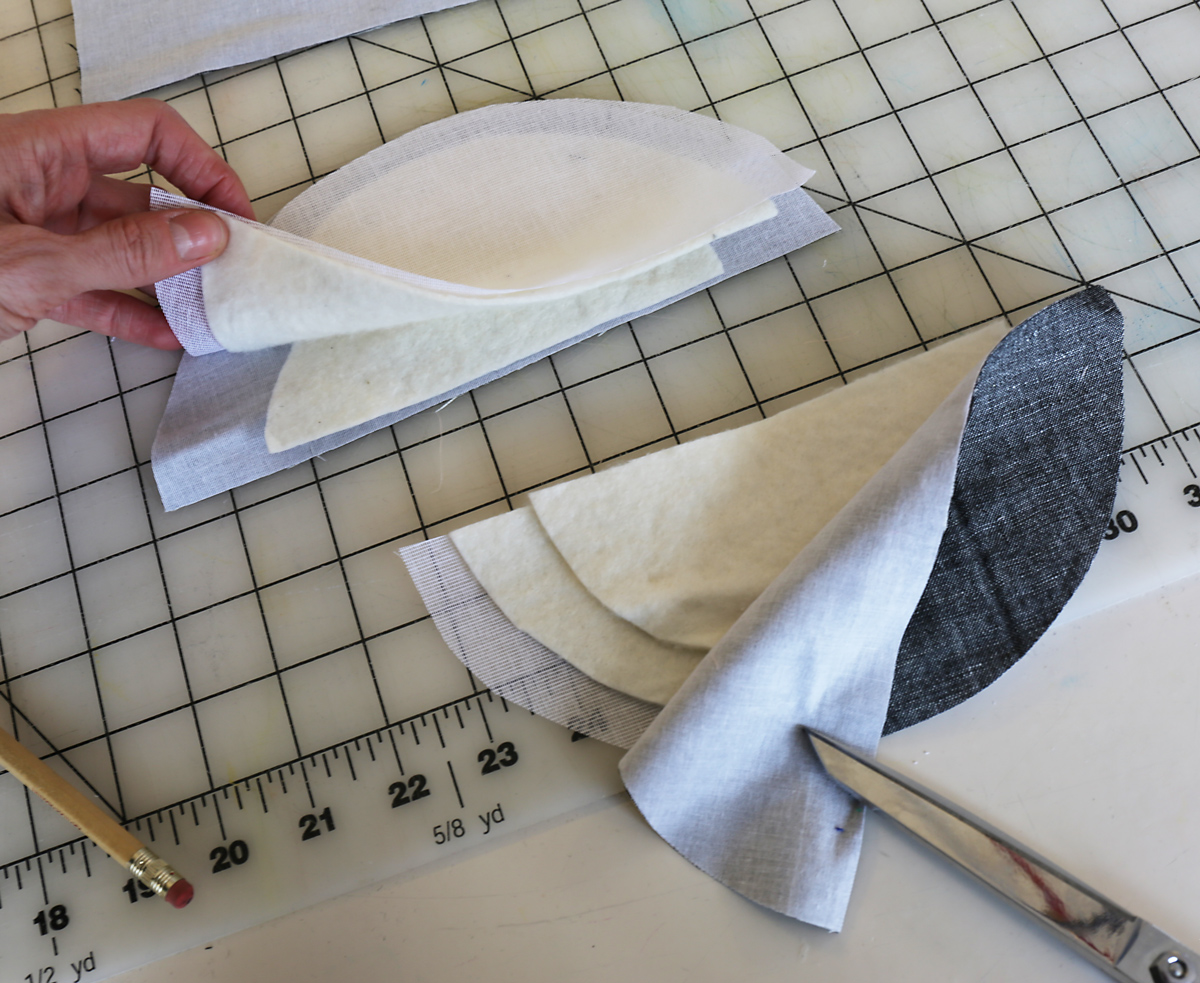 c. Cut two 7″ circles from your woven fabric. Cut these circles in half like you did with the batting, and sandwich the batting between two half-circles of woven fabric as shown, with the layers of batting layered from largest to smallest.
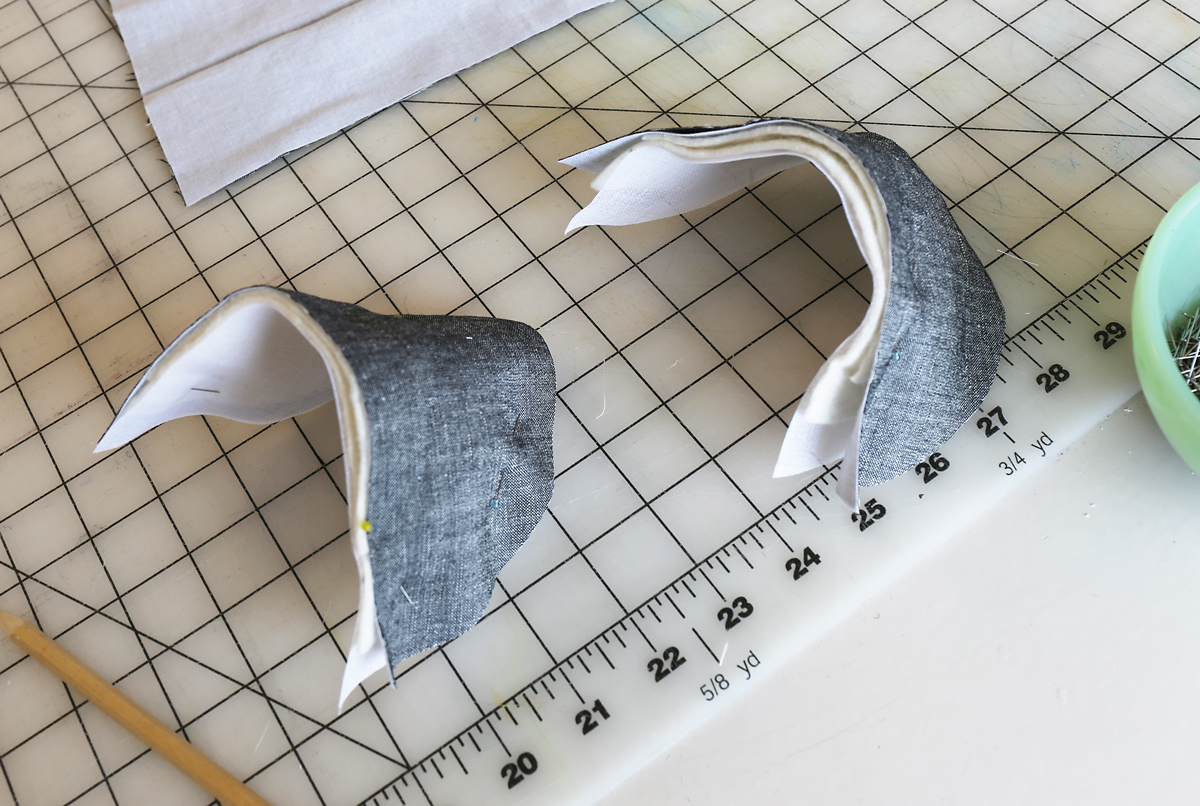 d. The trick to a nice-looking shoulder pad is to mimic the shape of the shoulder itself. Start by pinning all the layers together near the center of the semicircle, and then gradually manipulate the layers to form a gentle curve. Once the layers are pinned you can hand-baste them together. Machine basting draws the layers together too closely and forms a ridge, so hand basting is the way to go. If you want, you can also zigzag the outside edges to finish them and to keep them together, but secure hand basting is usually enough and allows the shoulder pads to mold to your shape as you wear the jacket.
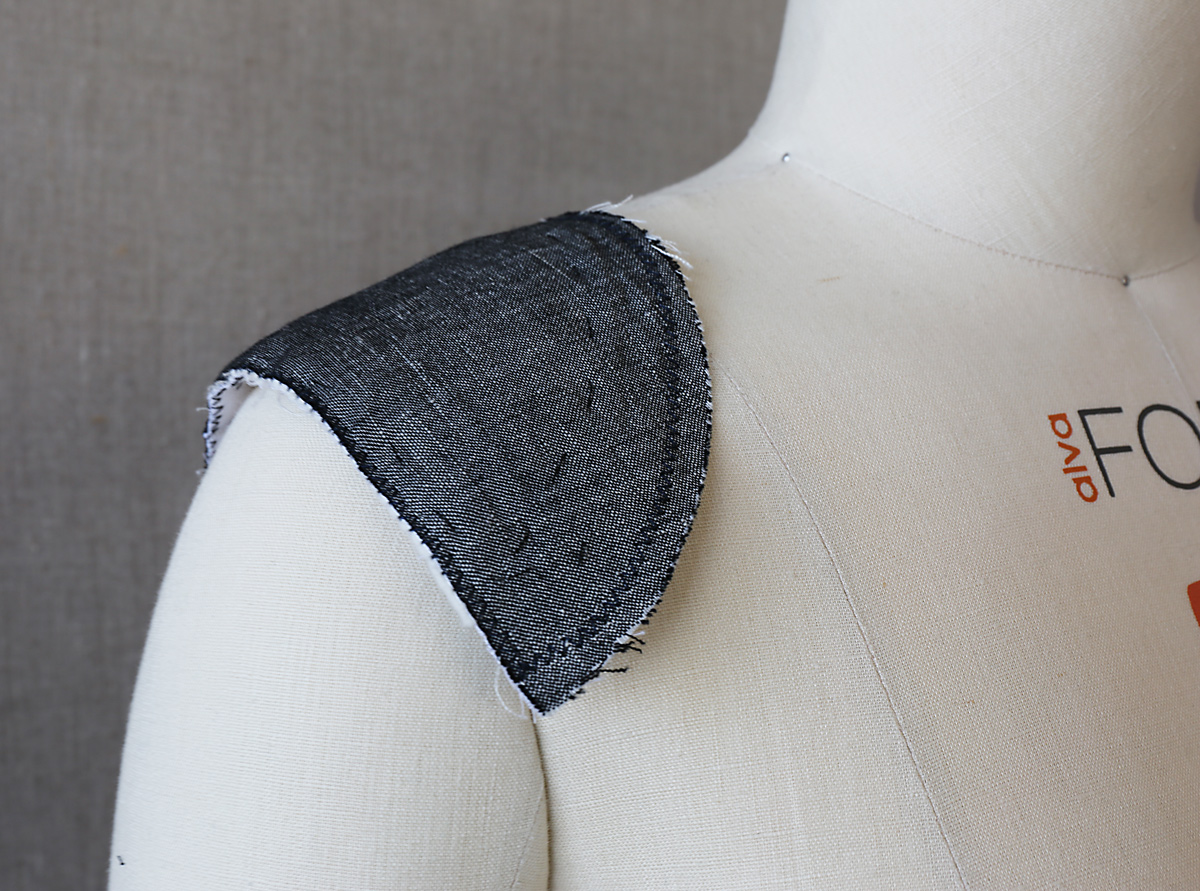 e. Here is the finished shoulder pad, ready for positioning in the jacket.
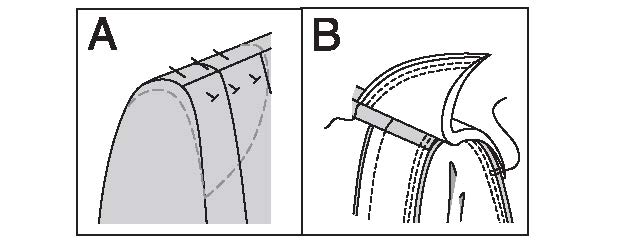
22. (A) Try on jacket for shoulder pad placement. Pin pad to jacket, extending outer edge about 5/8” (1.5cm) beyond armhole seam. (B) Sew pad to shoulder seam allowance. Tack ends to armhole seam. (I usually leave my shoulder pads for the very end, so I’m afraid I don’t have any nice photos of this step for you. But the illustrations make sense, right? Keep in mind when you’re pinning your shoulder pads in place that the straight edge of the shoulder will extend beyond the shoulder seam and a little bit into the sleeve cap, as stated in the first sentence of this step, above. This will make the shoulder look much more natural.)
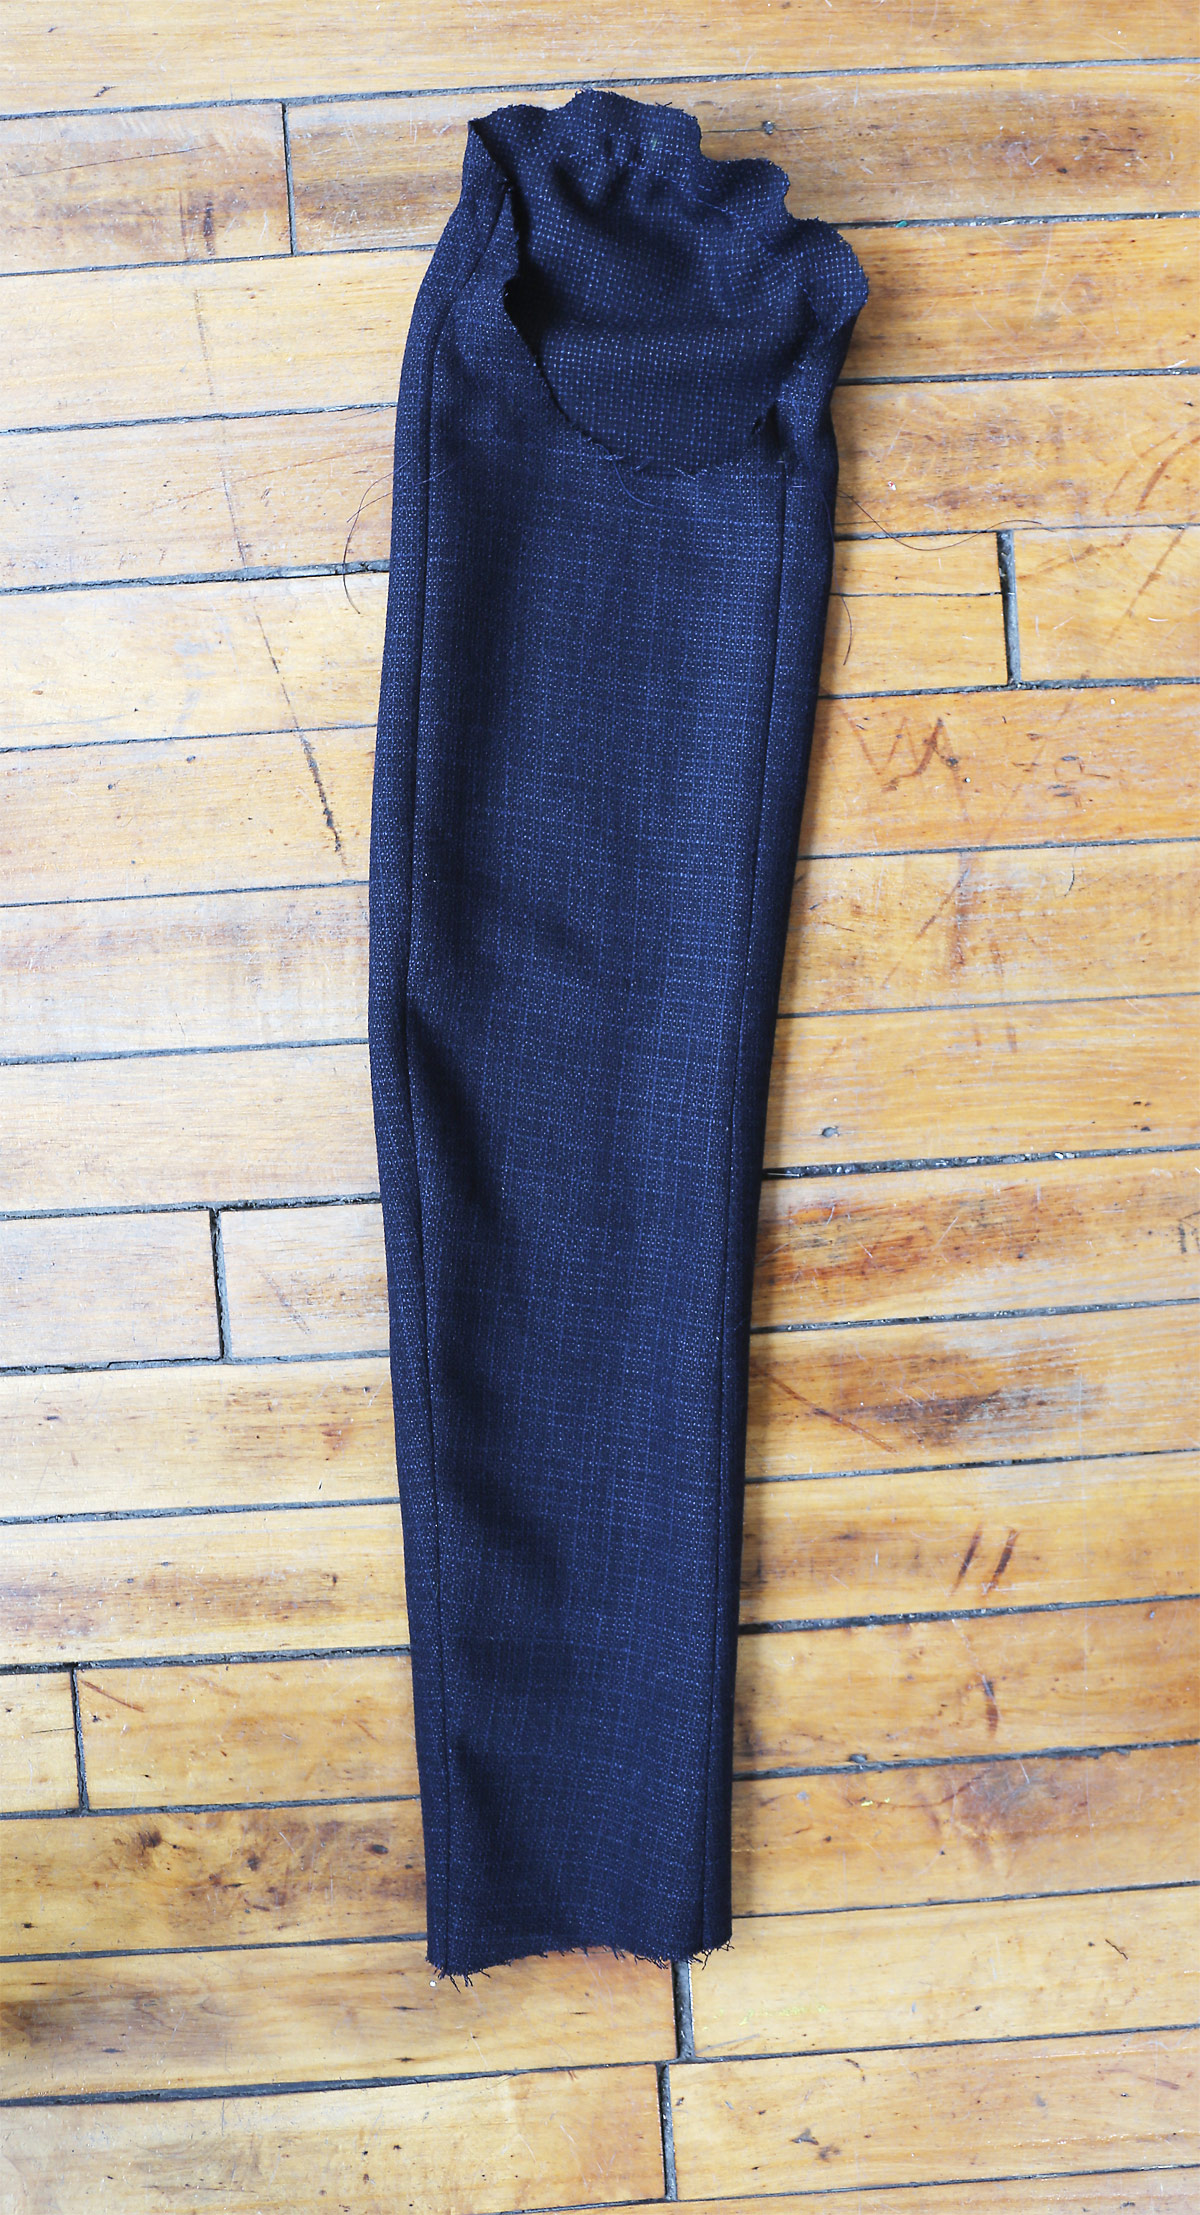
Extra credit #3 (just for the fun of it): I trimmed the seam allowances at the hem edges to reduce bulk and add bias-cut strips of wool canvas to the sleeve and jacket hems to give them a little extra stability. First, I measured 1 1/2″ from the hem edge and trimmed the seam allowances just just above this point.
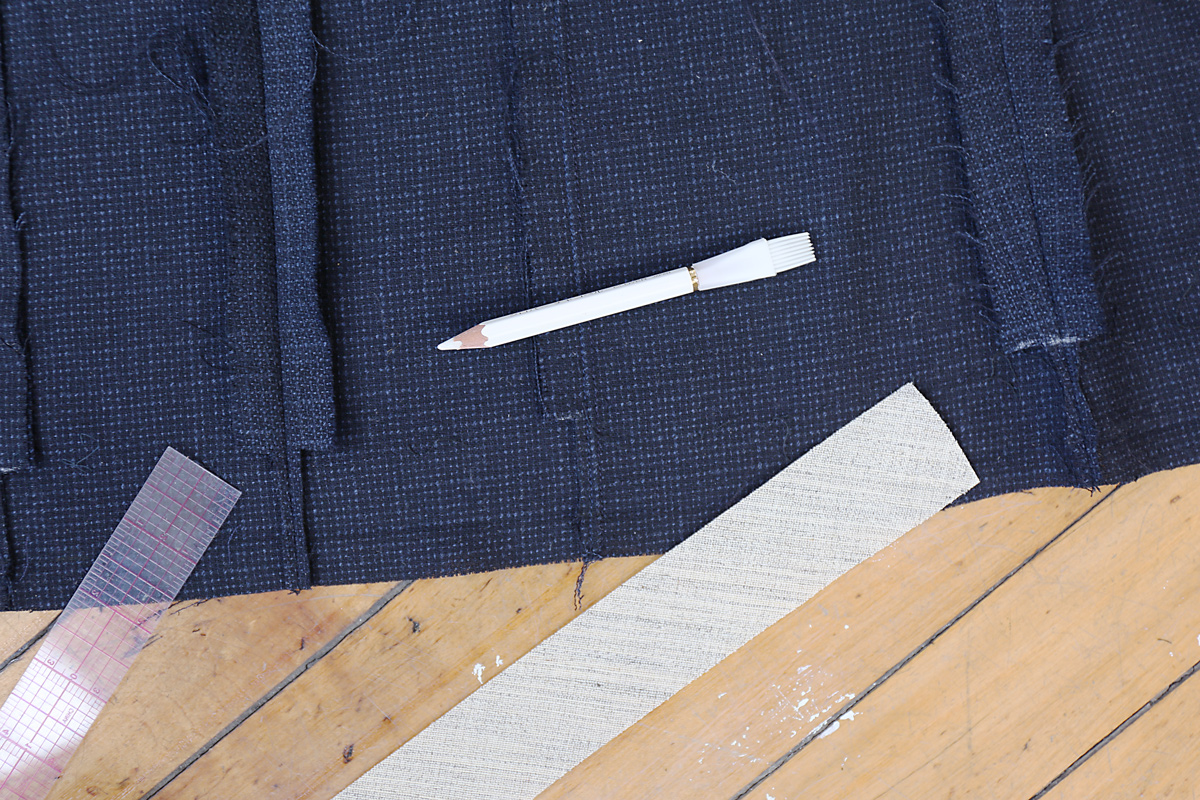
Then I cut strips of 1 3/8″ canvas on bias and stitched them to the wrong side of the hem edges with a 1/4″ seam. I overlapped the ends at the sleeves–this isn’t a really fancy process. Again, feel free to skip this step. It helps to give the hems a little extra structure but is not strictly necessary. My fabric was really drapey, so I wanted the extra structure.
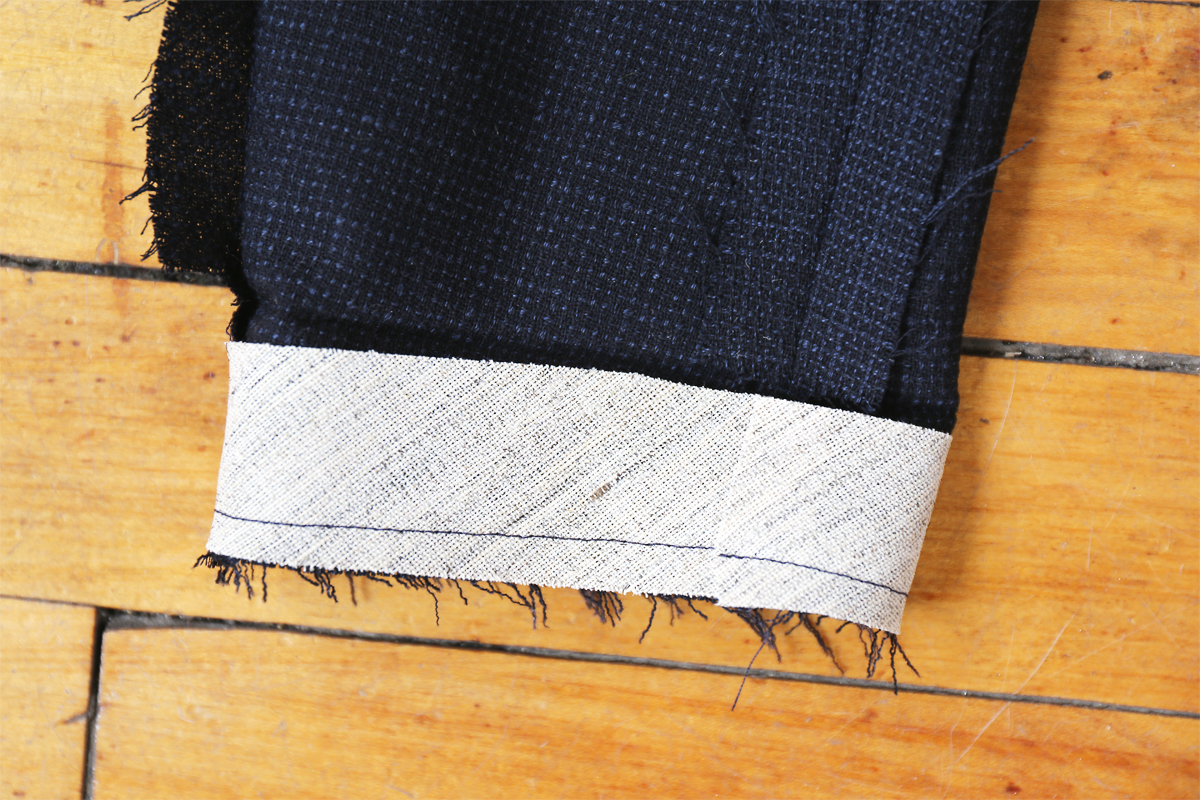 Bias-cut canvas added to the sleeve hem.
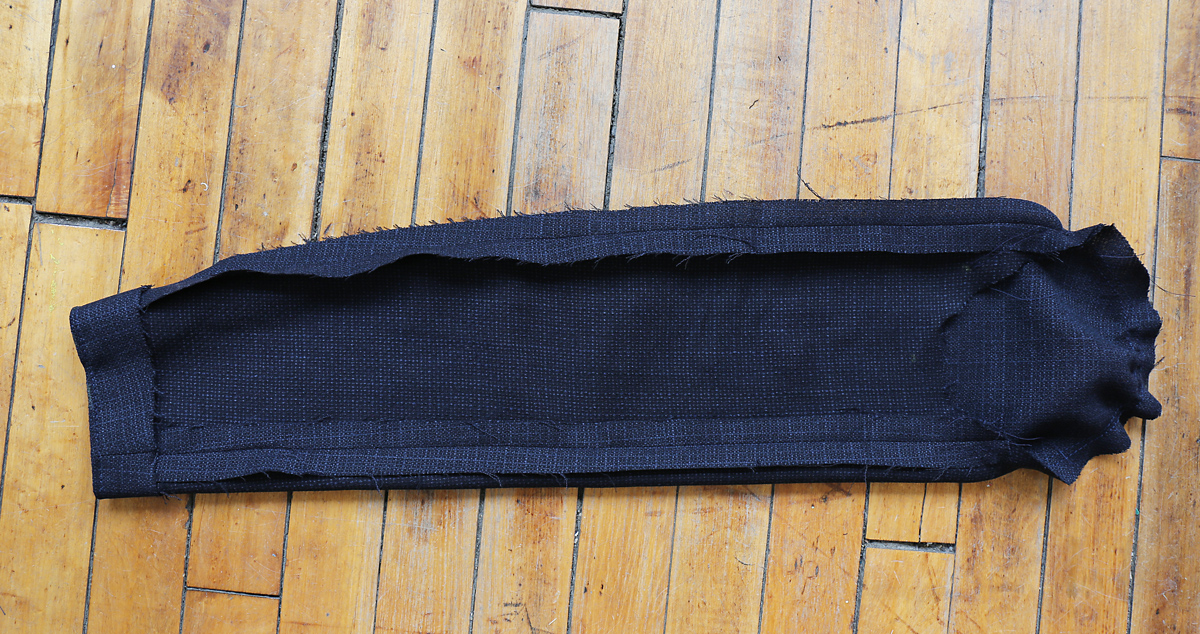
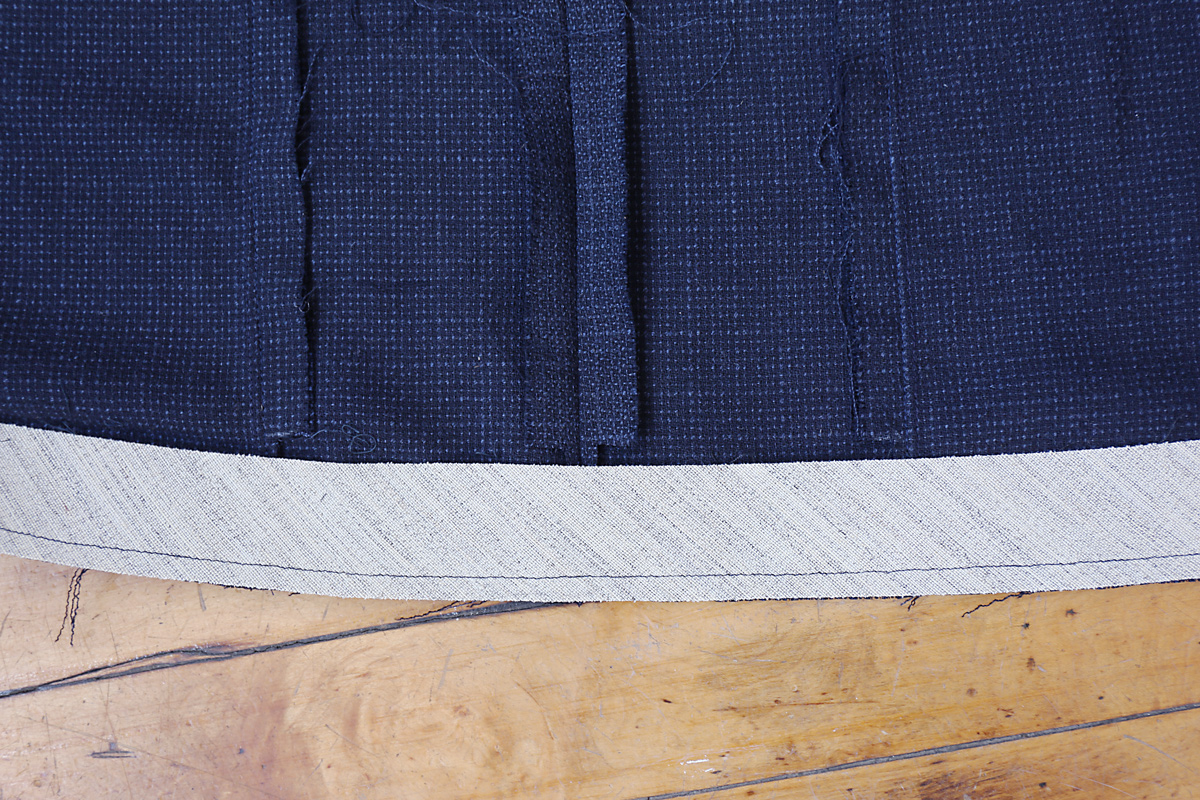 Hair canvas added to the jacket hem.
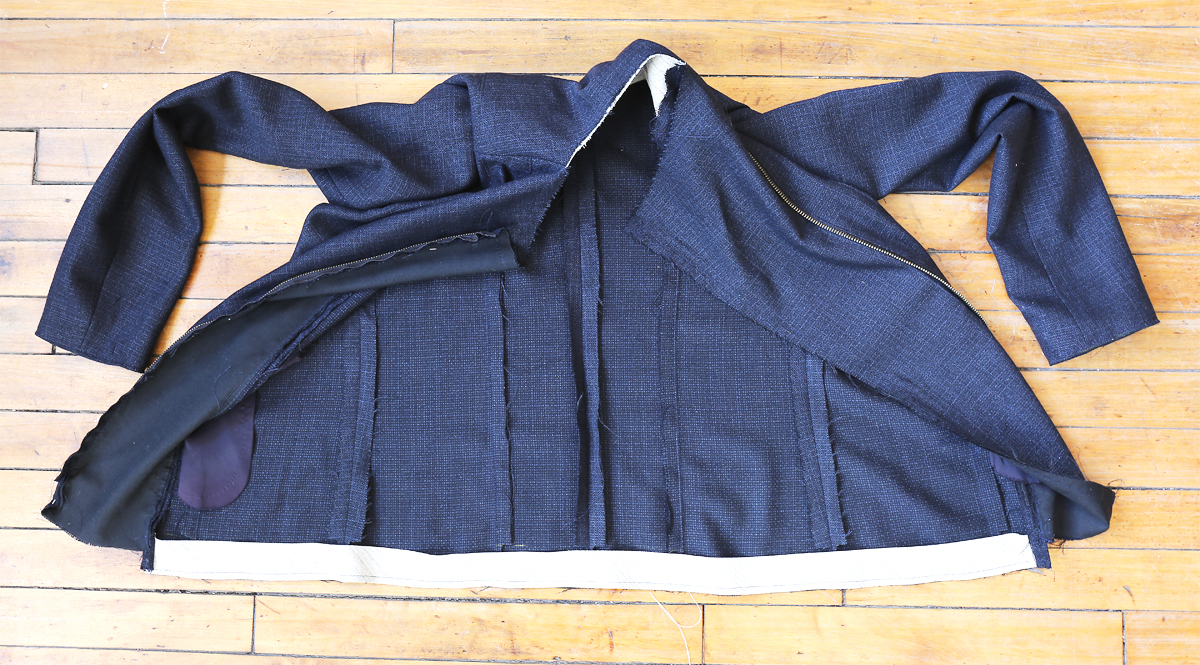 Bias-cut hair canvas added to the jacket hem.
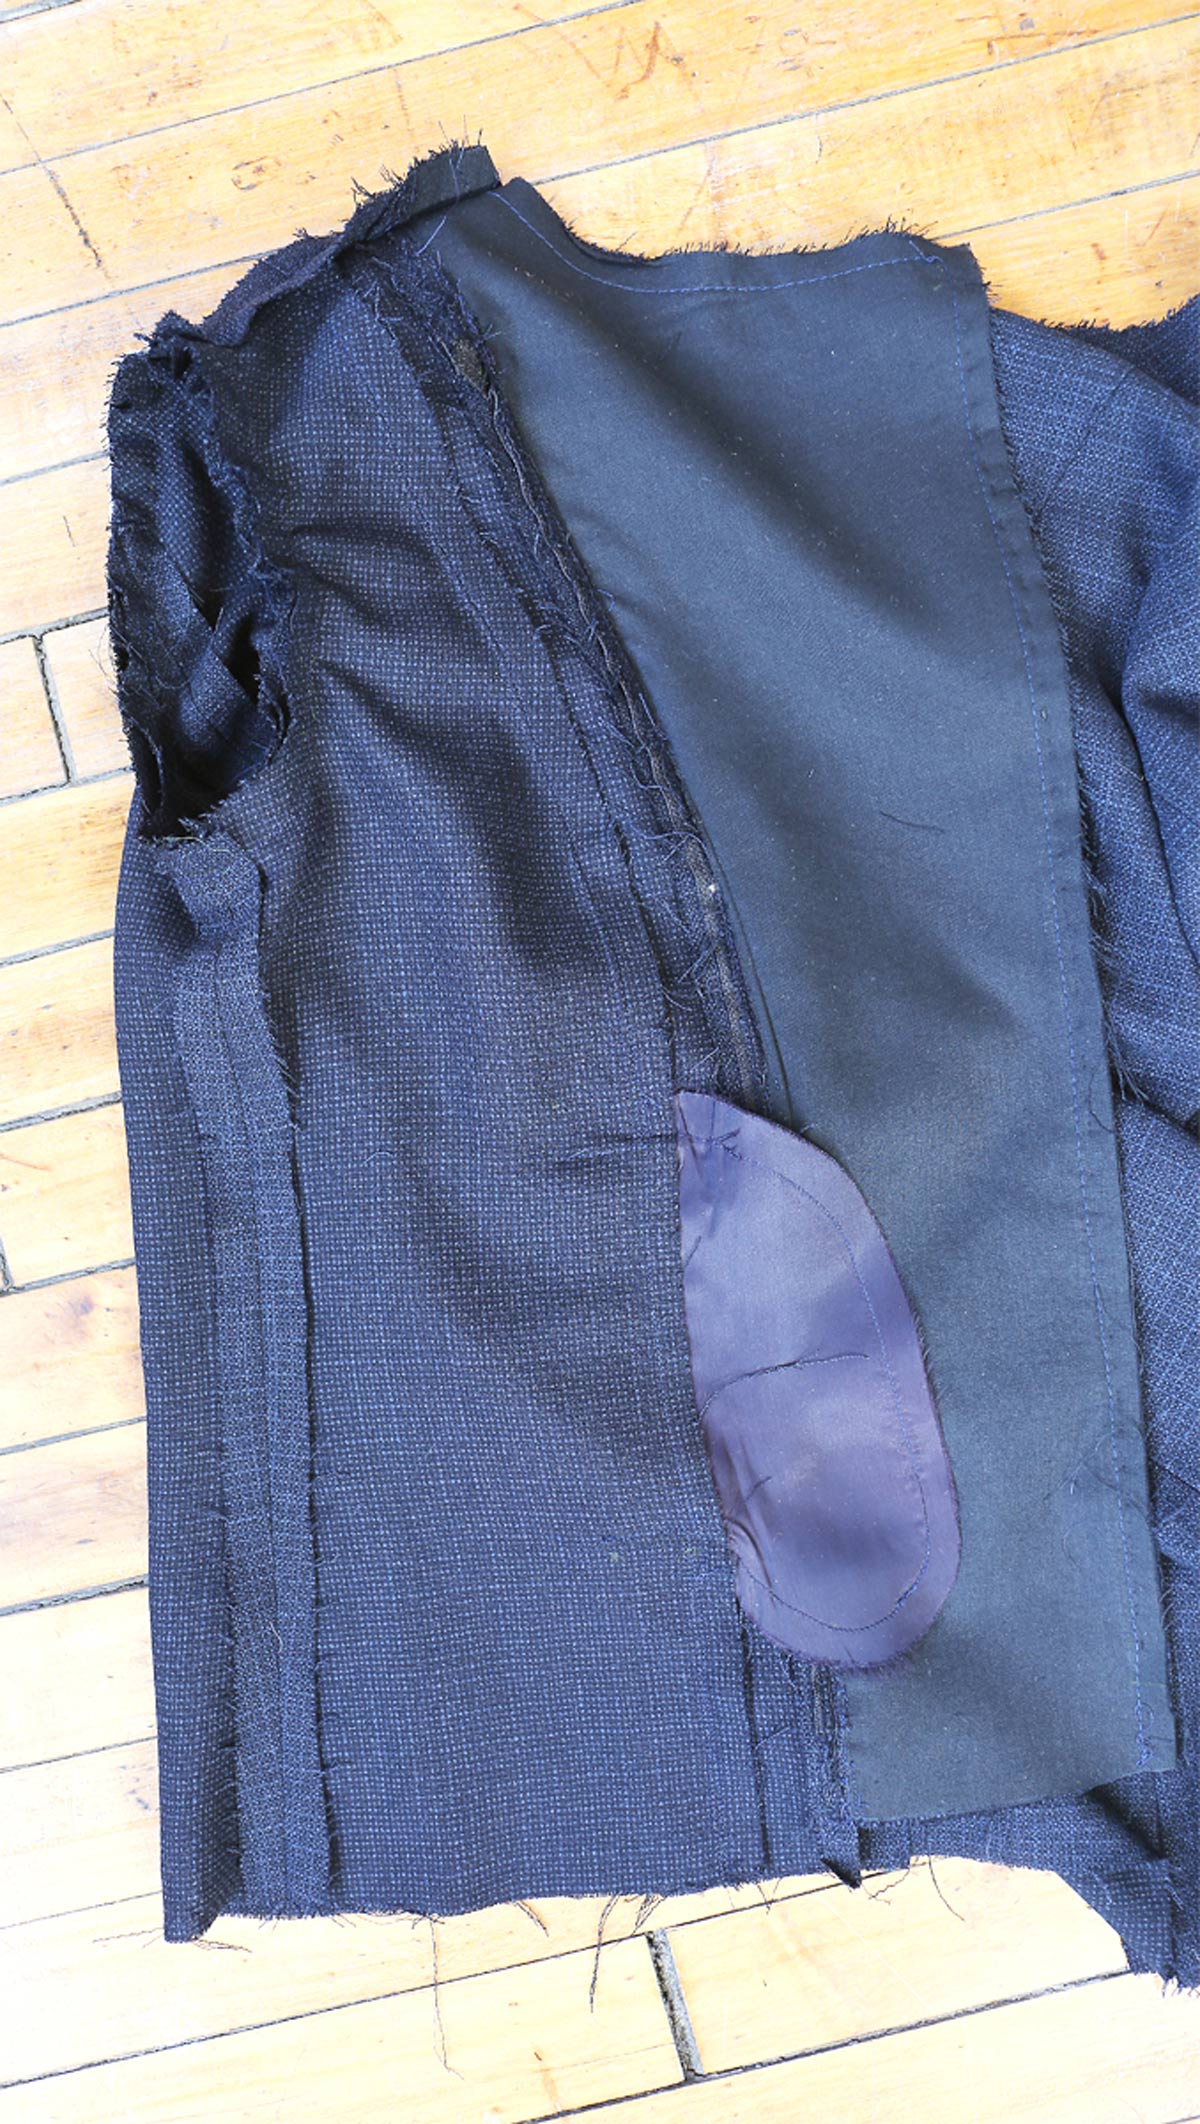
And here we are with a completed outer jacket! That wasn’t too bad, was it? It already looks pretty impressive, and we haven’t even added the lining, which is what makes it look really professional. And that’s the easy part, so you’re nearly finished!
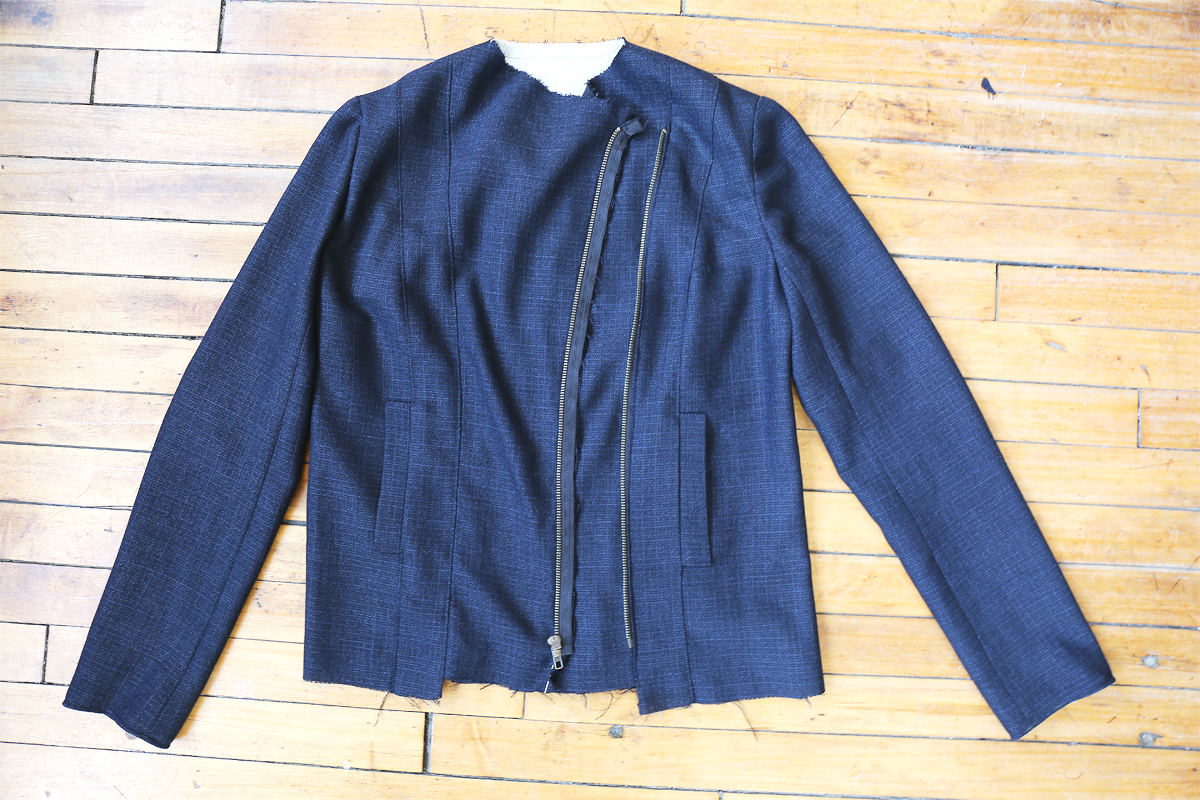
Tomorrow we’ll pick up with the facing and the lining. But in the meantime, admire the outer jacket you’ve sewn!
Continue on to Day 4 of the sew-along.


2 Comments:
Liesl! This is brilliant. Thank you for sharing the extra credit tips. And make your own shoulder pads, how utterly fantastic is that?
I love the extra tips. Thank you! I am so excited about learning new techniques.